13
WWW.BIGASSFANS.COM ©2013 DELTA T LLC ALL RIGHTS RESERVED
5 - Run Web Configurator
Run the Web Configurator to set up the Ethernet and RS-485 devices (profiles) connected to ProtoNode RER.
5.1 - Connect PC to ProtoNode via Ethernet port
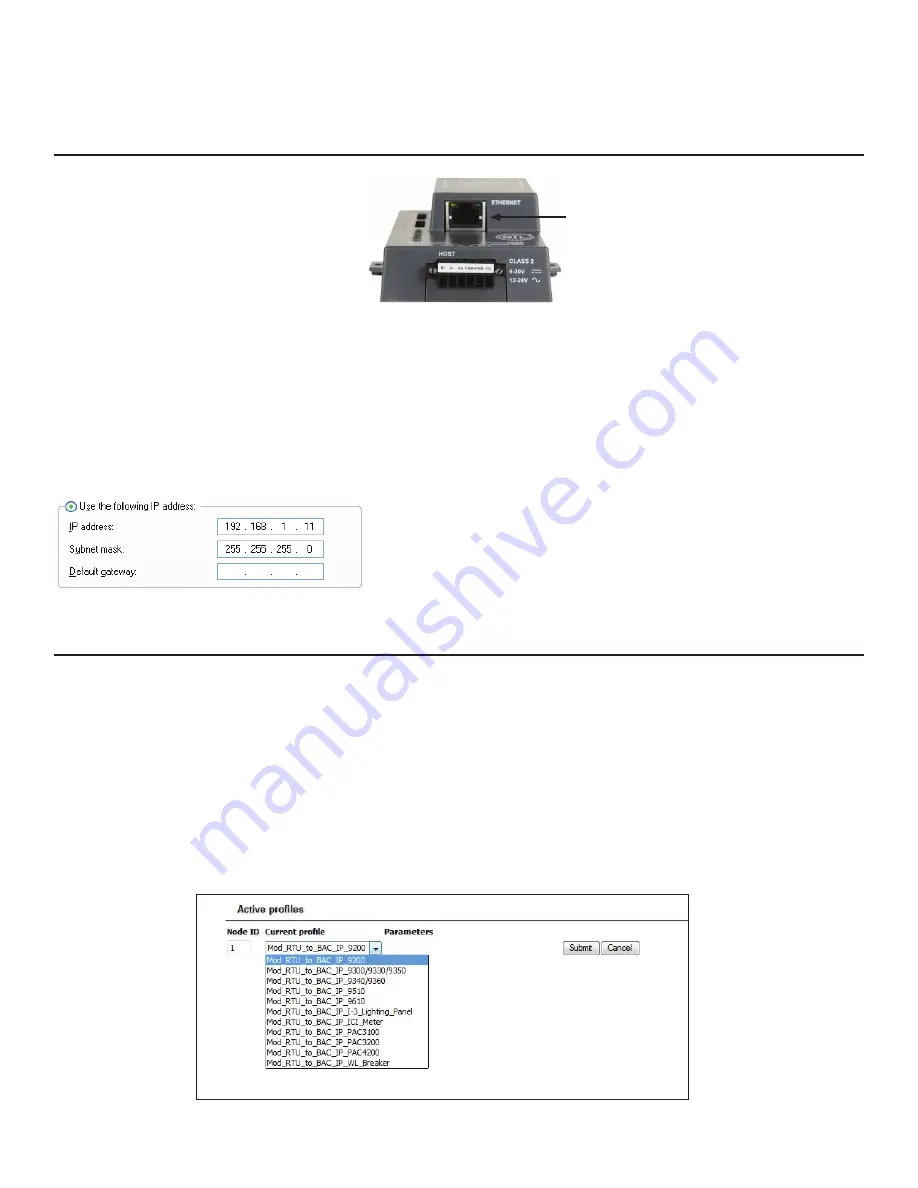
Figure 19: Ethernet port location
Ethernet
1.
Connect a standard CAT5 Ethernet cable (straight through or crossover) between the PC and the ProtoNode.
2.
The default IP address of the ProtoNode is
192.168.1.24
, and the subnet mask is
255.255.255.0
. If the PC and the ProtoNode are
on different IP networks, assign a static IP address to the PC on the 192.168.1.xxx network.
3.
Click
Start
>
Control Panel
>
Network Connections
.
4. Right-click
Local Area Connection
, and then click
Properties
.
5. Highlight
Internet Protocol (TCP/IP)
, and then click
Properties.
6. Select
Use the following IP address
:
7.
Click
OK
twice.
5.2 - Configure profiles in ProtoNode's Web Configurator
Open the PC's Web browser and enter the default IP address of the ProtoNode (192.168.1.24). When the S bank of DIP switches is set
for BACnet MS/TP, BACnet/IP, Metasys N2, or Modbus TCP, profiles for all of the devices for that particular protocol will be listed in the
Configurator.
5.2.1 Selecting the device profiles that will be connected to the ProtoNode
When you open the Web Configurator, you will see Active Profiles on the left side of the screen. There is a pull-down box under Current
Profiles that lists all the available profiles. Both Modbus RTU and Modbus TCP device profiles to BACnet MS/TP or BACnet/IP will
appear for the FPC-N34.
To add an active profile, select
Add
under Active Profiles. For every device that will be added, you must add the Active Profile (on the
left of the screen) and the Modbus Node Address for Modbus RTU and Modbus TCP devices that get assigned to the particular device.
If selecting a Modbus TCP device, you must also add the IP address for the device being added.
Figure 20: Web configurator showing the active Modbus RTU profiles to select from


