15
WWW.BIGASSFANS.COM ©2013 DELTA T LLC ALL RIGHTS RESERVED
7 - Changing the ProtoNode IP Address
Change the ProtoNode IP address using the Web GUI for BACnet/IP and Modbus TCP.
7.1 - Connect PC to ProtoNode via Ethernet port
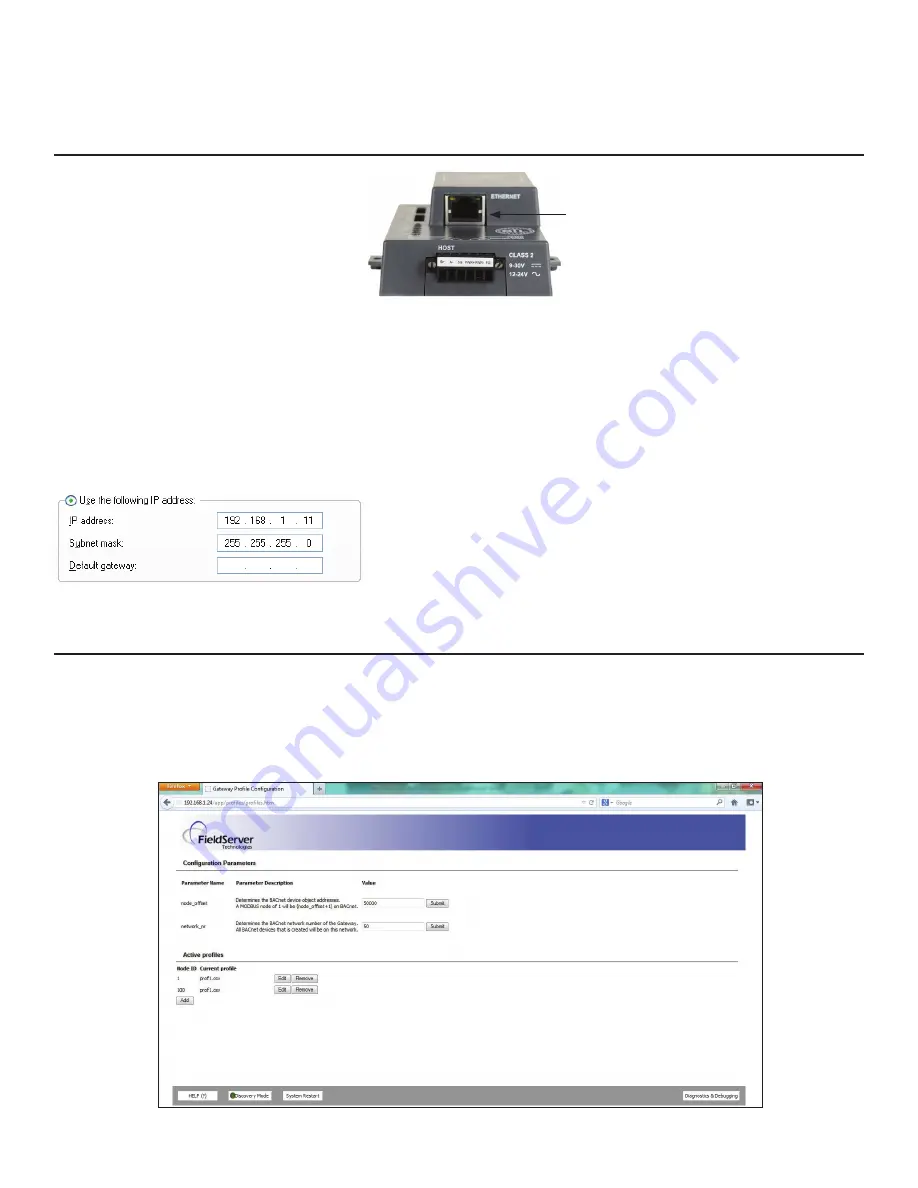
Figure 24: Ethernet port location
1.
Connect a standard CAT5 Ethernet cable (straight through or crossover) between the PC and the ProtoNode.
2.
The default IP address of the ProtoNode is
192.168.1.24
, and the subnet mask is
255.255.255.0
. If the PC and the ProtoNode are
on different IP networks, assign a static IP address to the PC on the 192.168.1.xxx network.
3.
Click
Start
>
Control Panel
>
Network Connections
.
4. Right-click
Local Area Connection
, and then click
Properties
.
5. Highlight
Internet Protocol (TCP/IP)
, and then click
Properties.
6. Select
Use the following IP address
:
7.
Click
OK
twice.
Ethernet
7.2 - Use the ProtoNode Web GUI to connect to the ProtoNode
Open the PC's web browser and enter the default IP address of the ProtoNode (192.168.1.24). Determine if the ProtoNode is up and
communicating. Figure 25 shows the main landing page for the ProtoNode.
Under Active Profiles, the discovered Modbus RTU devices with the associated Modbus RTU Node-IDs can be seen. If no profiles are
present, the wiring, baud rate, and DIP switch settings must be checked, because there is a problem with the Modbus COMs. All the
active devices must show the correct Modbus Node-IDs before proceeding.
Figure 25: FST Web GUI screen


