Installation and Operations Manual
AT&T Proprietary (Internal Use Only)
—95—
1. Screw the back plate using one of the back side mounting holes to Part B.
NOTE
: The screw holes on the back plate must be drilled out in order to attach the
mounting bracket.
2. Screw Part C to Part B.
3. For corner mounting, select bracket Part D and for wall mounting select bracket Part
E.
6.2.7.4 Wall Mounting
1. Use the selected bracket as a template to locate the mounting holes and mark with a
pencil.
2. Choose a location that is at least 7 ½ feet and less than 8 feet above the floor to
mount the PIR.
3. Mount the selected part to the wall using the supplied screws and anchors.
4. Place the back plate assembly onto the shaft of the bracket.
5. Secure the back plate/bracket assembly by inserting a screw into the shaft of the
selected bracket.
6. Press the button on the bottom of the PIR to disengage the back plate.
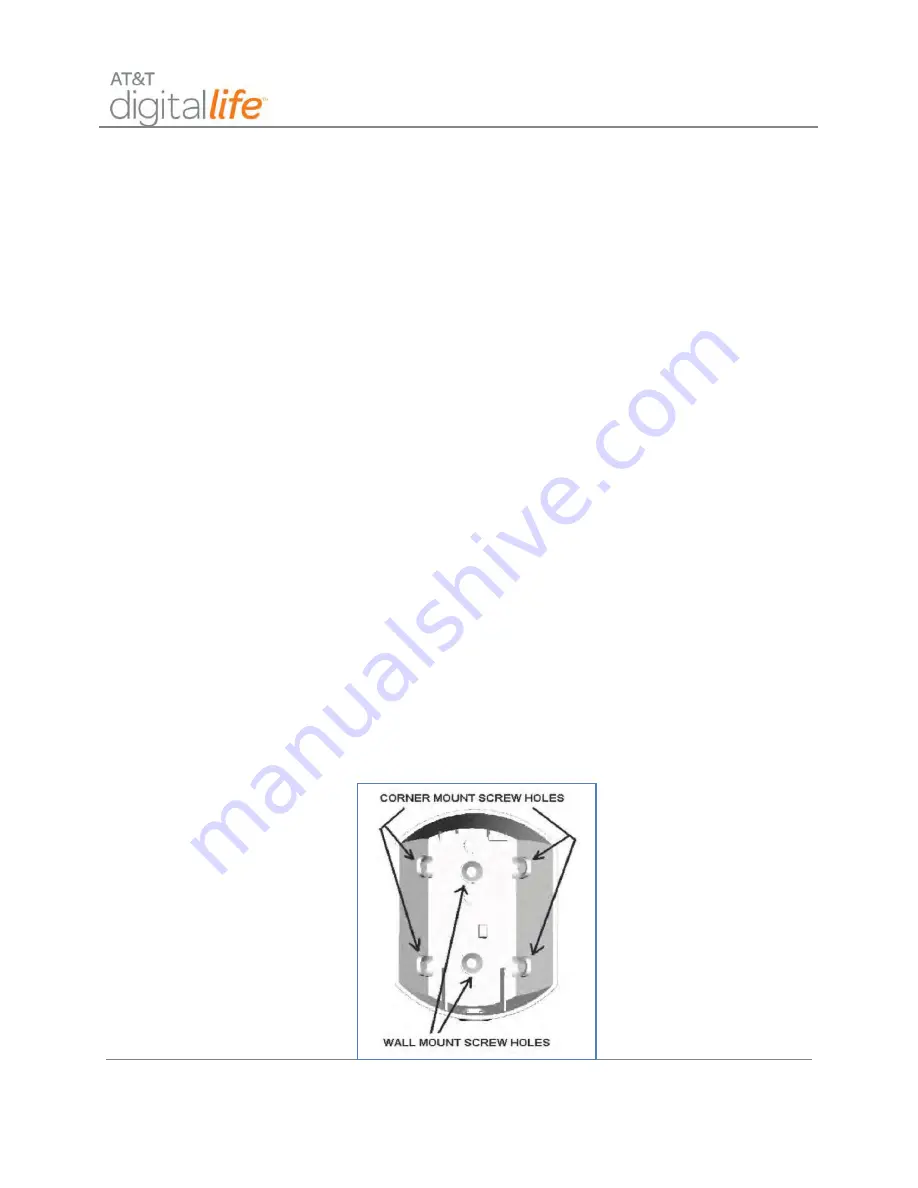
7. Using a small Philips-head screwdriver, punch through the plastic on the two wall
mounting holes located on the inside of the mounting plate.
8. Use the supplied long screws and anchors to mount the PIR back plate using the two
mounting holes as shown in Figure 61.
Figure 61: PIR Wall Mount Screw Holes


