Wireless Device Communication Setup
35
NXA-WAP200G Wireless Access Point
17.
Press the
Back
button to exit this page and return to the Protected Setup page.
18.
Press the on-screen
Reboot
button to both save any changes and restart the panel.
Preparing the WAP for secured communication
You now take the SSID name, Current Key, and panel MAC Address information and enter it into
the WAP200G. Since the code key generator on Modero panels use the same key generation
formula, all panels will generate identical keys for the same Passphrase. The generators used on
WAPs will not produce the same key as the Modero generator even if you use the same Passphrase.
This is why we recommend creating the Current Key FIRST on the Modero and entering that
information into the appropriate WAP200G fields
.
1.
Click the
Wireless
tab, from the top row of the Configuration Utility, to open the Basic
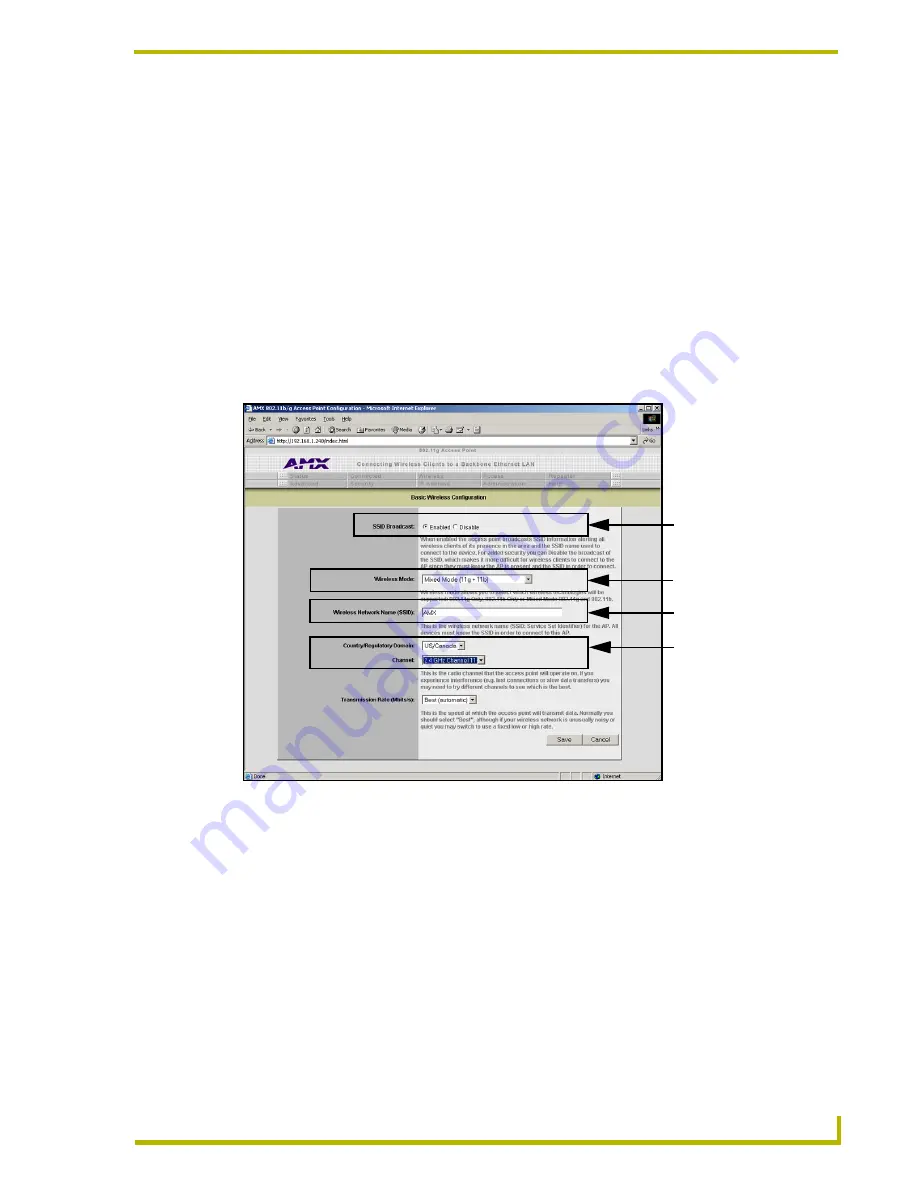
Wireless Configuration page (FIG. 30). The most important aspect to note when configuring
the WAP200G for secured communication is the SSID Broadcast status and the SSID name.
2.
Click on the
Disabled
radio button. This option prohibits the WAP200G from broadcasting its
SSID information. This makes connection by the wireless clients much more difficult as they
must now know what the SSID string is and whether the WAP200G is transmitting.
3.
Leave the
Wireless Mode
field alone.
4.
Enter the desired SSID into the
Wireless Network Name (SSID)
field. The alpha-numeric string
is
AMX
by default but can be changed to any 32-character entry.
This string must be
duplicated within the Network Name (SSID) field on the Modero’s Secondary/Wireless
Connection page.
As an example, if you previously entered
TECHPUBS
into the panel’s
SSID
field, you
must now
match the word and the case
within the
Wireless Network Name (SSID)
field
on the above Basic Wireless Configuration page.
FIG. 30
Default WAP200G Basic Wireless Configuration page
Network Name (SSID)
Country & Frequency
Wireless standard
SSID Broadcast
Summary of Contents for Modero NXA-WAP200G
Page 4: ......
Page 22: ...WAP200G Accessories 16 NXA WAP200G Wireless Access Point ...
Page 26: ...Installation 20 NXA WAP200G Wireless Access Point ...
Page 32: ...Configuring the Communication 26 NXA WAP200G Wireless Access Point ...
Page 54: ...Wireless Device Communication Setup 48 NXA WAP200G Wireless Access Point ...
Page 78: ...Bridge Mode Configuration Utility Pages 72 NXA WAP200G Wireless Access Point ...


