FireFinder
™
Installation Commissioning & Operation
Page 78
15.8 Function
Programming
Press
t
to display the Level III Programming Menu.
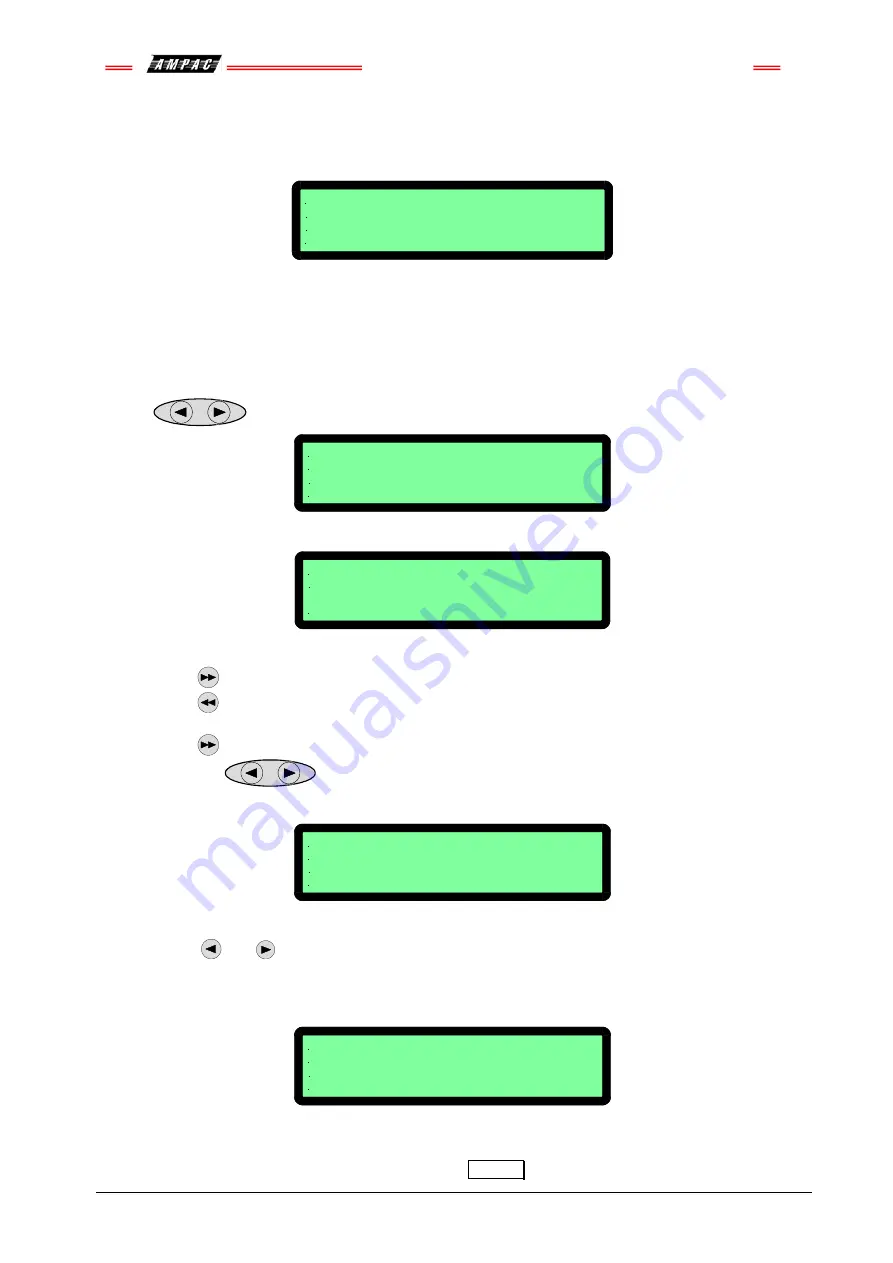
ON SITE PROGRAMMING MENU
0: CONV ZONE 1: DEVICE 2: INPUT 3: OUTPUT
4: PANEL BASED MCP 5: SUB ADDRESS 6: WDOG
SELECT NO.
Figure 101:
The Programming Menu
15.8.1
Conventional Zone Programming
Press
m
Zone:
Key in the zone number and enter or change the description (
DESC
) by pressing the numeric
buttons multiple times to access characters while at the same time using
EDIT Zx DESC AND TYPE SETTING
DESC < ZONE >
TYPE <
ALPHA KEYS ARE ACTIVE
Figure 102: Zone Description & Type Programming
EDIT Z CONFIGURATION
CONFIG LATCHING
use < or > to change alarm setting
Figure 103: Brigade Options
Press
to move to the
TYPE
field or edit the information.
Press
to move between fields use the reciprocal button
By going through all the fields a second screen can also be accessed to show the Output options.
Press
to step through these fields.
The keys
are used to set the Y/N field, that is the selected Zone that will activate
the Brigade Options ALRM, BELL etc and Config.
EDIT Z I/O GROUPS
GROUP 1: GROUP 2: GROUP 3:
GROUP 4: GROUP 5: GROUP 6:
Enter GROUP NO:
Figure 104: Zone Configuration Latching / Unlatching
Use
or
to change the setting
Configuration settings are Latching, Non-Latching, AVF, Self Reset ( 0 to 99 seconds ). After
setting the Configuration the ZONE I/O GROUPS are programmed.
ENTER Zx BRIGADE OPTIONS AND CONFIG
ALRM: Y/N BELL: Y/N AUX: Y/N SPK: Y/N AIF: Y/N
ALARM LED: Y/N CONFIG: LATCHING
use < or > to change setting
Figure 105: Zone I/O Groups
After scrolling through the groups and entering what I/O GROUPS will be turned on by what module/s or
device/s in a zone/s the operator is prompted to press
ENTER
to confirm the entries and / or changes.
buttons to move the flashing underline or curser.
Summary of Contents for SP Series
Page 2: ......
Page 110: ...FireFinder Installation Commissioning Operation Page 104 Notes ...
Page 111: ......


