Using Help
|
Contents
|
Index
Back
36
Adobe Premiere Pro Help
Tutorials
Using Help
|
Contents
|
Index
Back
36
9. Experiment with the settings.
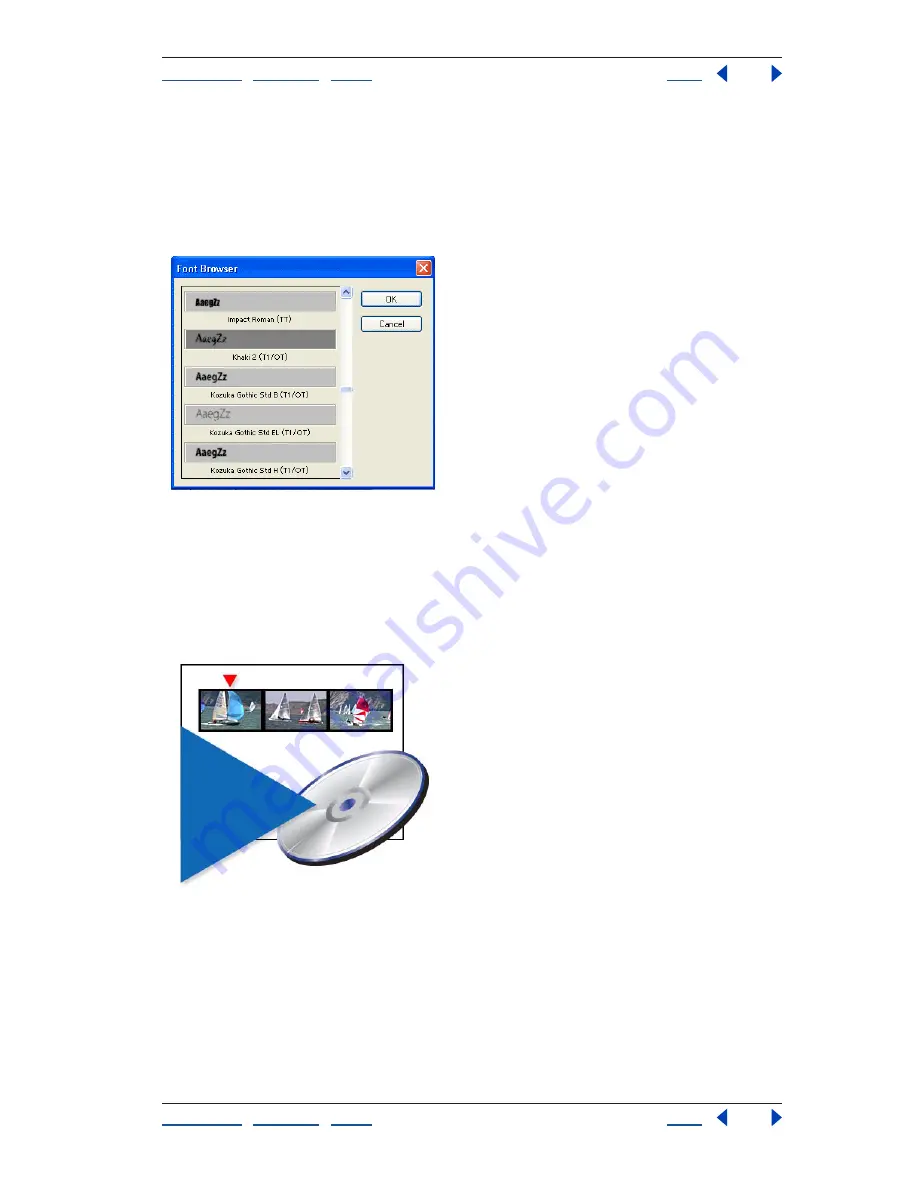
Double-click the title clip to return to the Adobe Title Designer. Use the Font Browser or
the Font Size Object Style to adjust the characters. You may need to resize the text box to
accommodate the changes. You can also change the Roll/Crawl options to tweak the roll
timing.You can also create other object styles for the fonts, such as shadows, textures, and
sheens. Each of these adjustments may require additional resizing of the text box.
Burning DVDs in Adobe Premiere Pro
You can now burn your projects directly to DVD from the Timeline window in
Adobe
®
Premiere
®
Pro if you have a compatible DVD burner on your computer. Use your
DVD-R or DVD+R drive to create high-quality movies that you can play on most any
commercial DVD player. If you have Adobe
®
Encore
TM
DVD, you can import DVD-ready
projects from Adobe Premiere Pro to add extra features, such as interactive menus.
1. Open a project.
In Adobe Premiere Pro, open an existing project. Make sure all clips in the project
have the same frame rate: 29.97 fps for NTSC, or 25 fps for PAL. Projects that use
DV presets and clips are best suited for DVD because they all use either 4:3 or 16:9
aspect ratios. However, if your project uses different settings, the DVD exporter resizes
clips automatically.
For best results, use audio clips with sample rates of 16 or 24 bits, and 48 kHz or 96 kHz.


