Using Help
|
Contents
|
Index
Back
103
Adobe Premiere Pro Help
Assembling a Sequence
Using Help
|
Contents
|
Index
Back
103
Assembling a Sequence
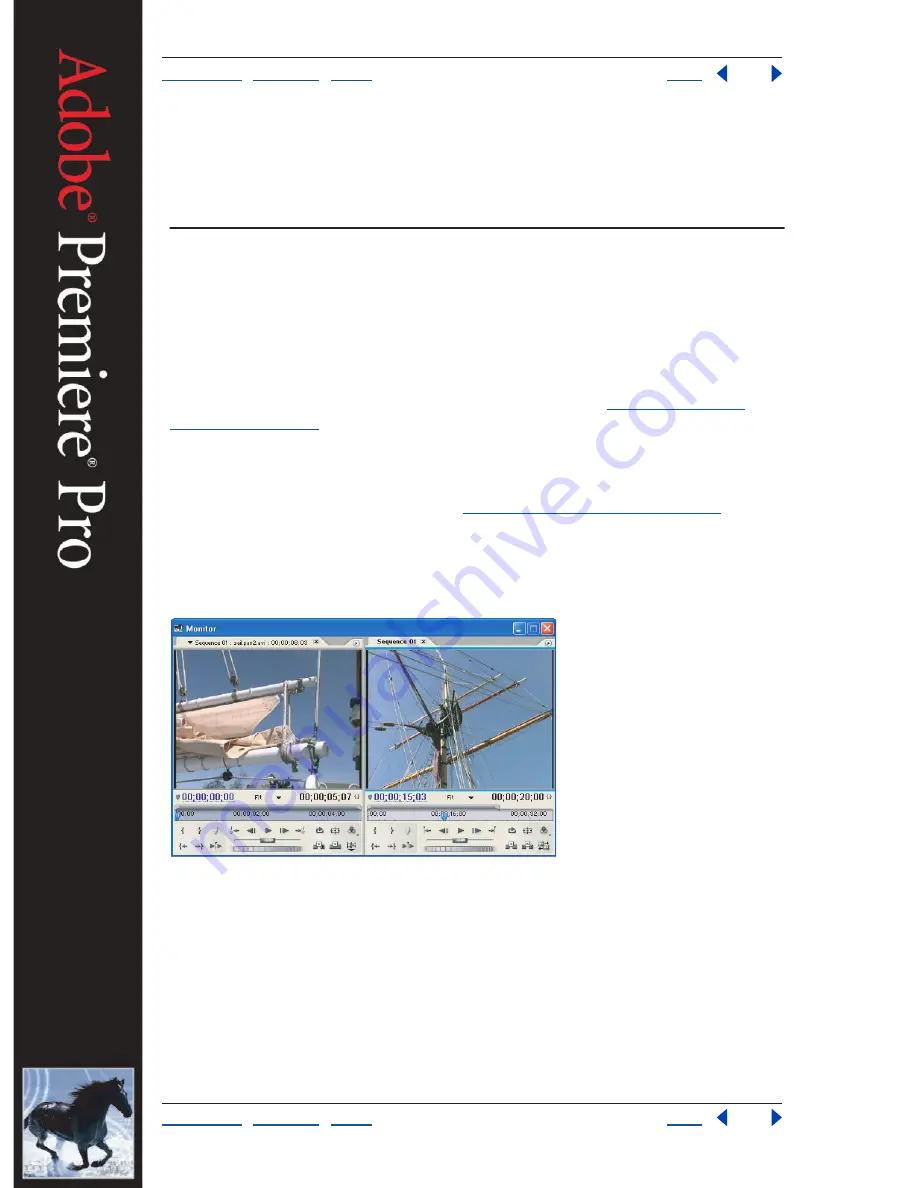
Using the Monitor window
The Monitor window resembles a conventional edit bay’s video monitors and edit
controller. The left side of the Monitor window, or
Source view
, displays source clips; the
right side, or
Program view
, displays the active sequence. Controls under each view allow
you to control playback and cue the current frame of a source clip or sequence. Other
controls enable you to add clips to a sequence or remove frames from it. Once clips are in
a sequence, you can also edit them in the Timeline window (see
“Using the Timeline
window” on page 114
).
To fine-tune, or trim, edits in a sequence, you can activate the Trim window from the
Monitor window. The Trim window’s layout is similar to the Monitor window, but the Trim
window is a standalone window with controls that are optimized for precisely adjusting a
cut point between clips in a sequence (see
“Using the Trim window” on page 156
).
To optimize screen space for certain editing tasks, or to customize the layout to your
working style, you may also switch the Monitor window from its default Dual View, which
displays the Source and Program views side by side, to Single View, which displays either
the Source view or Program view only.
Monitor window showing Source view (left) and Program view (right)
Displaying a clip in Source view
To view and edit master clips listed in the Project window or individual clip instances in a
sequence, open the clips in the Source view (left side) of the Monitor window. Recently
viewed clips are listed in the Source menu, a pop-up menu accessed by clicking the
triangle next to the current clip’s name in the Source tab. The Source menu identifies
master clips by name, and clips opened from a sequence are also identified by their
sequence name and starting time in the sequence.


