Using Help
|
Contents
|
Index
Back
16
Adobe Premiere Pro Help
Tutorials
Using Help
|
Contents
|
Index
Back
16
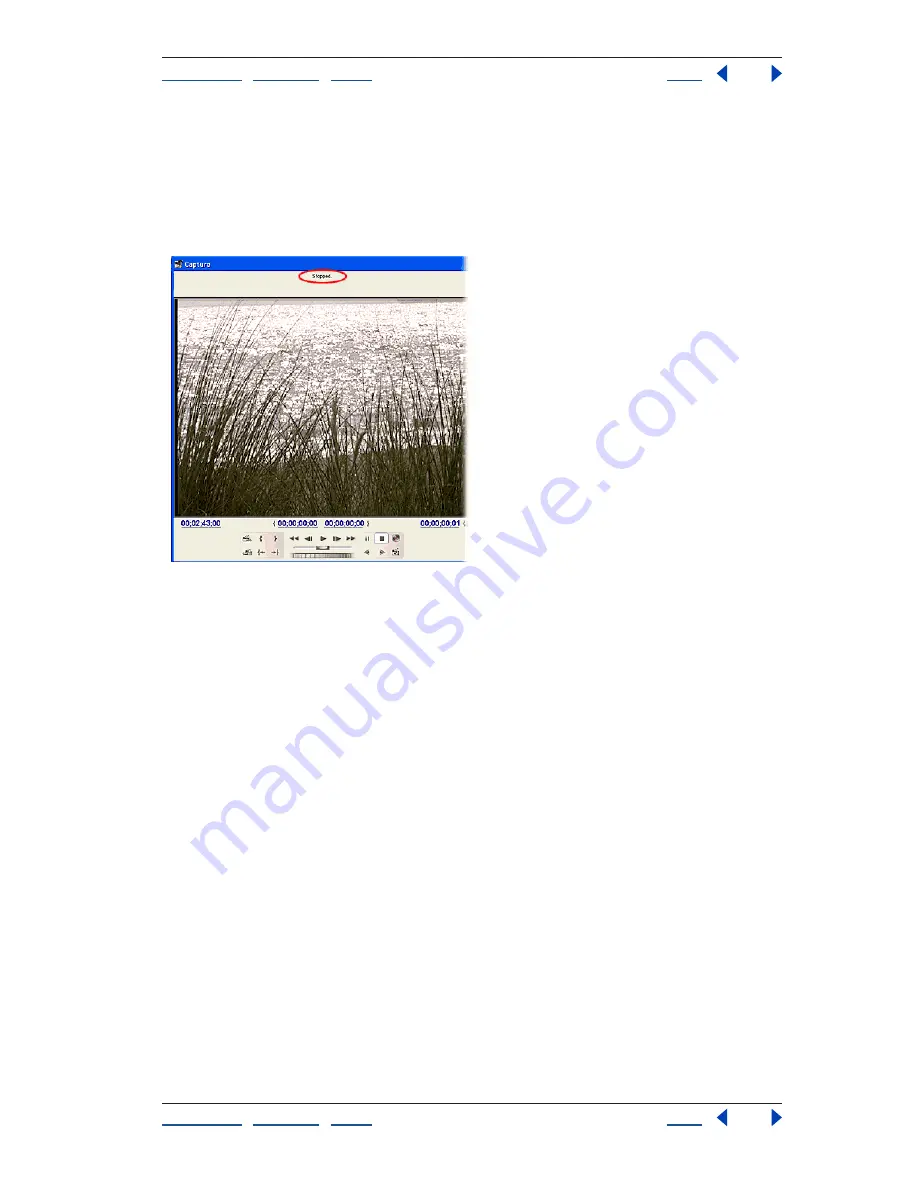
3. Open the Capture window and make sure it sees the device.
Choose File > Capture, or press F5. The status line above the preview area tells you
about the connection between your device and Adobe Premiere Pro. If the status line
reads “Capture device offline,” check to make sure all cable connections are secure and the
device is on. In some cases, you may need to click the Settings tab in the Capture window
and make sure the Device Control options are set correctly.
4. Set up the Logging tab.
In the Logging tab in the Capture window, make sure the settings in each section are the
way you want them.
The Setup section specifies whether to capture audio, video, or both, and where in the
project Adobe Premiere Pro will log the clip.
Note that logged clips are not captured immediately; they are stored as offline files in the
Project window until you use the Batch Capture command to actually capture them. If you
want to stored logged offline files separately in the Project window, create a new bin in
the Project window and it will appear in the Log Clips To option. You can set the locations
of captured files using the Settings tab.
Use the Clip Data section to set up the information you want entered with each logged
clip. This data becomes the default for each clip you log, so it’s a good idea to enter this
information before you start. You can also adjust the clip data as the content changes
during playback, because you can edit clip data while the tape is moving.


