3 System upgrade
48
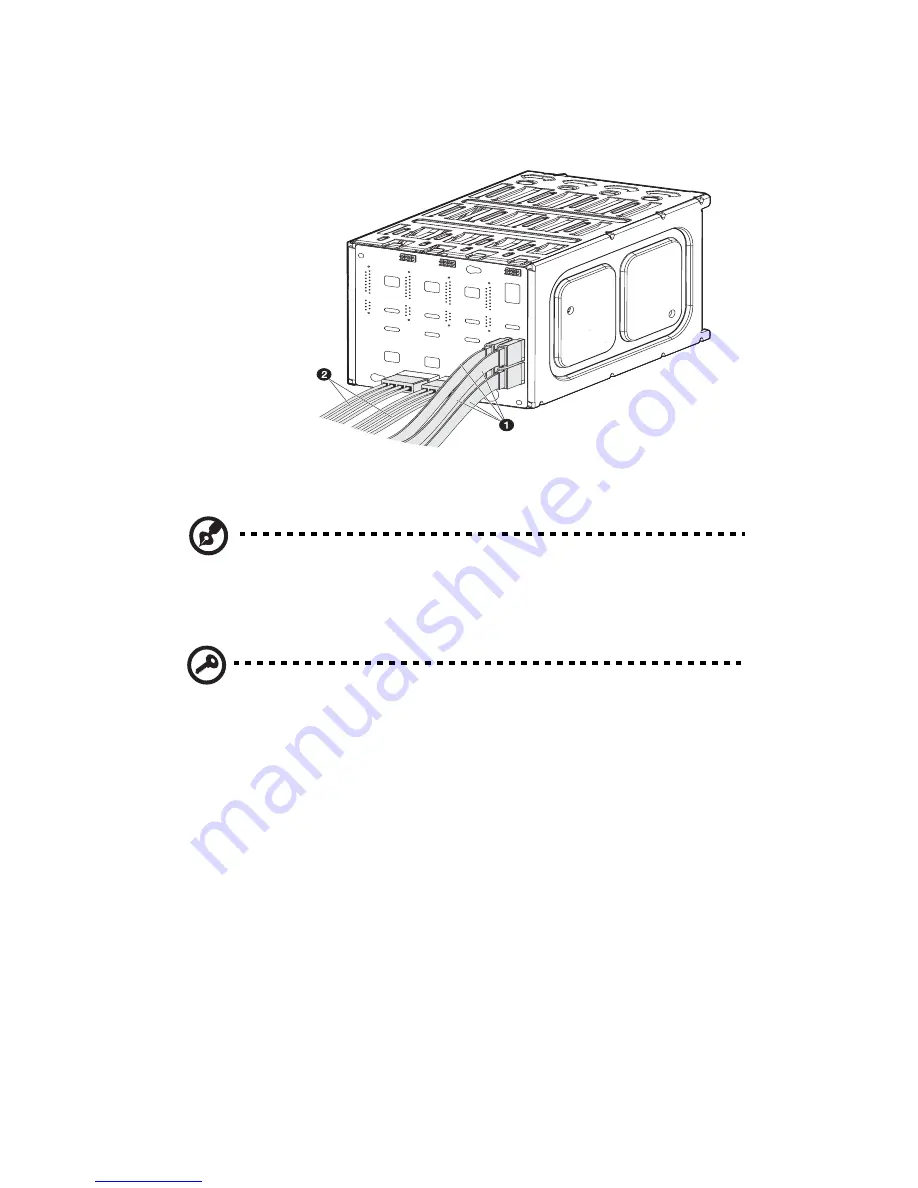
(2) Attach the system’s power cable to the SATA power cable
connector on the backplane board
(2)
.
Note:
The SATA RAID data cables must be installed and removed
in the following order: SATA0, SATA1, SATA2, then SATA3.
6
Observe the post-installation instructions described on page 36.
Important:
When you are removing the hot-plug cage from the
chassis, make sure to first remove all hard disks from their carriers.
For instructions, see “Installing an additional hard disk into the
HDD cage carrier” on page 53.
7
Change the RAID configuration of your hard disk. For details on
how to change the RAID configuration of your hard disk, go to
“Appendix C: SATA RAID configuration” on page 167.
Summary of Contents for Altos G530 Series
Page 1: ...Acer Altos G530 Series User s Guide ...
Page 10: ...x Index 179 ...
Page 11: ...1 System tour ...
Page 33: ...2 System setup ...
Page 43: ...3 System upgrade ...
Page 87: ...4 BIOS setup ...
Page 131: ...5 Troubleshooting ...
Page 153: ...Appendix A System management utility ...
Page 160: ...Appendix A System management utility 150 ...
Page 161: ...Appendix B Acer Altos G530 rack installation guide ...
Page 162: ...This appendix shows you how to set up the Altos G5350 server in a rack mount configuration ...
Page 177: ...Appendix C SATA RAID configuration ...
Page 178: ...This appendix shows you how to create a RAID volume in your SATA drives ...
Page 181: ...171 c Press Ctrl Alt Del to reboot the server 8 Install an Operating System to the RAID array ...
Page 182: ...Appendix C SATA RAID configuration 172 ...
Page 183: ...Appendix D SCSI RAID configuration ...
Page 184: ...This appendix shows you how to create a RAID volume in your SCSI drives ...


