3 System upgrade
42
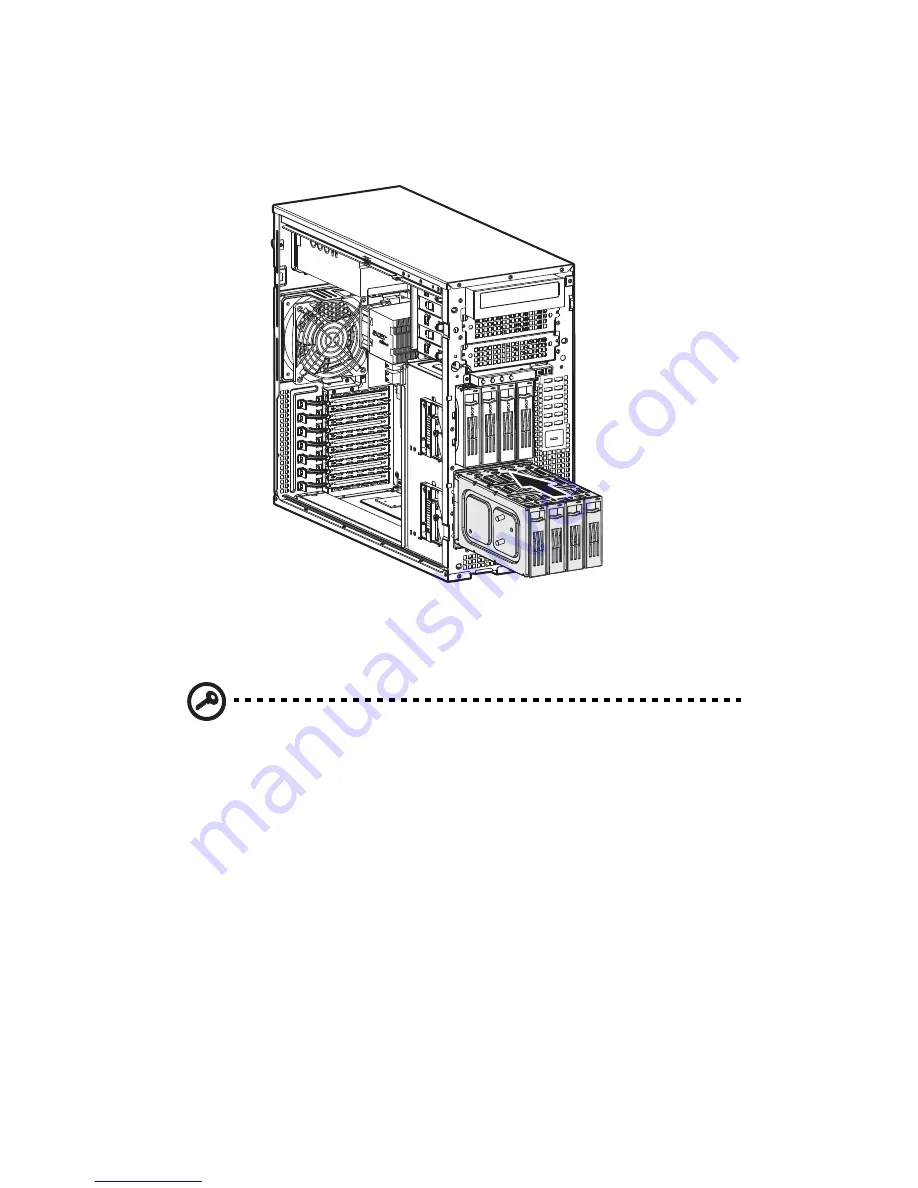
(1) Slide the cage into the chassis with the backplane board
facing the rear of the chassis. The cage is locked to the chassis
with an audible click.
(2) Locate and attach the following cables clamped on the side of
the chassis to their corresponding connectors on the
backplane board:
Important:
If a four-bay hot-plug SCSI HDD cage is already
installed in the top HDD bay, you must block the W83792D_ID1
jumper. Set pins 2 and 3 to short.
(1) SCSI data cable
Summary of Contents for Altos G530 Series
Page 1: ...Acer Altos G530 Series User s Guide ...
Page 10: ...x Index 179 ...
Page 11: ...1 System tour ...
Page 33: ...2 System setup ...
Page 43: ...3 System upgrade ...
Page 87: ...4 BIOS setup ...
Page 131: ...5 Troubleshooting ...
Page 153: ...Appendix A System management utility ...
Page 160: ...Appendix A System management utility 150 ...
Page 161: ...Appendix B Acer Altos G530 rack installation guide ...
Page 162: ...This appendix shows you how to set up the Altos G5350 server in a rack mount configuration ...
Page 177: ...Appendix C SATA RAID configuration ...
Page 178: ...This appendix shows you how to create a RAID volume in your SATA drives ...
Page 181: ...171 c Press Ctrl Alt Del to reboot the server 8 Install an Operating System to the RAID array ...
Page 182: ...Appendix C SATA RAID configuration 172 ...
Page 183: ...Appendix D SCSI RAID configuration ...
Page 184: ...This appendix shows you how to create a RAID volume in your SCSI drives ...


