Appendix 1:
Re-Pairing a Tablet and Recorder
Procedure
1.
2.
3.
4.
5.
6.
7.
8.
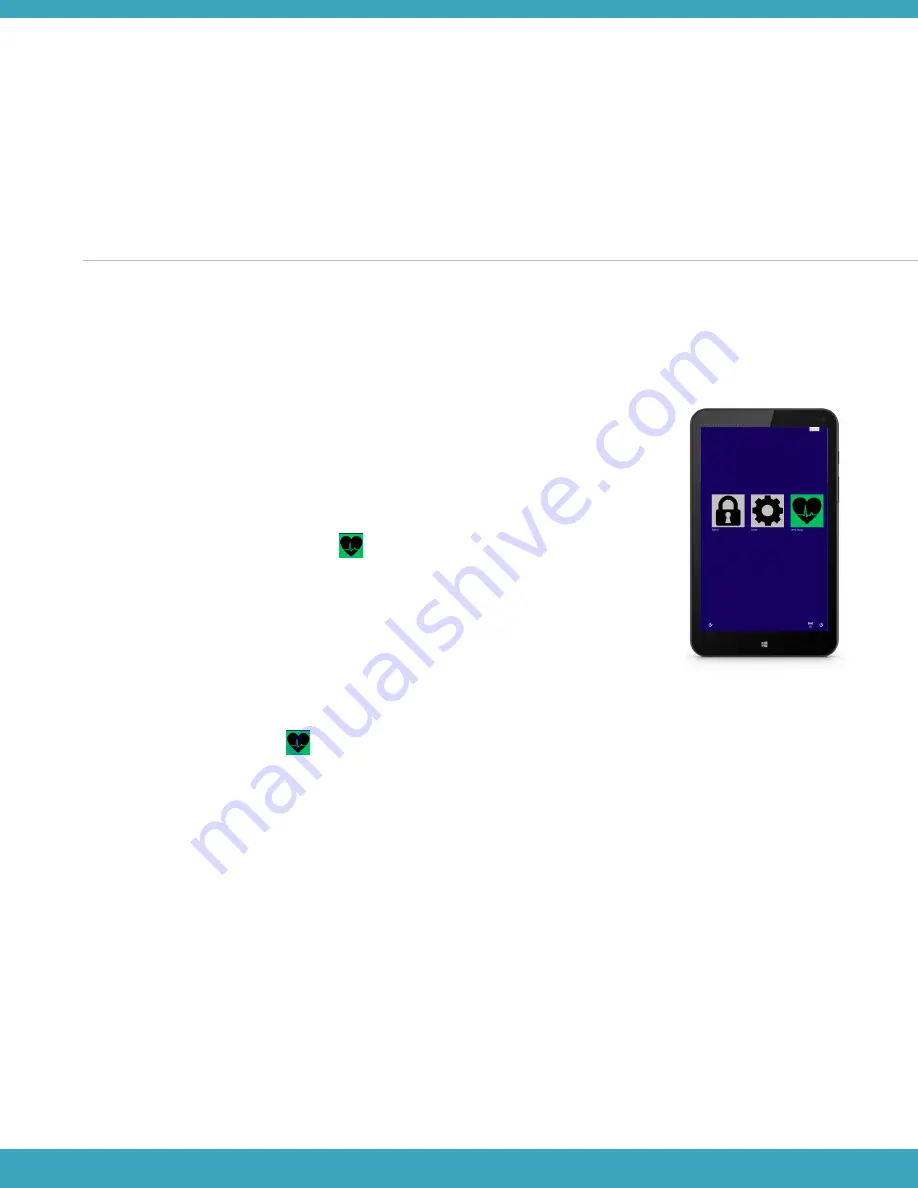
Press the Windows key on the Tablet five times. The Windows lock screen
will appear with the following symbols.
Select the Set-up icon (i.e. gear symbol) to continue to the Set-up login
screen.
Enter the Set-up password, “titration”.
On the Start page, type “bluetooth” in the search field.
Select Bluetooth Settings.
In the Manage Bluetooth Devices Menu, select any Recorders (identified
with the heart symbol) that are currently paired and choose the
Remove Device option.
On the Recorder, make sure the pairing LED is not flashing and hold
down the Pair button for 30 seconds.
After 30 seconds, the LED indicator below the Play/Pause button will flash
green rapidly.
On the back of the Recorder, find the Recorder’s Bluetooth Name.
In the Tablet’s Manage Bluetooth Devices Menu, a new Healthcare Device will appear (identified with the
heart symbol ) select the Healthcare Device and press pair.
After a few seconds, the Recorder will start re-pairing to the Tablet. After re-pairing is completed, a
message may be displayed saying that pairing was unsuccessful; this is fine, continue with the next step.
Press the Windows key once, then press the Set-up icon which is located on the top right hand corner of
the Tablet screen beside the search field.
Select the Sleep Study icon. The MATRx Plus application will launch automatically. If a message box
appears asking to “Allow the PSU Bluetooth device to connect to Notus 8”. Select “Allow”.
If the Recorder does not pair, press the refresh button, and allow the app to launch again. You may have
the message box appear and press “Allow”.
If an audible bell sounds, this indicates the Recorder has successfully re-paired to the Tablet.
Press the Start button in the MATRx plus application. The Pair icon (i.e. wireless symbol) located on the top
of the Tablet screen should be green.
9.
10.
11.
12.
13.
14.
15.
16.
77


