ZENN
iO
AVANCE Y TECNOLOGÍA
vwww.zennio.com
29
29
Dimmer:
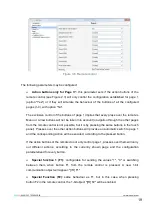
three communication objects are enabled: "[Px][By] Light On/Off", a 1-bit object
to switch on/off a source of light; "[Px][By] Light dimming", a 4-bit object for luminosity
dimming; and "[Px][By] Light indicator", a 1-byte object to indicate, as a percentage, the
luminosity status (0%=Off, 100%=On). In the Display, next to the button, the dimmer value
received from the dimmer controlled by ZAS will be shown, as a percentage.
Light dimming is carried out the same way as described for the pair buttons.
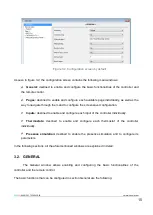
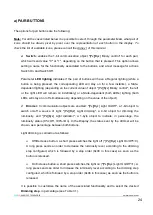
It is possible to customize a name for the associated functionality and to select the desired
Dimming step
, in percentage (see Table 3.1).
Parameter
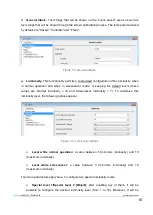
LED lighting
indicates if the button will have a Regular lighting (while a button is
being pressed, the corresponding LED will stay on for a few instants) or a State-dependent
lighting (depending on the current value of the related object; the button LED will light while
the object status is “1” and will remain switched off when the object status is “0”). Object
"[Px][By] Light On/Off" must be linked to the status object of the light actuator so that the LED
lighting status is always up to date.
Timer:
this functionality allows sending to the KNX bus a binary value ("1" or "0") or a
scene number at a certain time, as a single sending (one-time Execution), as a periodic
sending or after a parameterized time. The sending of the binary value is carried out through
the object "[Px][By] Timed switch control". The sending of the scene, through the general
scene sending object.
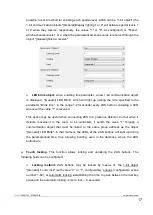
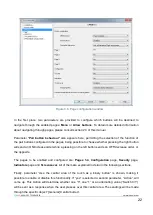
It is possible to configure the
timer type
by selecting one of the following:
One-time Execution.
The parameterized value ("0", "1" or Scene) is sent once
through the corresponding object at a certain time.
Periodic Execution.
The parameterized value ("0", "1" or Scene) is sent through the
corresponding object at a certain time, everyday.
Countdown.
The parameterized value ("0", "1" or Scene) is sent through the
corresponding object once elapsed the parameterized time.
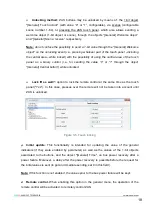
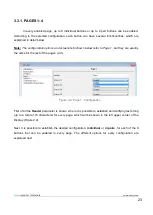
For these values to be sent at the established time, it is necessary that the timer is
enabled
.
This may be achieved by performing a short press over the corresponding button (each press
switches the status: disabled/enabled) or by sending the value "1" through the object "[Px][By]
Timer enable", which is deployed for this purpose (only for the one-time execution and the

