FILE FUNCTIONS
8-13
REV. B 02/03 PN 51680-1
HUMPHREY FIELD ANALYZER
II -
i
series
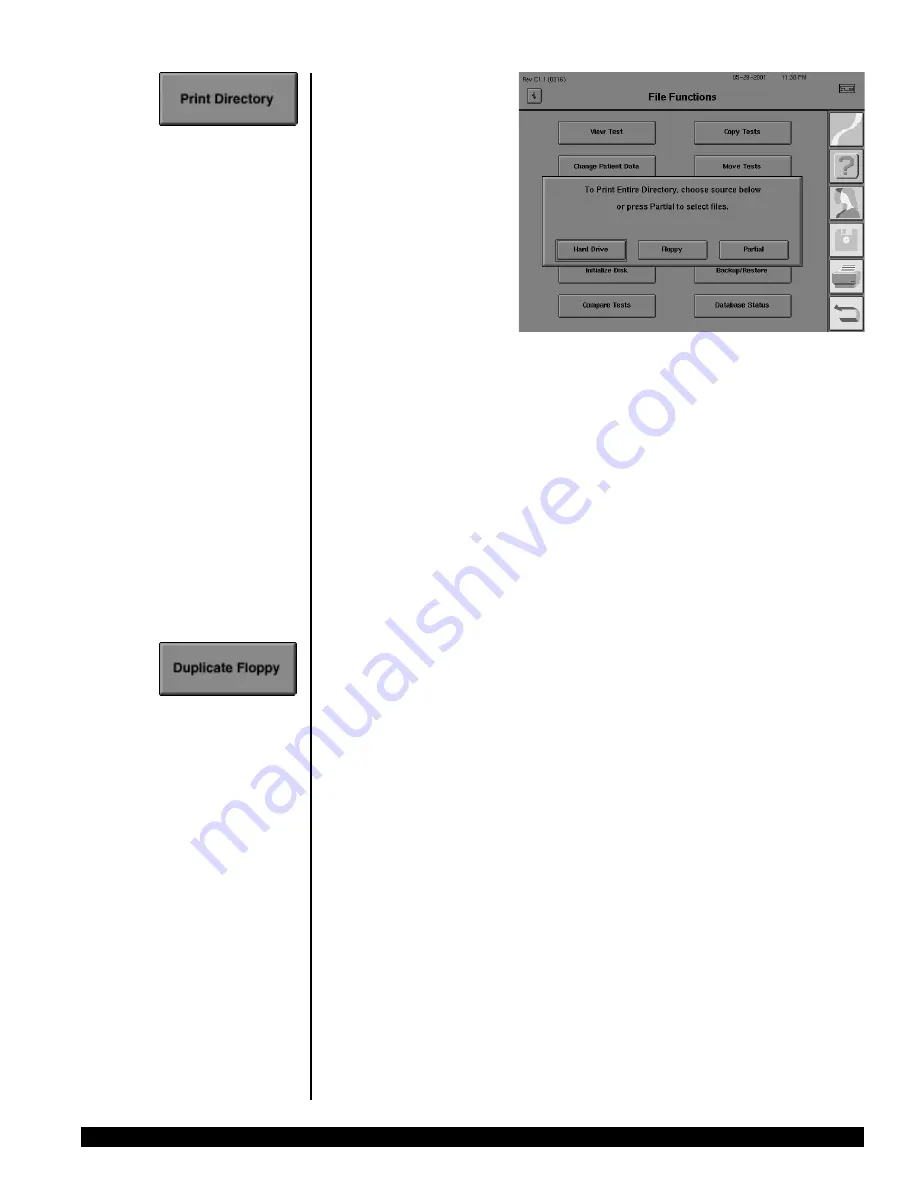
To print a file directory:
1
From the File Functions
menu select PRINT
DIRECTORY.
2
Select either HARD
DRIVE or FLOPPY to
indicate which directory you
want to print. If you wish to
print a partial directory of
either, choose PARTIAL.
3
If you select HARD DRIVE, a message will appear telling you how many tests will be listed
on the directory. Pressing YES will initiate printing the directory in Name order.
If you select FLOPPY, a directory of all tests on the floppy disk will be printed in Name order. If
you select PARTIAL, you can then specify either HARD DRIVE or FLOPPY as the Source, and
either Name or Date as the order. The keyboard and the file directory screen will be displayed
to allow you to choose the tests to include in the partial directory. Directories cannot be
printed in Patient order. To print a complete chronological (Date) directory, choose PARTIAL
and then press the SELECT ALL button on the file directory screen before pressing PROCEED.
Note: You may cancel printing at any time by selecting CANCEL from the print progress
pop-up window.
To duplicate floppy disks:
1.
Start at the File Functions screen. Select DUPLICATE FLOPPY.
2.
Put the Source disk (the disk you want to copy) in the floppy drive.
3.
Select OK to proceed or CANCEL to return to the File Functions menu. If you select OK, the
next screen displays, “Reading Source Disk”.
4.
When instructed to do so, remove the Source disk and put the Destination disk in the
floppy drive. Note that this procedure will
erase
all old data from the Destination floppy
disk prior to copying the information from the Source disk onto it. Press OK to proceed,
or CANCEL to abort the procedure and leave the Destination floppy unchanged. If you
select OK, the next screen displays, “Writing to Destination Disk”.
Remember to make
sure that the Destination disk has NO valuable information on it before you decide to
duplicate information onto it. Everything on the Destination disk
will
be replaced
with all of the information on the Source disk when the DUPLICATE FLOPPY function
is used.
5.
Remove the Destination disk when you see the confirmation message, “Floppy Successfully
Duplicated”. If the duplication fails, repeat Steps 1-4. If the duplication fails again, repeat
Steps 1-4 with a different Destination disk. Direct problems to Zeiss Humphrey Customer
Service. Duplication may also be done using any IBM PC compatible computer.
Caution: Use only High Density (HD) 1.44 MB disks. Regular density (720 K) and
2.88 MB Super High Density (SHD) disks will not work with the HFA II. You risk
losing data if you use anything except High Density floppy disks.
8.htp
3/14/03, 3:18 PM
13
Содержание HUMPHREY 720i
Страница 1: ...HUMPHREY FIELD ANALYZER II i series USER S GUIDE Model 720i Model 740i Model 745i Model 750i...
Страница 4: ......
Страница 26: ...1 18 INTRODUCTION INSTRUMENT SETUP REV B 02 03 PN 51680 1 HUMPHREY FIELD ANALYZER II i series...
Страница 116: ...6 8 TEST RELIABILITY REV B 02 03 PN 51680 1 HUMPHREY FIELD ANALYZER II i series...
Страница 208: ...10 20 CUSTOM TESTING REV B 02 03 PN 51680 1 HUMPHREY FIELD ANALYZER II i series...
Страница 284: ...12 14 CARE AND CLEANING REV B 02 03 PN 51680 1 HUMPHREY FIELD ANALYZER II i series...
Страница 327: ......
Страница 328: ......


