18
Chapter 2– Spire CX250 Color Server Basic Configuration Workflows
2.
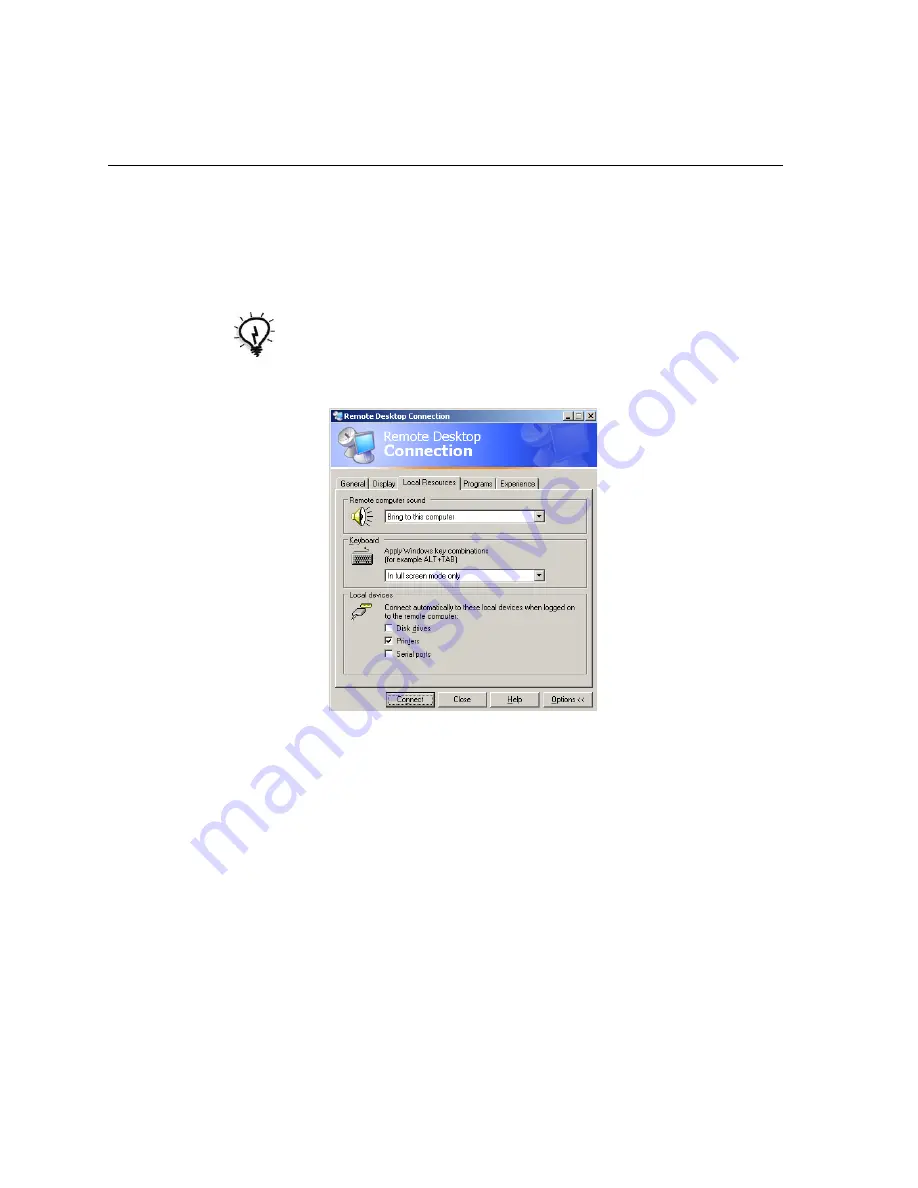
On the
General
tab, type the following information:
a.
The name of the Spire CX250 color server to which you want to
connect
b.
The Spire local user name; the default is
operator
c.
The Spire local password; the default is
spire
3.
Select the
Local Resources
tab.
4.
If you intend to install software via the remote desktop connection, in
the
Local devices
area select the
Disk drives
check box.
5.
Click
Connect
.
The Log On to Windows dialog box appears on the Spire CX250 color
server.
Tip:
To shorten the connection process when a session to the selected remote
computer disconnects, select the
Save my password
check box.
Содержание CX240
Страница 2: ......
Страница 6: ......
Страница 20: ...10 Chapter 1 Welcome...
Страница 104: ...94 Chapter 5 Printing From Your Computer...
Страница 148: ...138 Chapter 7 Color Workflow...
Страница 149: ...System Administration Setting Up and Configuring the Spire CX250 Color Server 140 System Messages 169...
Страница 176: ...166 Chapter 8 System Administration 5 Locate the desired folder and click Save JDF Outputs...
Страница 184: ...174 Chapter 8 System Administration...
Страница 185: ...Setting Parameters Setting Parameters in the Job Parameters Window 176 Setting PPD File Parameters 208...
Страница 246: ...236 Appendix B Restoring the Spire CX250 Color Server Software 4 In the What not to scan area click Exclusions...
Страница 272: ...262 Spire CX250 Color Server User Guide...


