134
Chapter 7– Color Workflow
8.
To remove the last change you made to the gradation graph, click
Undo
.
Creating a New Gradation Table
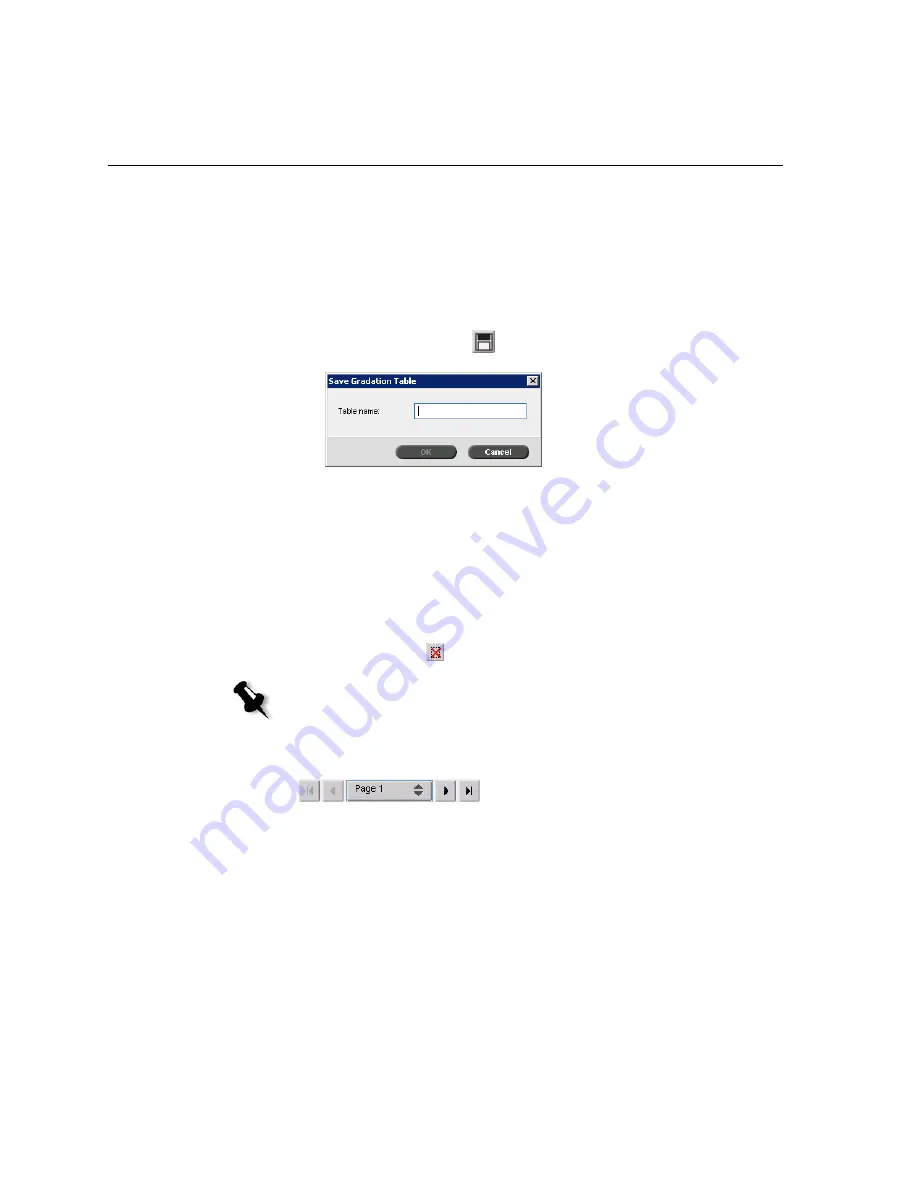
1.
In the Gradation Tool window, modify your gradation table as
required.
2.
Click the
Save
button
.
3.
In the
Table name
box, type the required name for the new gradation
table, and click
OK
.
The gradation table is saved and added to the Gradation Table list and
to the Color Modes tab in the job parameters window.
Deleting a Gradation Table
¾
Select the gradation table in the
Gradation Table
list, and then click the
Remove
button
.
Navigation Buttons
The navigation buttons enable you to select a specific booklet or page to
view, and to browse the pages of the current job.
Note:
You cannot delete the predefined gradation table.
Содержание CX240
Страница 2: ......
Страница 6: ......
Страница 20: ...10 Chapter 1 Welcome...
Страница 104: ...94 Chapter 5 Printing From Your Computer...
Страница 148: ...138 Chapter 7 Color Workflow...
Страница 149: ...System Administration Setting Up and Configuring the Spire CX250 Color Server 140 System Messages 169...
Страница 176: ...166 Chapter 8 System Administration 5 Locate the desired folder and click Save JDF Outputs...
Страница 184: ...174 Chapter 8 System Administration...
Страница 185: ...Setting Parameters Setting Parameters in the Job Parameters Window 176 Setting PPD File Parameters 208...
Страница 246: ...236 Appendix B Restoring the Spire CX250 Color Server Software 4 In the What not to scan area click Exclusions...
Страница 272: ...262 Spire CX250 Color Server User Guide...


