BAS-SVX45F-GB
79
Appendix A: Configuring Tracer UC600 for BACnet/IP
Establishing a Network Connection with Tracer TU
The following procedure describes how to establish a BACnet/IP network connection with Tracer
UC600. IP and BACnet configuration tasks must be performed prior to this procedure.
To establish a network connection:
1.
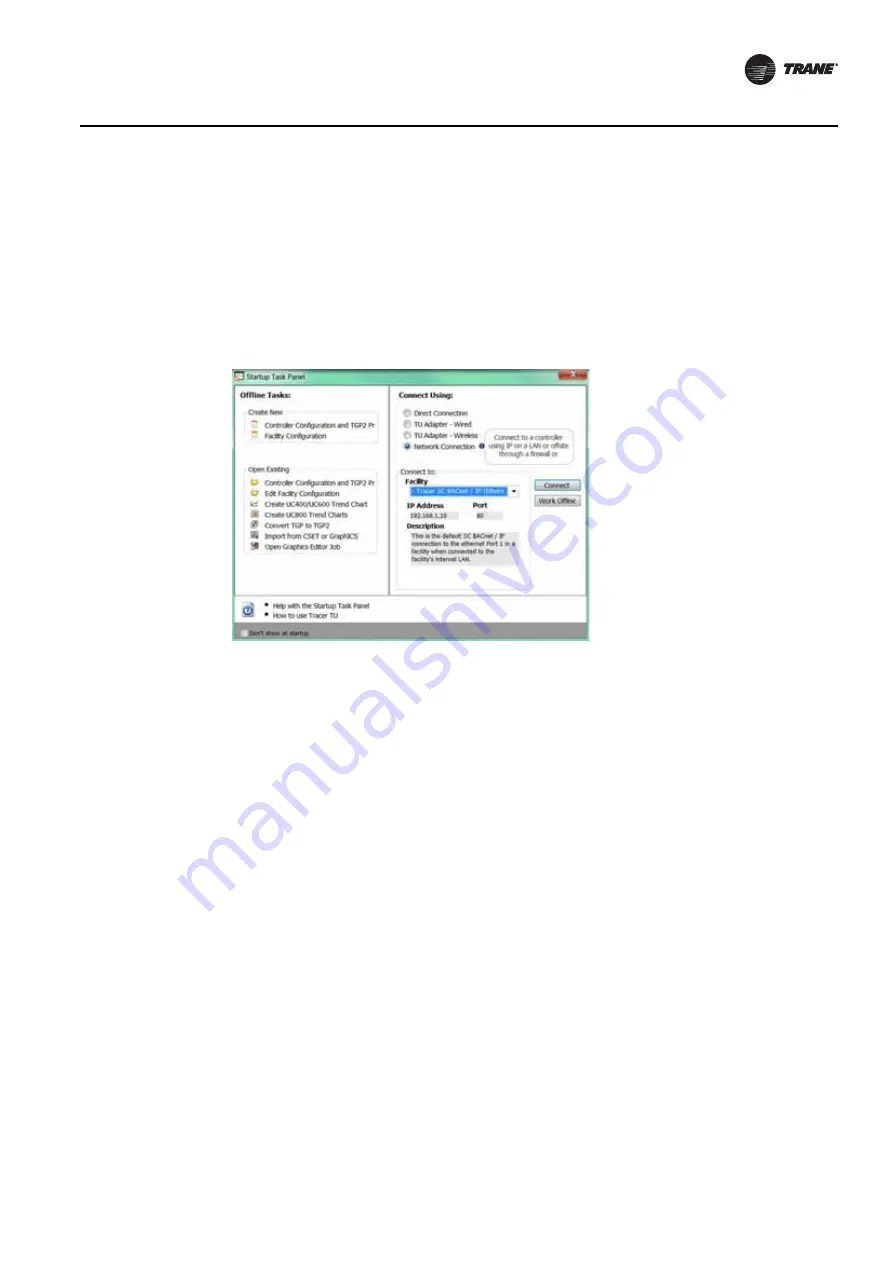
In the Startup Panel dialog box, select the Network Connection radio button.
2. From Facility drop-down list (inside the Connect to frame), select IP Ethernet 1 network.
Note:
If you need to add a facility, see
“Connecting Using Tracer SC,” p. 42
.
Figure 44. Establishing a network connection
Configuring IP Information
1.
Navigate to Utilities > Status > Controller Settings. The Controller Settings utility opens.
2. Click Protocol to display a list of protocols that Tracer UC600 uses to communicate with other
controllers.
3. Configure the Tracer UC600 with either a specified static IP address or, if necessary, configure
it to automatically acquire its IP address from the network's Dynamic Host Configuration
Protocol (DHCP) server. A hostname can be assigned to the device if a dynamic address is being
used (See
4. In the Security frame, select whether to enable HTTP communications (port 80) for remote
communication. (See
Note:
At this time the Tracer TD7 display option is not available when connecting with the
BACnet/IP protocol. This option will be available in a future Tracer UC600 firmware
upgrade.
5. Click Send to Device.
6. Proceed to the
“Configuring BACnet Information,” p. 80
.


