42
BAS-SVX45F-GB
Configuring Tracer UC600 with Tracer TU
3. Click Finish on the final dialog box to complete the installation.
Note:
If encountering an error condition or message during this installation procedure or
during the subsequent connection steps, refer to the section,
Connection Error Conditions,” p. 44
4. Click either the
Tracer TU
desktop icon or the
Tracer TU program item in the Tracer TU
group
on the Start menu.
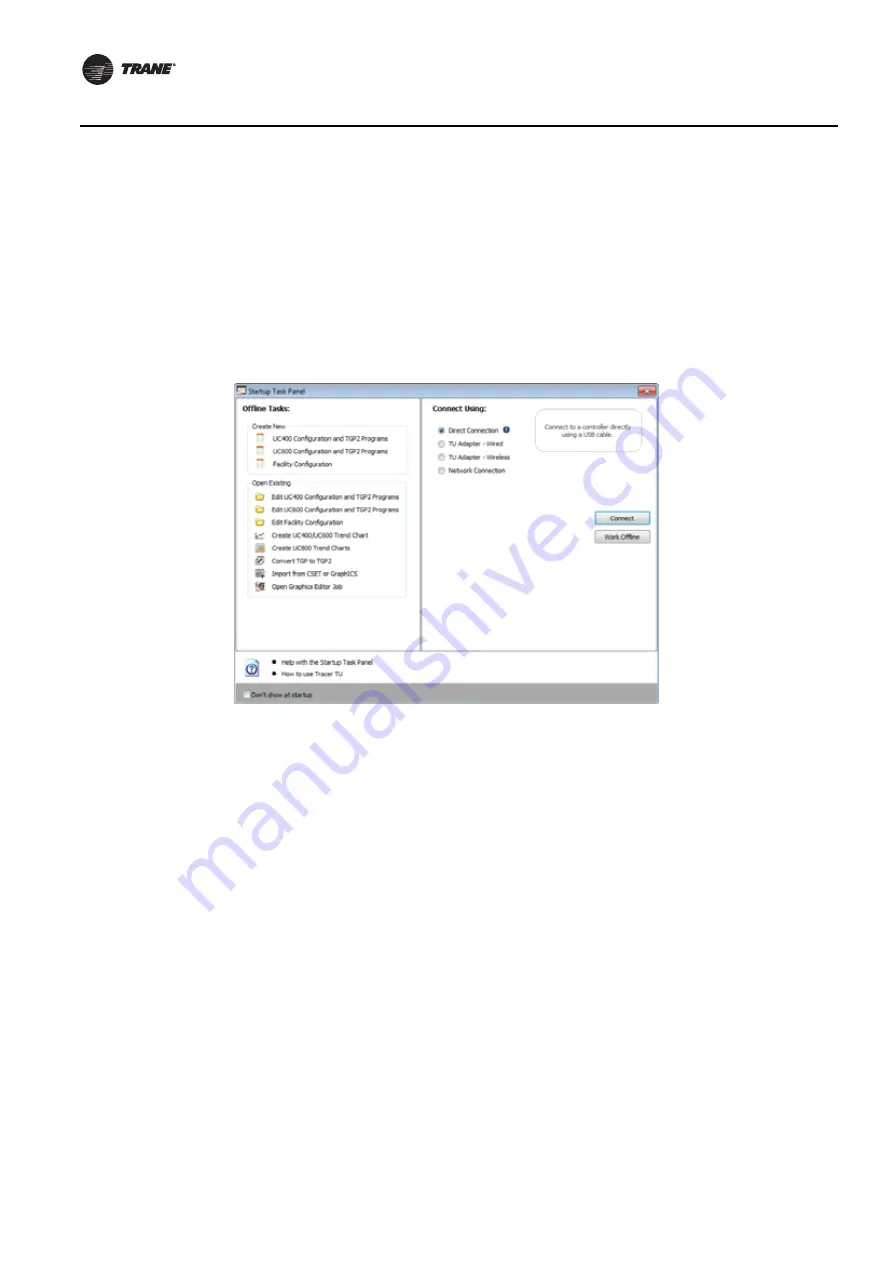
The Tracer TU splash screen appears briefly followed by the Startup Task Panel dialog box.
5. Select the Direction Connection radio button, if not already selected, for USB.
Connecting Using Tracer SC
The following instructions describe a direct connection using an Ethernet cable (Tracer SC only) or
an indirect connection using an IP address over a local area network (LAN) on which the Tracer SC
resides. Tracer UC600 must be installed in the Tracer SC and communication must be up. If
necessary, refer to the “Tracer SC System Controller Installation and Setup Guide”,
BAS-SVX31.
Using an Ethernet cable or a LAN connection requires Adding a Facility which is set up from the
Startup Task Panel dialog box. To add a facility, you must know the IP address assigned to
the Tracer
SC. The Tracer UC600 must also be installed onto the Tracer SC in order for the Tracer SC to pass
through by way of an IP address.
To add a new facility:
1.
Click either the Tracer TU
desktop icon or the
Tracer TU program item in the Tracer TU
group
on the Start menu. The Tracer TU splash screen appears briefly followed by the Startup Task
Panel dialog box.
2. Select the Network Connection radio button.
3. From Facility drop-down list (inside the Connect to frame), select Add New Facility Connection.
This action expands the contents by adding additional fields (
).
Figure 18. Startup task panel dialog box


