BAS-SVX45F-GB
41
Configuring Tracer UC600 with Tracer TU
The Tracer TU service tool is comprised of tools that allow users to edit objects, configure
equipment, customize TGP2 programs, and create and edit custom graphics. These functions are
performed using the Device Navigation Tree and the TU Utility tab. For more detailed information
about any of these functions and the TU service tool, refer to
.
“Setting Up Tracer UC600 BACnet Communication With Tracer TU,” p. 78
, for details associated
with the BACnet/IP protocol.
Important:
The Tracer UC600 is not intended to be disassembled for maintenance.
This section describes:
•
Starting a session of TU and establishing a direct USB connection.
•
Establishing a connection using Ethernet or LAN.
•
Checking and Transferring Application Code.
•
Configuring the Tracer UC600.
•
Creating and editing points for the Tracer UC600.
•
Monitoring and viewing the status of the Tracer UC600.
•
Backing up files and replacing corrupt files (Backup and Replace).
Starting a Session of TU and Connection
If you need to install the TU service tool, refer to the Tracer TU Service Tool Getting Started Guide
(TTU-SVN01). This document will provide information about features, capabilities, and
requirements of Tracer TU.
To start a Tracer TU session:
1.
Connect the USB cable directly from the laptop to the Tracer UC600.
Important:
Observe existing USB standards for cable length. (For more information go to
informational Web sites, such as
http://www.USB.org
.)
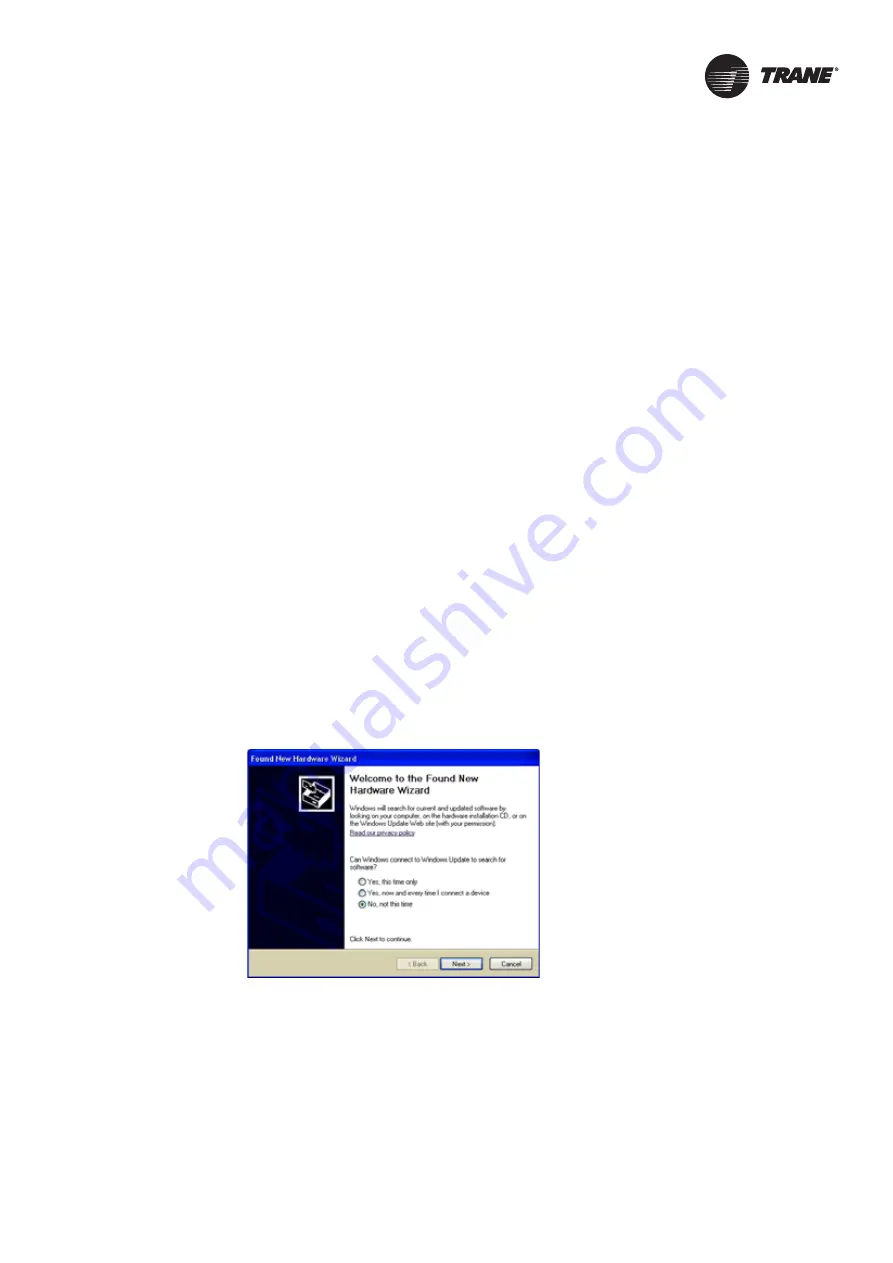
When connecting to the controller for the first time, the
Found New Hardware Wizard appears.
2. If the Tracer UC600 appears, select Install the software automatically (Recommended) and then
click Next.
If the Tracer UC600 does not appear, repeat the Tracer TU installation.
Figure 17. Found New Hardware Wizard screen


