33
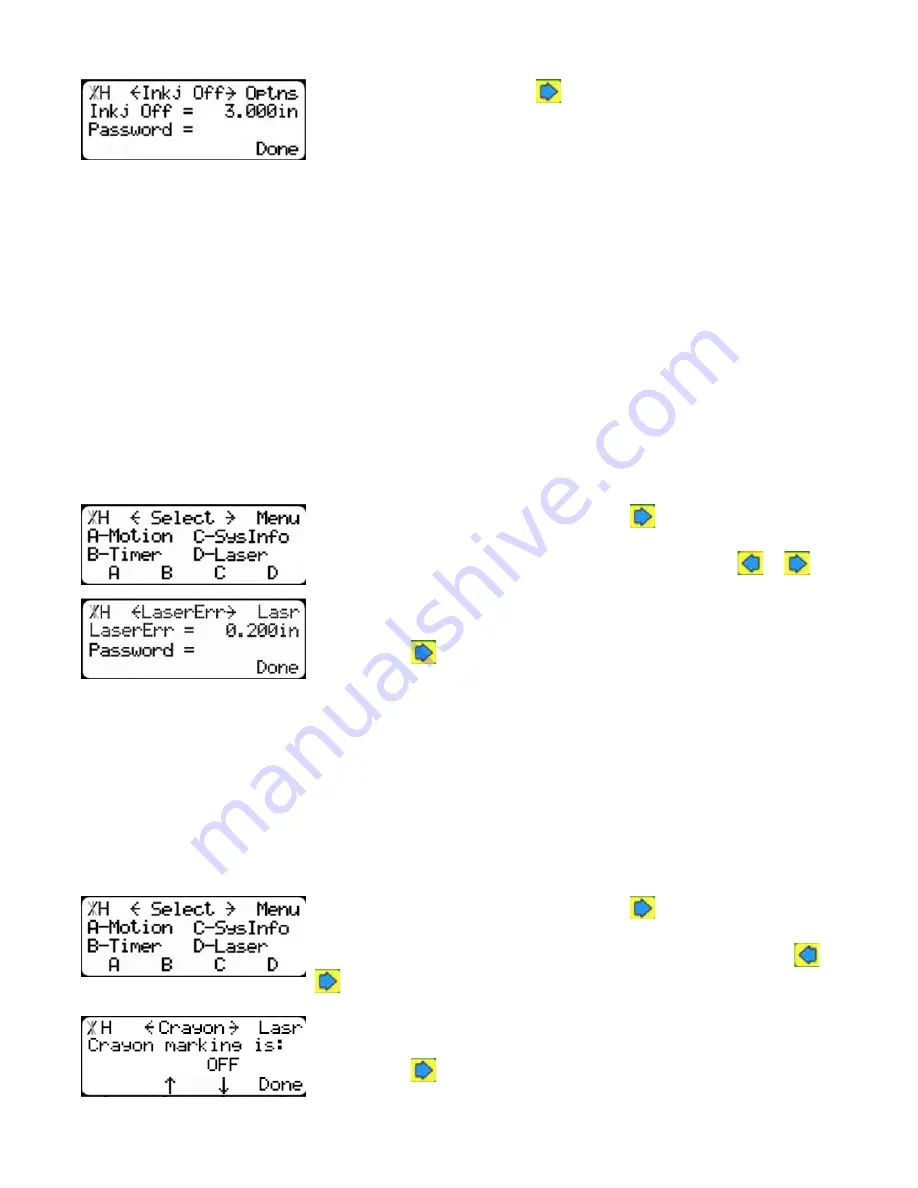
Inkjet Offset
2.From Print Cut, press the
button until you get to Inkjet Offset.
To change Printer Type...
1. Measure the distance from the saw blade to the printer head.
2. Enter the password and press [=].
Note: The default password is set to the serial number of the TigerStop.
3. Enter the new Inkjet Offset value.
4. Press the [Done] soft key to save the parameter.
Crayon Marking Settings
The crayon marking settings tell TigerStop where to cut defects. Setting these settings accurately is
critical for scanning and cutting accuracy.
Laser Error
Laser Error is the length that the next defect mark must be from the last defect mark to count as
another unique defect mark when using the TigerSaw 1000 crayon marking system. This setting is
also used when using Grade 2 mode.
1.At the Menu Select screen, press the
button to access the sec-
ond menu screen.
Note: TigerStop has 3 menu screens. Access them by pressing
or
.
2.Press the [Laser] soft key to access the Laser menu.
3.Press the
button 2 times.
To change Laser Error...
1. Enter the password followed by [=].
2. Enter the new Laser Error value.
3. Press the [Done] soft key to save the parameter.
Note: The default password is set to the serial number of the TigerStop.
Crayon
Crayon turns the TigerSaw 1000 crayon marking system on or off. This setting needs to be set to
on for the crayon marking system to function.
1.At the Menu Select screen, press the
button to access the sec-
ond menu screen.
Note: TigerStop has 3 menu screens. You can access them by pressing
or
.
2.Press the [Laser] soft key to access the Laser menu.
3.Press the
button 7 times.
Содержание TigerSaw 1000
Страница 1: ......
Страница 2: ......
Страница 8: ...5 TigerSaw Cap Guard TigerSaw Guard Back ...
Страница 9: ...6 TigerSaw Guard Sides ...
Страница 10: ...7 TigerSaw Blade Access Door In Feed and Out Feed Table ...
Страница 11: ...8 Pusher Foot ...
Страница 15: ...12 1 Assemble table legs ...
Страница 17: ...14 5 Attach the back fence to the out feed table 6 Attach the material staging tubes to the in feed table ...
Страница 24: ...21 7 Attach the Printer Stand M8 X 35 ...
Страница 66: ......
Страница 67: ......


