8
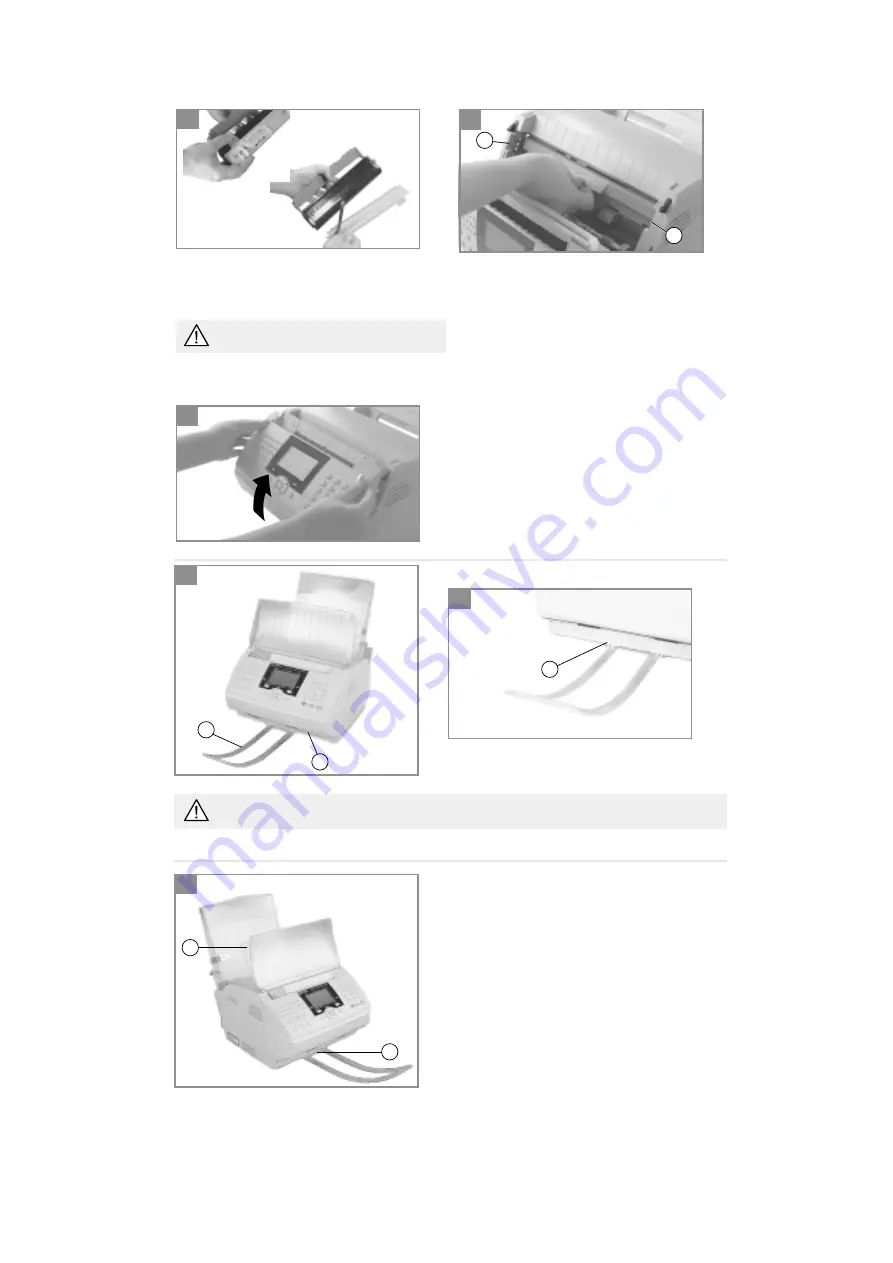
1-2- Clip the scanning out-tray (a) into the two slots (b) of the unit’s base (c).
Ensure you always remove the scanning out-tray prior to opening the cover housing the scanning
assembly.
a
c
b
b
a
SELECTING THE PRINTER OUTPUT CONFIGURATION
Your unit directs printed output by default to the tray
located above the unit (a) (incoming documents are
printed out in the correct order).
The capacity of the printer output tray (a) varies between
40 and 60 pages depending on the weight of the paper
used.
A sensor warns the user when the paper tray is full.
1- To direct paper output to the front of the unit (b), for special applications, e.g. printing off a PC using headed
paper:
FITTING THE SCANNING OUT-TRAY
1
2
1
8. Close the scanning assembly cover. Press down on both
sides of the cover to make sure that it locks into place.
8
6. Unclip the protective plastic guard of the toner
cartridge using the two tabs.
Carefully remove the plastic guard and the foam
gasket.
The foam gasket is attached to the plastic guard
at one end.
7. Hold the toner cartridge by the handle with the text
facing upwards.
Check that the photosensitive drum is in position,
otherwise refer to the previous section: fitting the
photosensitive drum.
Slot the toner cartridge into the unit along the lateral
guides (M).
Push the cartridge in firmly using the handle until it
slots into place.
M
M
6
7


