1 1
STEP BY STEP FUNCTION ACCESS
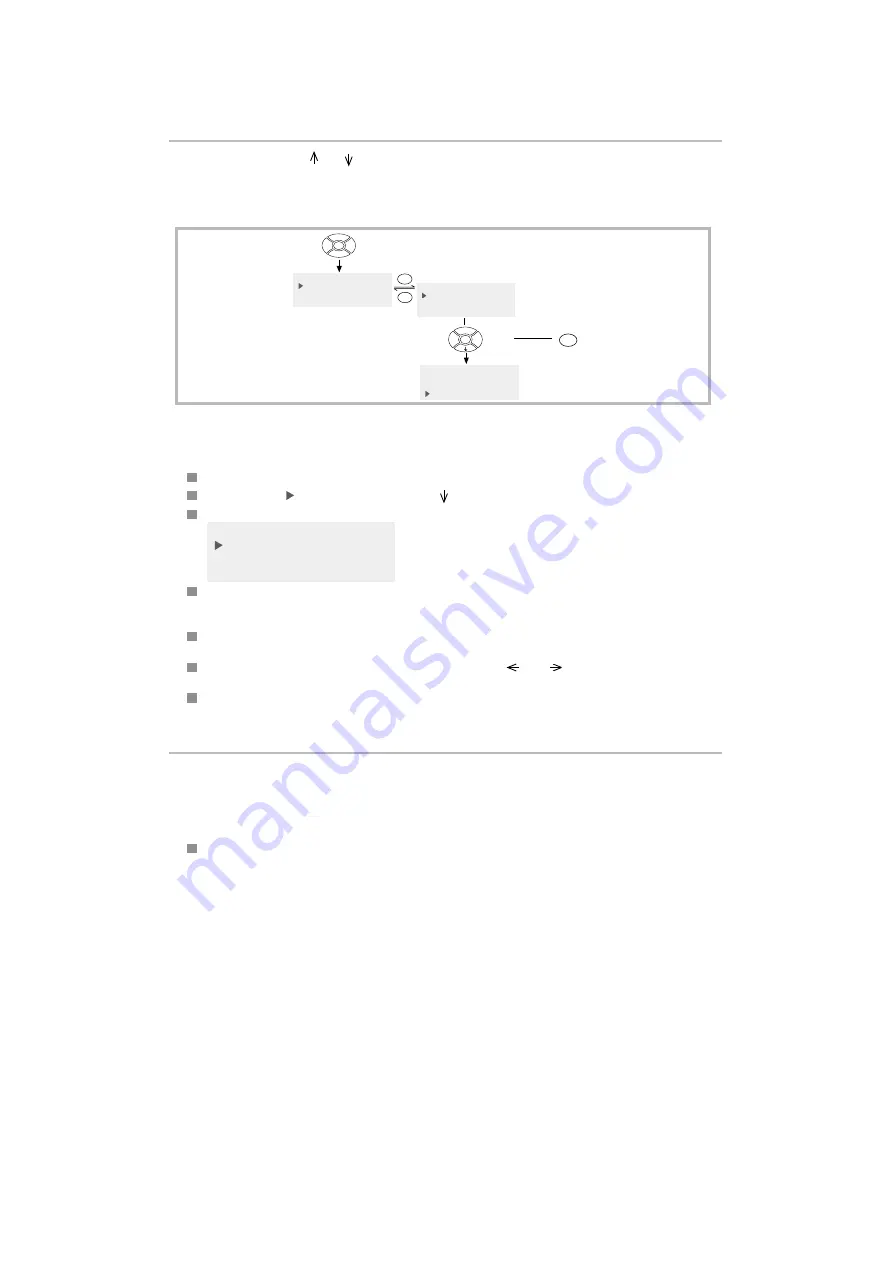
In this mode, you use the and keys of the navigator pad to scan through the options of a menu, and the OK
and C keys to access the following or previous menu level.
Example 1:
To access the PRINT OUT DIRECTORY menu step by step:
Example 2:
To access your unit’s date and time settings:
To access this function step by step:
Press the MENU key.
Move the cursor to 2 SETUP by pressing the key on the navigator pad once.
Press OK. The display shows:
F2--- SETUP
1 DATE TIME
2 YOUR NUMBER
3 YOUR NAME
Press OK. You are in data entry mode, and the cursor is flashing over the first digit to be entered.
Note:
Throughout this document, the position of the data entry cursor will be represented by a “_”.
To input a new date and time, e.g. 16:45 on 07 March 1998, enter the following sequence using the
numeric keypad: 0, 7, 0, 3, 9, 8, 1, 6, 4, 5.
Should you need to amend the data you have entered, use the
and
keys to position the cursor on
the character to be altered.
Once you have input the right date and time, press OK to confirm your entry and enter a number to dial,
or press FAX/COPY to confirm your entry and exit the menu.
DIRECT FUNCTION ACCESS
In this access mode, you press the MENU (FUNCTION) key followed by a numerical code to directly access the
function required.
Example:
Setting your unit’s date and time
To access this function directly:
Press MENU followed by 2 and 1. You are now in data entry mode and can enter the new date and time
using the numeric keypad (see previous section).
OK
MENU
F---- FUNCTION
1 DIRECTORY
2 SETUP
3 SEND
F1--- DIRECTORY
3 SEE OR MODIFY
4 CANCEL
5 PRINT
F1--- DIRECTORY
1 ADD NAME
2 ADD LIST
3 SEE OR MODIFY
OK
C
4 times


