DISPLAY MODULE AND OFFICE CONFIGURATION EDITOR
_________________________________________________________________________________________________________
3-40
SIG-00-22-02 JUNE 2022 (Revised September 2022)
Version: B.1
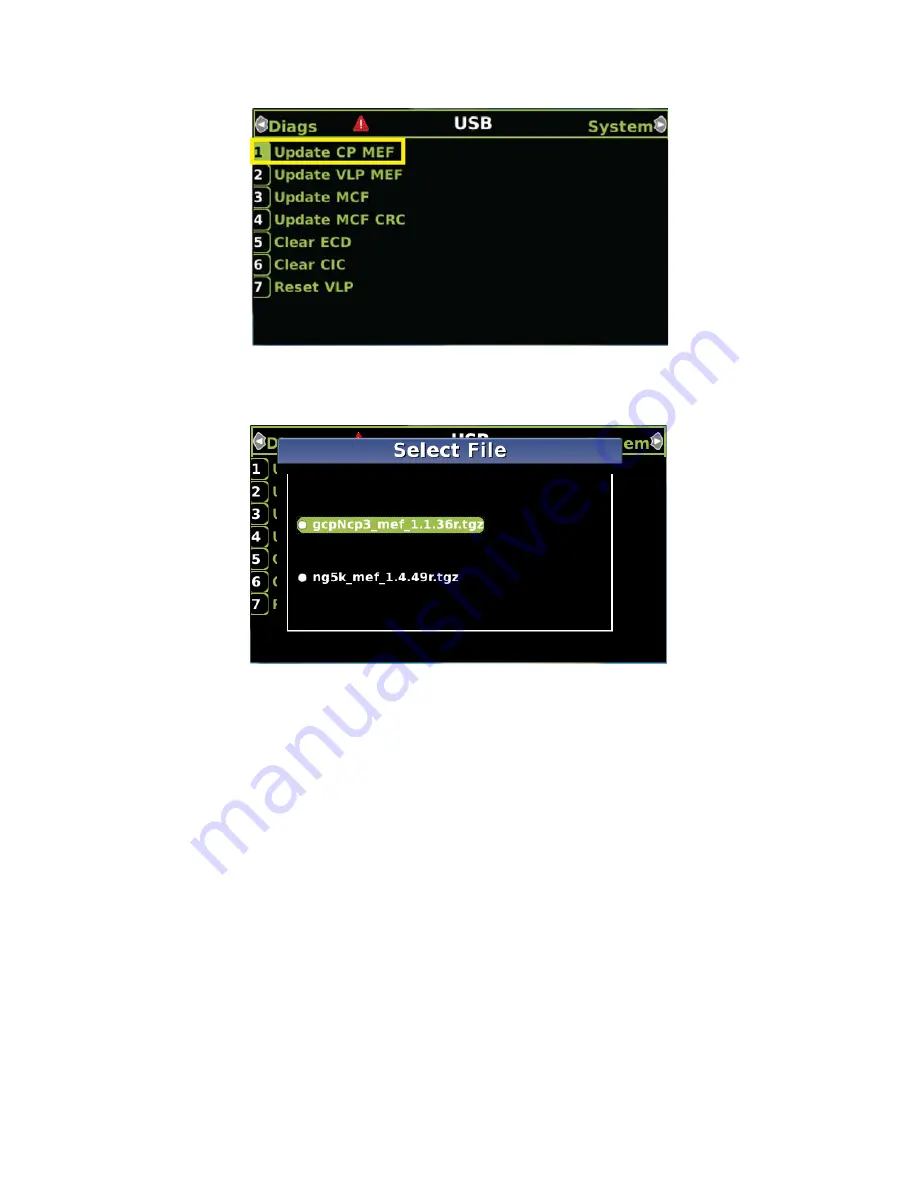
Figure 3-58 Change CP MEF
9. When asked by the Setup program to Erase the MEF, select
1) Yes
.
10. The
Select File
window opens.
Figure 3-59 Select File Window
11. Scroll down to select the file to be installed, in this example: gcpNcp3_mef_1.1.36r.tgz.
Press
Enter
.
12. The new MEF begins loading. This may take a few minutes. While the file is uploading,
progress will be indicated on the bottom line of the window.
13. When complete, the Display text provides all of the module update options. If a new
MCF needs loading, go to step 6 in the next section, otherwise select
0) Exit Setup
.
14. The
Upload to System
window opens and states:
Exit software finished rebooting
the module
.
15. Press the Back button. The USB SW Updates menu is shown (as per Figure 3-56 Step
6).
3.4.2.2 Replace CP MEF on CPU III via WebUI
1. Connect Ethernet cable from laptop to Laptop port on the front of the CPU III unit
2. Locate the IP address of the GCP5000 unit via the selector buttons on the front of the
CPU III unit. Type https:// or http:// (depending on the method selected in the Web
Server Configuration) followed by the IP address.
3. Log into the WebUI using the appropriate User Name and Password. The default
password is GCP5000 (case sensitive)


