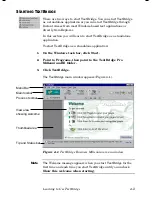
Learning to Use TextBridge
4–7
Note
Select the page source from the Get Pages drop down menu and
the Page Type before beginning OCR. Refer to “Performing Basic
Operations” in this chapter or TextBridge Help for more
information about these steps.
If scanning, insert your page in the scanner.
1.
Click the Get Pages button.
TextBridge scans your page or reads the selected image file(s). To
get more pages, click Get Pages again.
2.
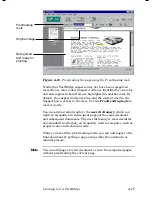
View and zone the page images.
Click
Find Zones
to have TextBridge automatically find text,
tables, and pictures on the page or use the zoning tools to mark
the zones yourself.
3.
Click the Recognize button.
TextBridge recognizes the page, including text, picture, and
format.
☞
To recognize all your pages at once, click the Recognize button
drop-down arrow to be sure it is set to recognize all pages.
4.
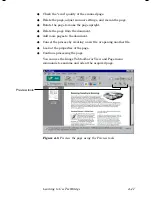
Proofread the results of recognition.
Correct any errors using the tools in the
Text view
.
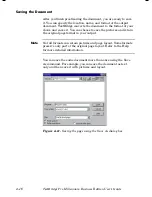
5.
Save the text and picture(s) in a file format of your choice.
Check the
Open file when done
option in the Save As dialog box
to automatically open the saved document.
Each of these activities is explained in more detail in the next
section, “Performing Basic Operations.”
Содержание TextBridge Pro Millennium Business Edition
Страница 1: ......


