15.18 Fishfinder waypoints
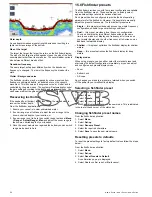
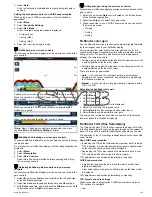
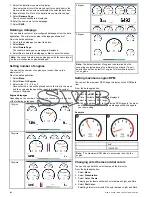
Placing a waypoint on the fishfinder display enables you to mark a
position so that you can return to it later.
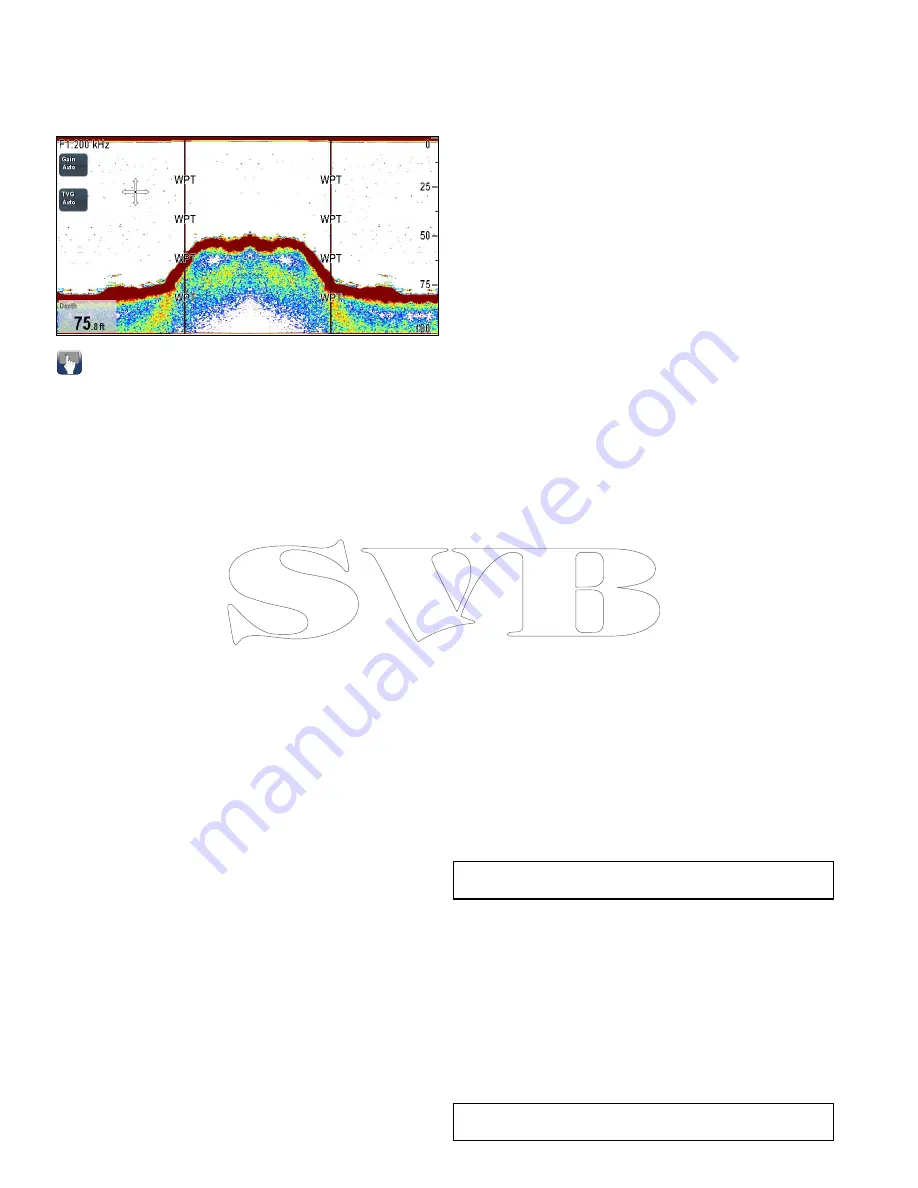
When a waypoint is placed, its details are added to the waypoint
list and a vertical line labelled WPT is displayed on-screen. The
waypoints can then be navigated to using the chart application.
Placing a Waypoint in the fishfinder
application
From the fishfinder application:
1. Select and hold the required location.
The fishfinder context menu is displayed.
2. Select
Place Waypoint
.
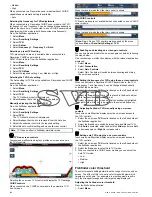
Placing a waypoint using the WPT button or
icon
From the fishfinder application:
1. Select
WPT
.
The waypoint menu is displayed.
2. Whilst the waypoint menu is open:
• Select
WPT
again to place a waypoint at your vessels position,
or
• Select the appropriate option: Place Waypoint At Vessel,
Place Waypoint At Cursor or Place Waypoint At Lat/lon.
Placing a Waypoint using the context menu
You can place a waypoint in the fishfinder application using the
context menu.
1. Open the
fishfinder context menu
.
2. Select
Place Waypoint
.
The Waypoint is placed at the cursors location and a confirmation
pop-up is displayed.
3. Select
Ok
to confirm waypoint placement, or
4. Select
Edit
to edit the new waypoints details.
15.19 Fishfinder alarms
The display can be configured to provide a number of fishfinder
alarms.
The following fishfinder alarms can be set when a sonar module is
detected, or when the simulator is on:
•
Fish
— alarm sounds when a target meets the specified sensitivity
level and, is within the depth limits (if enabled). The greater the
fish alarm sensitivity, the greater the number of target image
depths displayed.
•
Fishfinder Deep
— alarm sounds when the sonar module detects
that the depth is greater than the deep limit.
•
Fishfinder Shallow
— alarm sounds when the sonar module
detects that the depth is less than the shallow limit.
Setting up fish alarms
From the Alarms menu
homescreen > Set-up > Alarms
:
1. Select
Fish
.
The Fish alarms menu is displayed.
2. Select
Fish
so that On is highlighted.
3. Select
Fish Sensitivity
.
The fish sensitivity numeric adjust control is displayed.
4. Adjust the fish sensitivity to the require value.
The greater the fish alarm sensitivity, the greater the number of
target image depths displayed.
5. Select
Fish Depth Limits
so that
On
is highlighted.
The shallow and deep fish limit settings will be activated in the
menu.
6. Select
Shallow Fish Limit
.
The shallow fish limit numeric adjust control is displayed.
7. Adjust the value to the require setting.
8. Select
Ok
to confirm the new value and close the numeric adjust
control.
9. Select
Deep Fish Limit
.
The deep fish limit numeric adjust control is displayed.
10. Adjust the value to the require setting.
11. Select
Ok
to confirm the new value and close the numeric adjust
control.
Setting up fishfinder deep alarm
From the Alarms menu
homescreen > Set-up > Alarms
:
1. Select
Fishfinder Deep
.
2. Select Deep so that On is highlighted.
Selecting Deep will switch between On and Off.
3. Select
Deep Limit
.
The deep limit numeric adjust control is displayed.
4. Adjust the setting to the required value.
5. Select
Ok
to confirm the new value and close the numeric adjust
control.
Note:
The Deep Limit cannot be set to less than the Shallow
Limit.
Setting up fishfinder shallow alarm
From the Alarms menu
homescreen > Set-up > Alarms
:
1. Select
Fishfinder Shallow
.
2. Select Shallow so that On is highlighted.
Selecting Shallow will switch between On and Off.
3. Select
Shallow Limit
.
The shallow limit numeric adjust control is displayed.
4. Adjust the setting to the required value.
5. Select
Ok
to confirm the new value and close the numeric adjust
control.
Note:
The Shallow Limit cannot be set to greater than the Deep
Limit.
188
New a Series / New c Series / New e Series
Содержание A65
Страница 2: ......
Страница 4: ......
Страница 8: ...8 New a Series New c Series New e Series...
Страница 12: ...12 New a Series New c Series New e Series...
Страница 20: ...20 New a Series New c Series New e Series...
Страница 36: ...36 New a Series New c Series New e Series...
Страница 64: ...64 New a Series New c Series New e Series...
Страница 86: ...86 New a Series New c Series New e Series...
Страница 96: ...96 New a Series New c Series New e Series...
Страница 106: ...106 New a Series New c Series New e Series...
Страница 138: ...138 New a Series New c Series New e Series...
Страница 192: ...192 New a Series New c Series New e Series...
Страница 202: ...202 New a Series New c Series New e Series...
Страница 203: ...Chapter 17 Using the fuel manager Chapter contents 17 1 Fuel manager overview on page 204 Using the fuel manager 203...
Страница 206: ...206 New a Series New c Series New e Series...
Страница 218: ...218 New a Series New c Series New e Series...
Страница 228: ...228 New a Series New c Series New e Series...
Страница 232: ...232 New a Series New c Series New e Series...
Страница 242: ...242 New a Series New c Series New e Series...
Страница 248: ...248 New a Series New c Series New e Series...
Страница 286: ...286 New a Series New c Series New e Series...
Страница 289: ...Chapter 29 Technical specification Chapter contents 29 1 Technical specification on page 290 Technical specification 289...
Страница 300: ...300 New a Series New c Series New e Series...
Страница 307: ......
Страница 308: ...www raymarine com...

