Opera on Systems
Synergy™ Series | FX
‐
ProView™ Control
47
Dual
Temperature
Ranges
(High
vs.
Low)
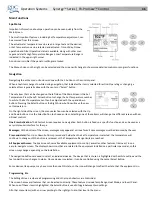
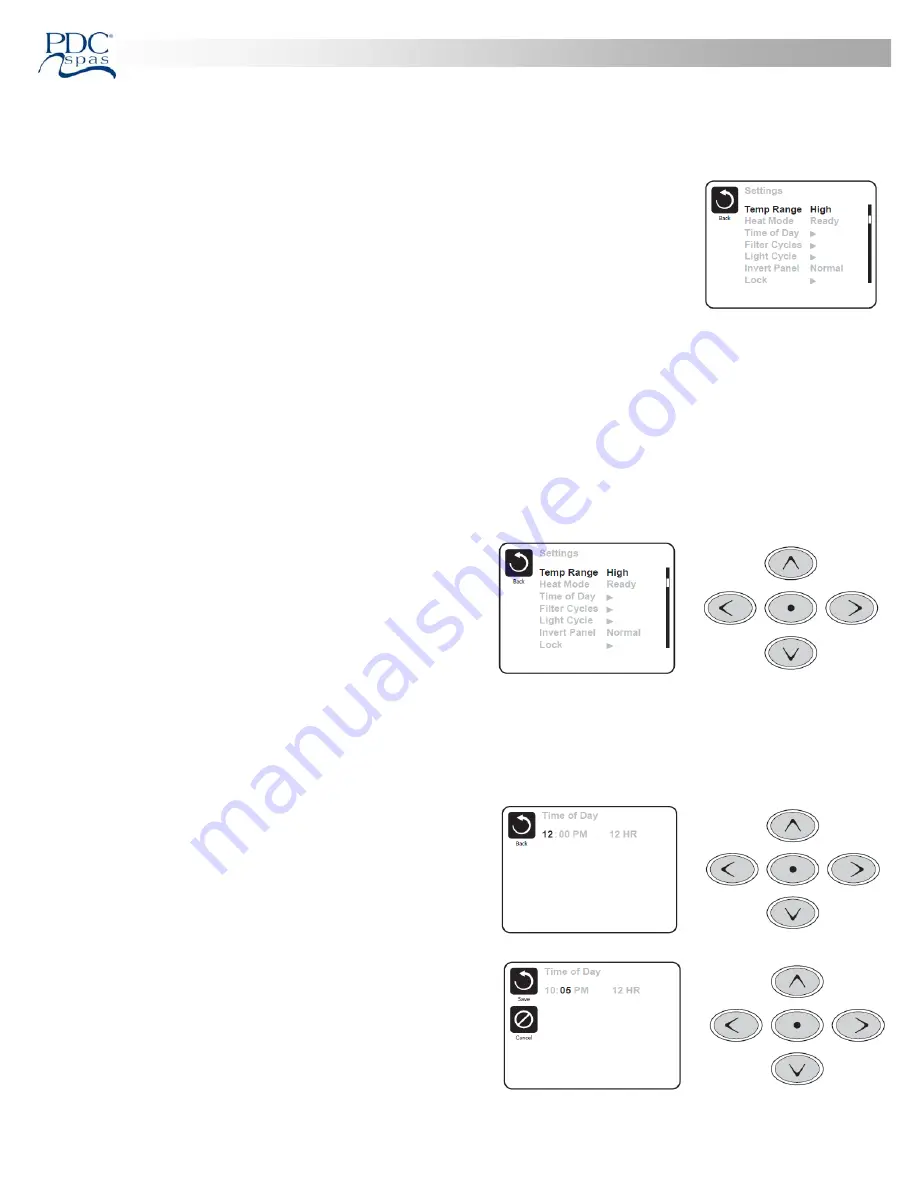
This system incorporates two temperature range se ngs with independent set temperatures. The speci
fi
c range can be selected
on the Se ngs screen and is visible on the Main Screen in the upper right corner of the display.
These ranges can be used for various reasons, with a common use being a “ready to use” se ng vs. a
“vaca on” se ng. Each range maintains its own set temperature as programmed by the user. This way,
when a range is chosen, the spa will heat to the set temperature associated with that range.
High
Range
can
be
set
between
80°F
and
104°F.
Low
Range
can
be
set
between
50°F
and
99°F.
Heat
Mode
–
Ready
vs.
Rest
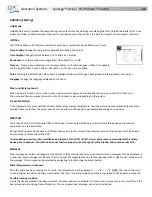
In order for the spa to heat, a pump needs to circulate water through the heater. The pump that performs this func on is known
as the “heater pump.”
The heater pump will be a 2
‐
speed pump (Pump 1).
READY Mode will circulate water every 1/2 hour, using Pump 1 Low, in order to maintain a constant water temperature, heat as
needed, and refresh the temperature display. This is known as “polling.”
REST Mode will only allow hea ng during programmed
fi
lter cycles. Since polling does not occur, the temperature display may not
show a current temperature un l the heater pump has been run
‐
ning for a minute or two.
While Pump 1 High can be turned on and o
ff
, Pump 1 Low will run
un l set temperature is reached, or 1 hour has passed.
Ready
‐
in
‐
Rest
Mode
READY/REST appears in the display if the spa is in Rest Mode and
the Jets 1 Bu on is pressed. It is assumed that the spa is being used and will heat to set temperature. While Pump 1 High can be
turned on and o
ff
, Pump 1 Low will run un l set
temperature is reached, or 1 hour has passed. A er 1 hour, the System will revert to Rest Mode. This mode can also be reset by
entering the Se ngs Menu and changing the Heat Mode.
Time
‐
of
‐
Day
Se ng the me
‐
of
‐
day is important for determining
fi
ltra on mes
and other background features. “Set Time” will appear on the display
if no me
‐
of
‐
day is set in the memory.
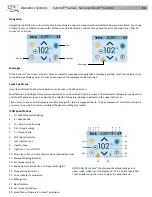
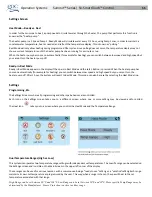
On the Se ngs Screen, select the Time
‐
of
‐
Day line. On the Time
‐
of
‐
Day screen, simply navigate right and le to select the Hour,
Minutes, AM/PM and 12/24 Hour segments. Use the Up and Down
Bu ons to make changes.
When changes are made, the icon to go “Back” changes to “Save”
and a new icon for “Cancel” appears under the Save icon. Naviga ng
to the le will highlight the Save icon, and naviga ng down from
there will allow the user to cancel the pending change. Pressing the
“Select” bu on will save or cancel the changes and go back to the
previous screen.
NOTE: If power is interrupted to the system, Time
‐
of
‐
Day will be maintained for several days.
Содержание Summit Series
Страница 1: ...S S F S O M R 2020 01 1 800 451 1420 pdcspas com support pdcspas com ...
Страница 2: ......

