106
11. Fax
11.1. Connect Devices
Connect the Fax accessories to the phone line
This product includes two Fax ports:
• Connect this product to the "
" port of the telephone jack on the wall.
• Connect the auxiliary devices to the ";
" port of this product.
The installation steps are as follows:
1) Unplug the power cords of all the devices you want to connect.
2) If this product has not been connected to the phone line, see the product installation guide. The
product should have been connected to the telephone jack.
3) Remove the plastic plug of the "
" port.
4) To connect the included phone handle, plug the phone cord into the printer's "
"
port. Connec the other end of the phone cord to the phone handle.
5) To connect the telephone device alone, plug the phone cord into the printer's "
"
port. Plug the other end of the phone cord to the telephone's "
" port.
6) When you are finished with connecting auxiliary devices, connect all devices to their power
supply.
11.2. Fax Settings
This product supports two ways to make the Fax settings for users' different Fax
requirements.
One way is to complete the Fax settings under the Fax Mode, and the steps are as follows:
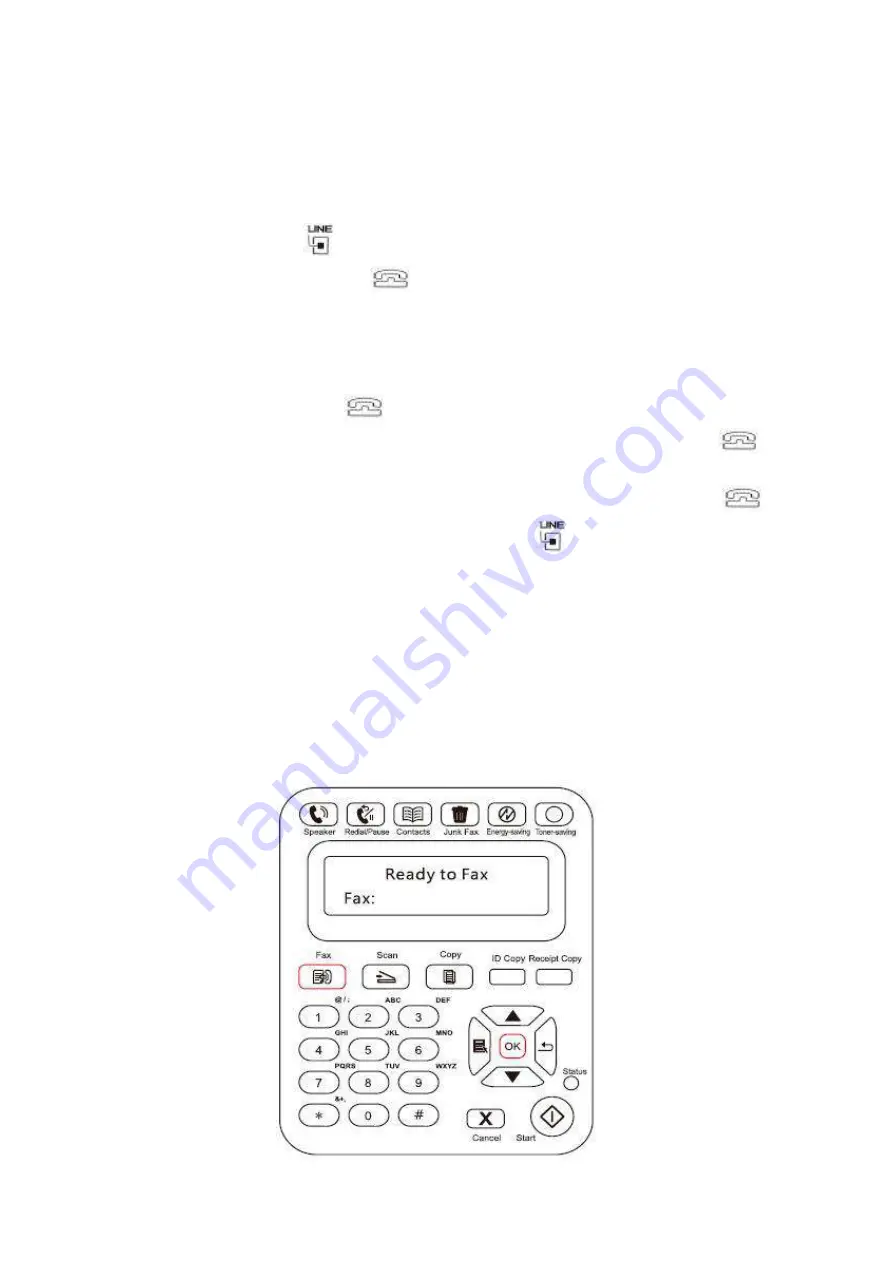
1) When the machine is ready, press Fax button, then press OK button to enter the Fax settings
interface.
Содержание M6503 Series
Страница 89: ...78 Select the corresponding SSID 5 Open the document to be printed click on Document Print ...
Страница 90: ...79 After the window pops up set the printing parameters and press the Print button on the top right corner ...
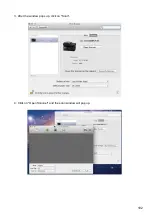
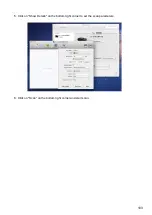
Страница 113: ...102 3 After the window pops up click on Scan 4 Click on Open Scanner and the scan window will pop up ...
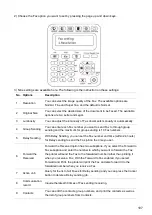
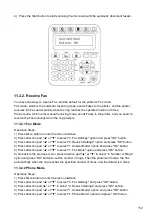
Страница 121: ...110 3 Press the Start button to start scanning the document 4 Press the OK button to initiate the Fax job ...
Страница 155: ...144 ...


