User Manual For CYCLONE
FX
Programmers
119
Figure 11-33: Program Control Area
Each time the
Inc Numb Chars
button is clicked, an additional character space is added to the
display up to a maximum of 64. Also, the width of the program window is increased to
accommodate the added character spaces. The number of display characters is only reset to 36
by restarting the utility.
11.6.6.4 On Screen Graphical Barcode Generator
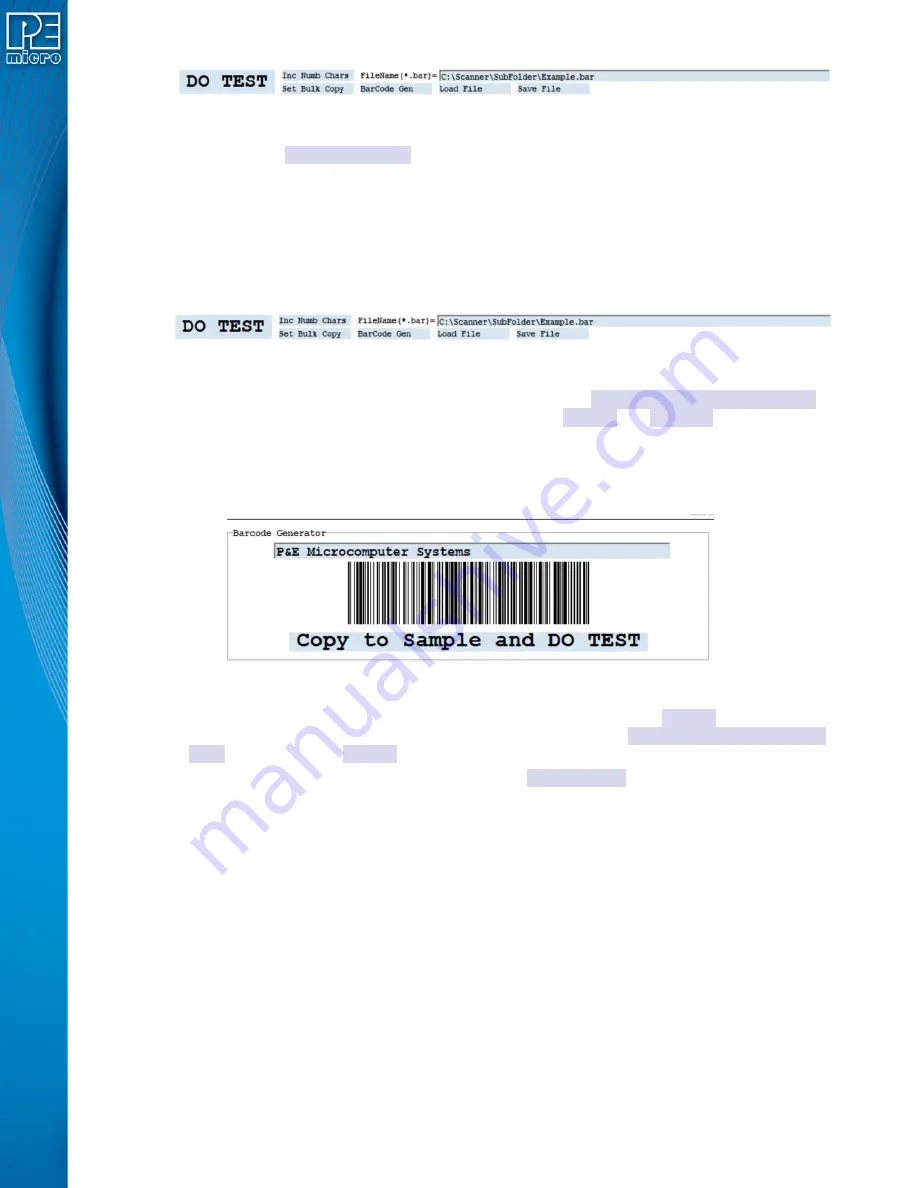
Sometimes it is convenient to see what a particular Barcode looks like. To instantiate an on screen
barcode display, click on the BarCode Gen button in the program control area.
Figure 11-34: Program Control Area
This opens a new window which has an edit box containing “
P&E Microcomputer Systems
”,
the graphical barcode for this text, and a button Copy to
Sample
and
DO TEST
. Clicking into the
edit box allows text to be inserted or edited. Any changes to the edit box are automatically
displayed in the graphical barcode which can be scanned. An external target board barcode could
be scanned and inserted using a Ctrl-V. The graphical display and the text can be observed to
make sure the scanner itself is working correctly.
Figure 11-35: Newly opened Barcode Generator Window
Text from the edit box can then be transferred to the main utility screen
Sample
characters and
tested against the tests being developed by simply clicking on the
Copy to Sample and DO
TEST
button. Any prior
Sample
characters are deleted before the transfer and testing take place.
When this window option is opened, the text in the
BarCode Gen
button is colored
red
as a
reminder to turn the window off by clicking the button again.
11.6.7
References
[1] Cyclone Universal and Cyclone Universal FX Manual
[2] The JSON Data Interchange Format
[3] JSON Re-formatter
11.7
Adding A Barcode Test Into A Programming Image
Adding the barcode test into an image is done as part of the image creation process. The user
should open the Cyclone Image Creation utility and follow the steps to create a programming
image. The device should be selected, along with the algorithm, object file, and programming
commands. This examples uses the commands EM, PM, VM.
The next step is to add the barcode file. In the “FX Special Features” section at the bottom of the
utility, the user should check the “Use Barcode File” checkbox and browse for the appropriate
created .bar file. See Figure 8.


