User Manual For CYCLONE
FX
Programmers
101
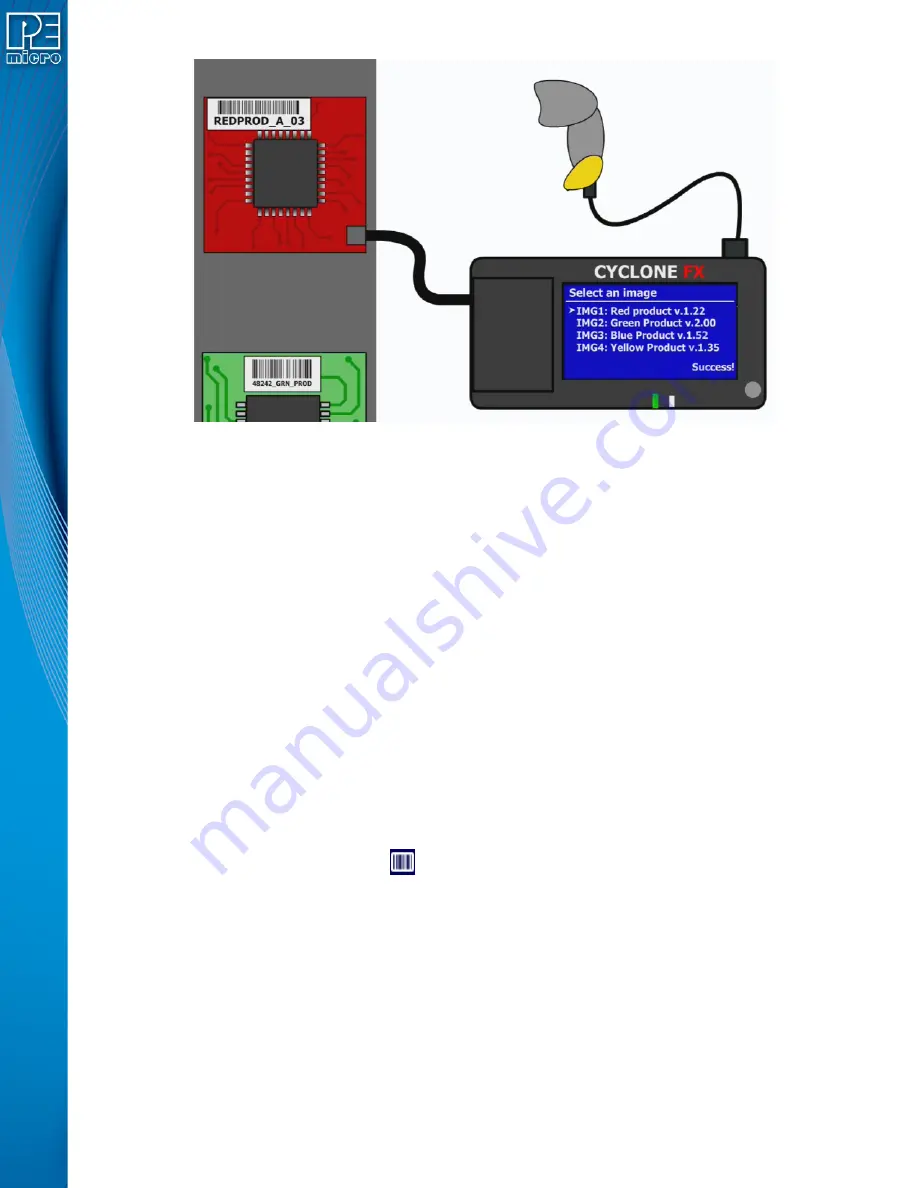
Figure 11-2: Bar Code Scanner On Production Line
In a completely different programming scenario the manufacturer might not want to place barcodes
on the products themselves. E.g., it could be that they do not frequently switch from one product to
another on the production line. In this case, they might prefer to create a separate set of directions
for each product they manufacture which covers programming, test, and casing of the product.
They could then include a fixed barcode as part of the programming instructions. The instructions
might state that, before starting a production run of this product the barcode should be scanned by
the Cyclone programmer. This removes the manual step of the operator choosing which image to
use for each product. The Cyclone selects the image automatically by using the barcode in the
instructions (and if there is not a unique match, an error is reported). This can help to reduce user
error, particularly if the programming images on the Cyclone carry similar names.
11.4
Enabling Barcode Scanner In Cyclone Menu
To use the barcode scanner with a CYCLONE FX, the scanner must first be enabled in the
Cyclone menu by navigating to “Configure Cyclone” and then “Configure USB Host Device.” The
user should click on “Enable USB Scanner”. The barcode scanner's instructions should be
consulted to understand how to put the scanner into Wedge (keyboard emulation) mode, and to
make sure that it terminates the barcode with a CR (carriage return) character. The scanner can
then be plugged into the USB host mini connector on the side of the Cyclone. A USB-to-USB-Mini
adapter may be necessary if the scanner uses a full size USB connector. When plugged into the
Cyclone, the scanner will power up and the Scanner Active icon on the Cyclone LCD screen will
illuminate.
Barcode Scanner Active icon:
11.5
Creating A Barcode Test: Quick Example
This section demonstrates one simple example of how to create a barcode test by using the
Barcode Test Generator utility. For in-depth instructions on how to use the Barcode Test
Generator, please refer to
Section 11.6 - Creating a Barcode Test: In Depth
Whenever a programming image is created the user has the option to add a barcode test to the
image. PEmicro provides a Barcode Test Generator utility to enable the user to creating these
tests. The following steps demonstrate how to create a sample barcode test.
To begin, the user should launch the Barcode Test Generator utility. The user should then write a
prototype of the expected barcode in the “Sample(ascii)” section. In this example, the prototype
barcode is “P&E MICRO-TEST1-0000”. See


