4. Basic Operation Steps
4-2
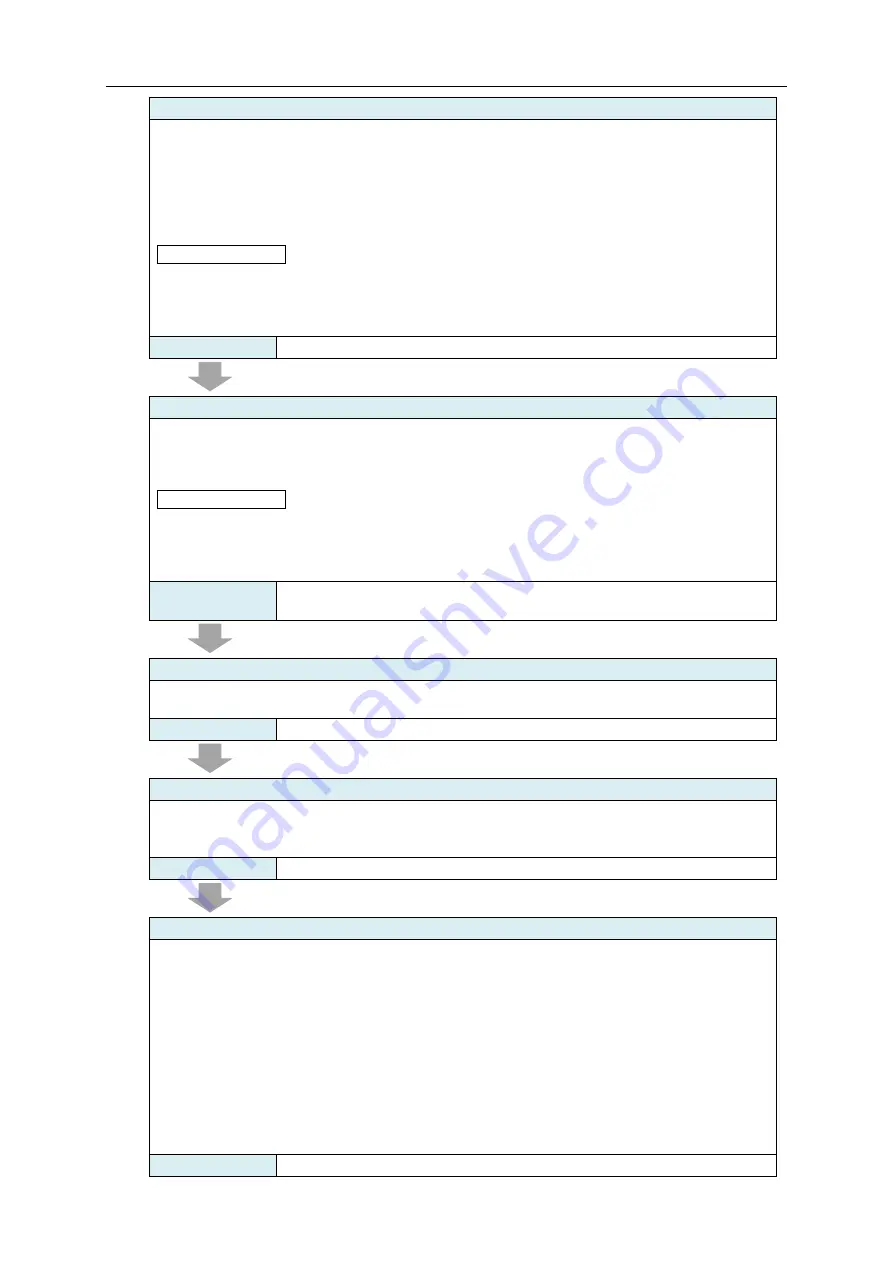
[Step 3] EQ100 Time Setting by Web UI Operation
Configure the time for the built-in clock of EQ100 by Web UI operation.
1) Configure the computer's IP address as "192.168.200.***"(*** is a value different from
EQ100's IP address) and the subnet mask as "255.255.255.0".
2) Connect a LAN cable between the computer and the LAN connection port of EQ100.
3) On the Web UI screen, select [Maintenance] - [System] - [Clock Setting], enter the time to
set and click [Execute].
Reference
- To adjust the built-in clock of EQ100 to a LAN-connected external SNTP server or EQ
server , use EQ-Manager to select [Advanced Setting] - [System Setting] - [Time
Synchronization Setting], change "Method" from "None"(initial value) to "SNTP server" or
"EQ server", and write an EQ project.
Refer to
[Step 4] Installation
Install measurement devices and EQ100.
1) Installing Measurement Devices
2) Installing EQ100
Reference
- It is recommended that EQ100 should be configured before installation in [Step 7]
described later. Configuring the settings beforehand can make checking tasks easier and
reduce redo man-hours if there are any limitations on the installation task (e.g. dark place,
high place, electric shock hazard, and schedule).
Refer to
“5. Installation and Wiring”, “6. Measurement Device Setup and
Connection”, ”Measurement Device Manuals"
[Step 5] Hard Wiring
Connect the power, LAN port, RS-485 communications ports, general-purpose input, and
general-purpose outputs.
Refer to
[Step 6] Preparing Setup
Install EQ-Viewer to a computer for setup to prepare EQ100 settings.
1) Install EQ-Viewer to a computer for setup
2) Start up EQ-Manager
Refer to
"EQ-Viewer User's Manual"
[Step 7] Creating/Configuring EQ Project
For EQ100 settings, use EQ-Manager to create an EQ project.
Follow the steps described below:
1) Create a new EQ project
2) Register a measurement device
(To use the general-purpose input, register pulses as a device and configure an operation
channel)
3) Register a channel
4) Register a channel group if necessary
5) Configure EQ100 settings
6) Configure monitoring settings if necessary
7) Configure settings for collected data file/event log file output if necessary
8) Save the EQ project
Refer to
“7. EQ100 Settings”, "EQ-Viewer User's Manual"
Содержание EQ100-E
Страница 1: ...Sensor Network Server Model EQ100 E User s Manual Catalog No N196 E1 01H ...
Страница 55: ...2 Specifications 2 24 2 5 Dimensions Top View Front View Unit mm ...
Страница 92: ...7 EQ100 Settings 7 3 4 Click OK to view the EQ project setup menu Setting Menu ...
Страница 197: ...9 Web UI Function 9 24 3 In the Save As dialog box enter a destination to save and click Save Download is completed ...
Страница 255: ... MEMO ...


