


205
Screen Configuration
Section 5-5
5-5-5
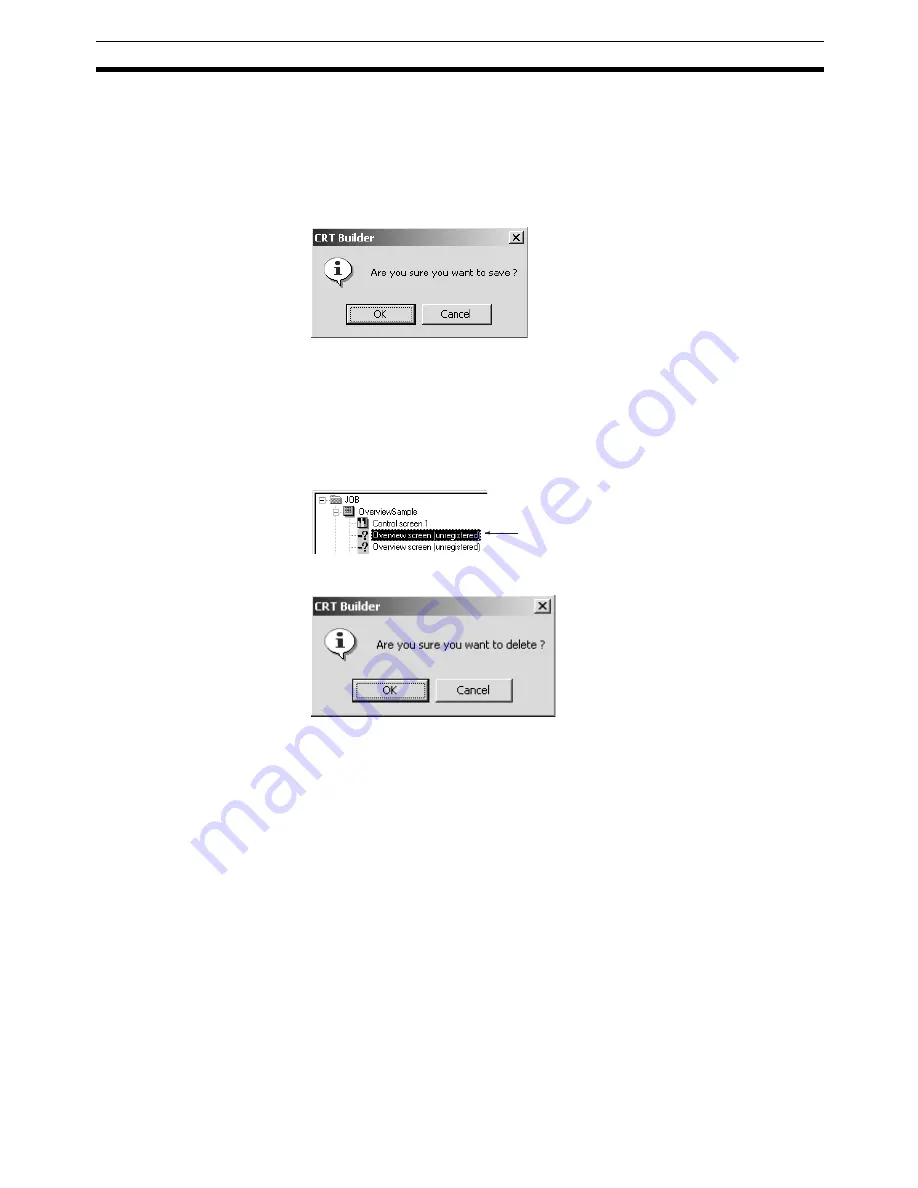
Saving Settings
Save the screen configurations that you have set.
Note
If setting or changing screen configurations, make sure to save the settings or
changes.
1,2,3...
1.
From the Settings Menu in the CRT Builder, select
Save
.
2.
Click the
OK
Button.
5-5-6
Deleting Registered Screens
To delete registered screens, perform the following operation.
1,2,3...
1.
In the CRT Builder’s Screen Management Tree, click to select the screen
you want to delete.
2.
From the CRT Builder Settings Menu, select
Delete
.
3.
Click the
OK
Button.
5-5-7
Starting the Monitor Process
To start the monitor process, perform the following operation.
1,2,3...
1.
In the Main Window or in the Setup Dialog Box, click the
Run
Button.
2.
The monitor process will start and the Overview Screen will be displayed.
Click to select. Double-click to
omit Step 2 of the operation.
Содержание CX-Process Monitor Plus 2
Страница 1: ...CX Process Monitor Plus Ver 2 Cat No W428 E1 02 SYSMAC WS02 LCMC1 EV2 OPERATION MANUAL...
Страница 2: ...WS02 LCMC1 EV2 CX Process Monitor Plus Ver 2 Operation Manual Revised January 2007...
Страница 3: ...iv...
Страница 5: ...vi...
Страница 9: ...x...
Страница 15: ...xvi Application Precautions 4...
Страница 41: ...26 Basic Operating Procedure Section 1 2...
Страница 243: ...228 Checking Configurations Section 5 7...
Страница 244: ...229 SECTION 6 Troubleshooting This section describes errors that can occur while using the CX Process Monitor Plus...
Страница 267: ...252 Reading Writing Function Block ITEMs Appendix A...
Страница 269: ...254 Differences between Trend Screens and Batch Trend Screens Appendix B...


