S
ECURITY FEATURES
53
10.
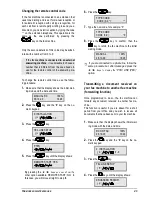
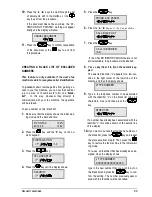
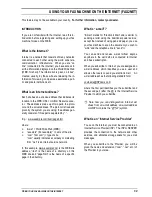
Press the
{ y
keys to scroll through the list
of documents still in the mailbox, or the
key to exit from the procedure.
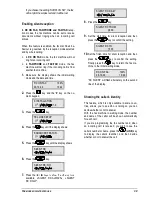
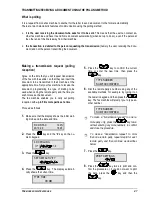
If the document has not been printed, the “AT-
TENTION NOT PRINTED” warning will appear
briefly and the display will show:
CANCEL DOCUMENT
11.
Press the
key to confirm cancellation
of the document or the
key to exit from
this procedure.
CREATING A BLACK LIST OF EXCLUDED
NUMBERS
This feature is only available if the user’s fax
machine is able to recognise caller identification.
To prevent certain remote parties from gaining ac-
cess to your fax machine, you can put their number
(up to a max. of 10 numbers (0 to 9)) on a “black-
list”. In this way, whenever they attempt to
communicate with your fax machine, the operation
will be refused.
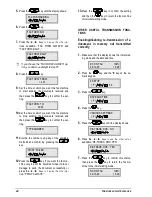
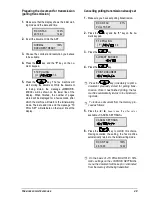
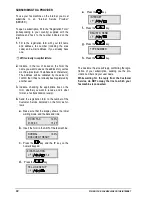
To put a number on this “black list” :
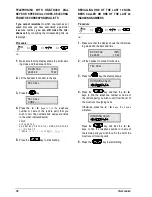
1.
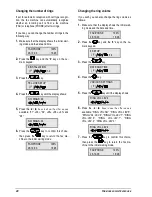
Make sure that the display shows the initial wait-
ing mode and the date and time.
RX ON FAX 100%
29-10-00 14:42
2.
Press the
key and the “9” key on the nu-
meric keypad.
9.INSTALLATION
/1-9
3.
Press the
key.
TEL.LINE SETUP
4.
Press the
key until the display shows:
SECURITY
5.
Press the
key.
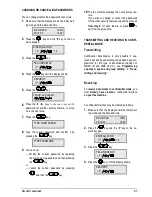
PROGR. ACC.PASSW.
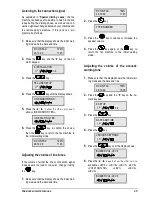
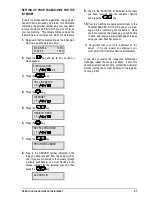
6.
Press the
{ y NH\V XQWLO WKH GLVSOD\ VKRZV
CALL. BLACK LIST
7.
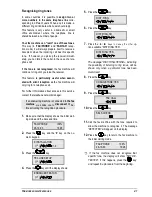
Press the
key.
CALL. ID BARRIER
(0-9):
If the CALLER IDENTIFICATION feature is not
active/available, the procedure will be aborted
.
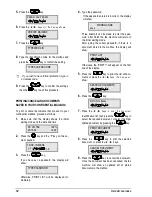
8.
Press a key (from 0 to 9) on the numeric key-
pad.
The selected identifier “x” appears for a few sec-
onds in the right corner of the lower line of the
display, and then the display shows:
x:TYPE NUMBER
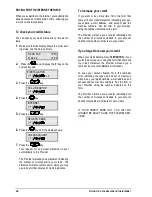
9.
Type in the fax/phone number to be associated
with the identifier “x” on the black list (max. 20
characters, max.) and then press the
key.
OTHER:YES
If a number has already been associated with the
identifier “x”, this will be shown on the second line
of the display.
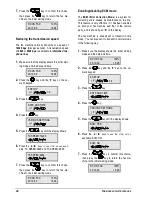
10.
If you want to put another fax/phone number on
the black list, press the
key and repeat
the procedure from step 9. Then press the
key to restore the fax machine to the initial wait-
ing mode.
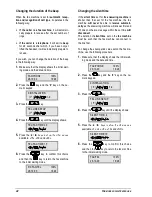
To re-use an identifier that has already been as-
signed, when the display shows:
x:TYPE NUMBER
XXXXXXXXXXXXXXXXXX
type in the new number that you wish to put on
the black list and press the
key to con-
firm the setting. The number previously associ-
ated with this identifier will be cancelled.

