Media types, material and sizes on the printer
Introduction
One of the features of the Océ PlotWave 750 printer is the automatic media change function. This
function enables the printer to switch to another roll of the same media when there is not enough
media on the current roll to finish the print run. Specify media type and the media size after you
load media, as described in
Load rolls of media
on page 229
. The Océ PlotWave 750 supports
both DIN and ANSI media formats. See
Preferred Océ media types and sizes
on page 287
for an
overview of all materials that can be used on the Océ PlotWave 750 printer.
Set media type
Procedure
1.
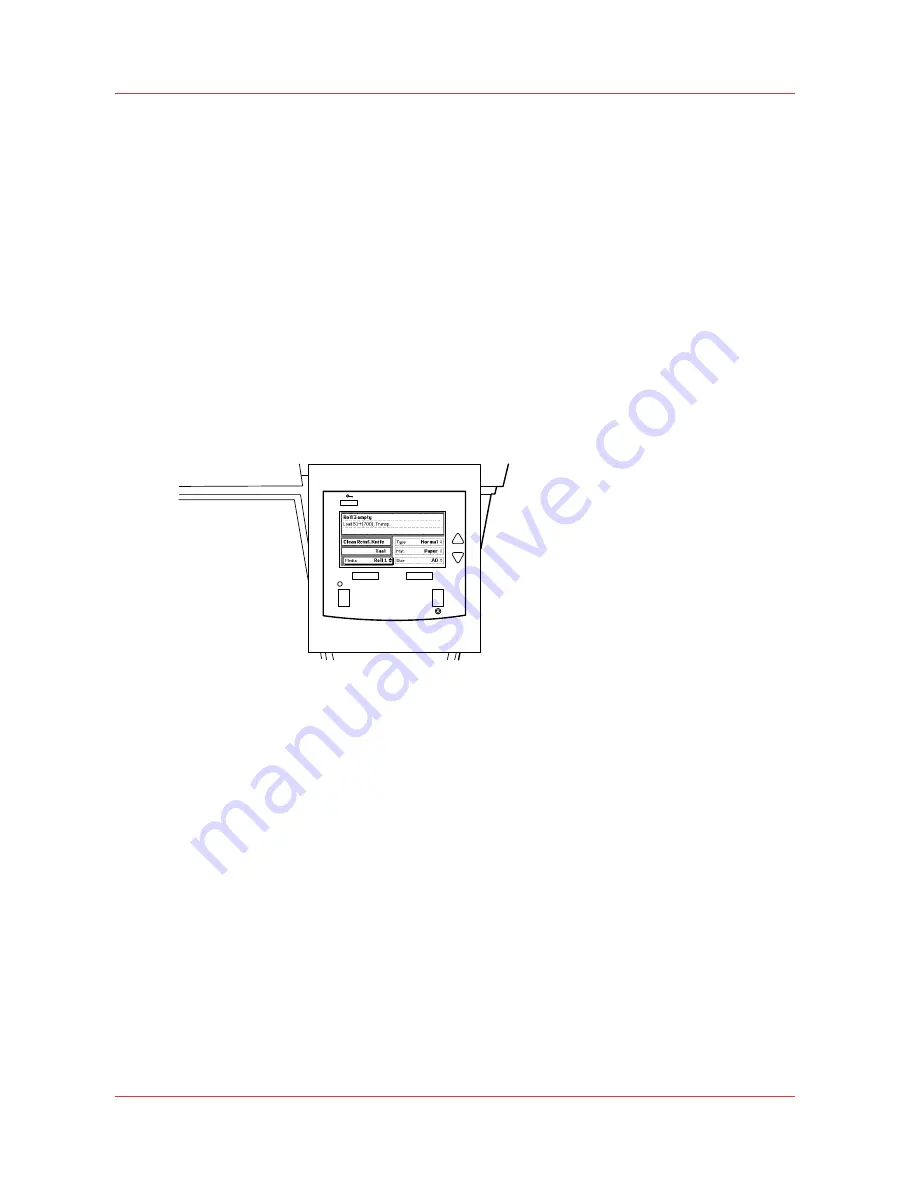
Press the “Online” key on the printer operator panel to put the printer offline. The message
“Offline” is displayed in the status window. The focus shifts to the Media option (indicated by the
shadow effect).
Ready to print
[6] The printer operator panel in offline mode
2.
Use the arrow keys to select the roll for which you have just loaded new media.
3.
Press the right selection key to activate the ‘Type’ option. The dotted line around the current
selection changes into a solid line and the small selection triangles next to the specified material
are no longer dimmed.
4.
Use the arrow keys to select the type you just loaded.
5.
Press the “Online” key to put the printer online again. The printer now knows which type is used
for the specified roll.
Set media material
Procedure
1.
Press the “Online” key on the printer operator panel to put the printer offline. The message
“Offline” is displayed in the status window.
2.
Press the left selection key to shift the focus to the Media option. A shadow effect is used to
indicate that the focus is set to this option.
3.
Use the arrow keys to select the roll for which you have just loaded new media.
4.
Press the right selection key to activate the 'Mat.' (Material) option. The dotted line around the
current selection changes into a solid line and the small selection triangles next to the specified
size are no longer dimmed.
Media types, material and sizes on the printer
30
Chapter 2 - Introduction
Содержание PlotWave 750
Страница 1: ...Oc PlotWave 750 Operation guide...
Страница 8: ...Contents 8...
Страница 9: ...Chapter 1 Preface...
Страница 14: ...Online support for your product 14 Chapter 1 Preface...
Страница 15: ...Chapter 2 Introduction...
Страница 44: ...Select a language 44 Chapter 2 Introduction...
Страница 45: ...Chapter 3 Define your workflow with Oc Express WebTools...
Страница 137: ...Chapter 4 Use the Oc PlotWave 750 to print...
Страница 165: ...Chapter 5 Use the Oc TC4 scanner for copy and scan to file jobs...
Страница 209: ...Chapter 6 The finishing options...
Страница 227: ...Chapter 7 Maintain and troubleshoot the Oc PlotWave 750 system...
Страница 274: ...127 Closing the guide plates Insert a new tape roll 274 Chapter 7 Maintain and troubleshoot the Oc PlotWave 750 system...
Страница 283: ...Chapter 8 Support...
Страница 298: ...Audit log 298 Chapter 8 Support...
Страница 299: ...Chapter 9 Account management...
Страница 307: ...Appendix A Overview and tables...


