6. Click the Apply button.
Your settings are saved and the Add Page button displays.
7. Click the Add Page button.
A pop-up window displays.
8. Click the OK button.
The pop-up window closes.
A browser page launches and displays a Facebook page.
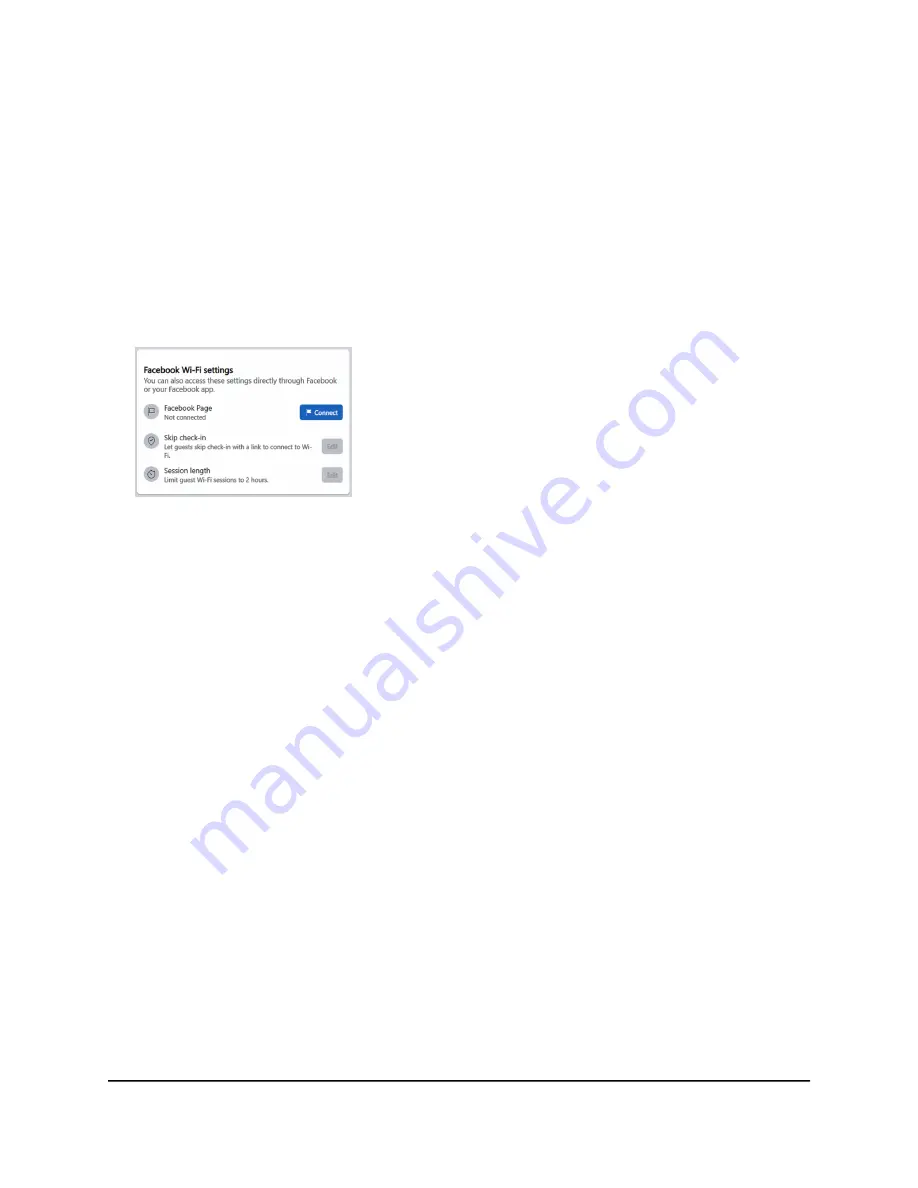
9. Configure the Facebook Wi-Fi settings:
a. Click the Connect button to log in to the account with which the Facebook
business page is associated and select the page.
When you select the page, the page is associated with the access point.
b. On the Facebook Wi-Fi settings page, click the Save button.
Your settings are saved.
c. To let clients skip check-in, click the Skip check in Edit button, and configure the
settings.
d. To limit the session length, click the Session length Edit button, and configure
the settings.
Clients are automatically logged out when the session length is exceeded.
10. Refresh the page in the local browser UI.
11. To allow clients that are connected to the Facebook captive portal to establish a
secure HTTP (HTTPS) session
before
the captive portal authentication occurs, select
the Allow HTTPS Enable radio button.
By default, the Allow HTTPS Disable radio button is selected and clients that are
connected to the Facebook captive portal cannot establish an HTTPS session until
after the captive portal authentication occurs.
12. Click the Apply button.
Your settings are saved.
User Manual
104
Set Up and Manage a Captive
Portal
Insight Managed WiFi 6 AX5400 Access Point Model WAX628


