65
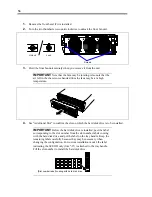
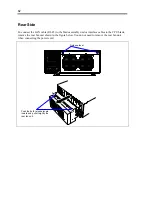
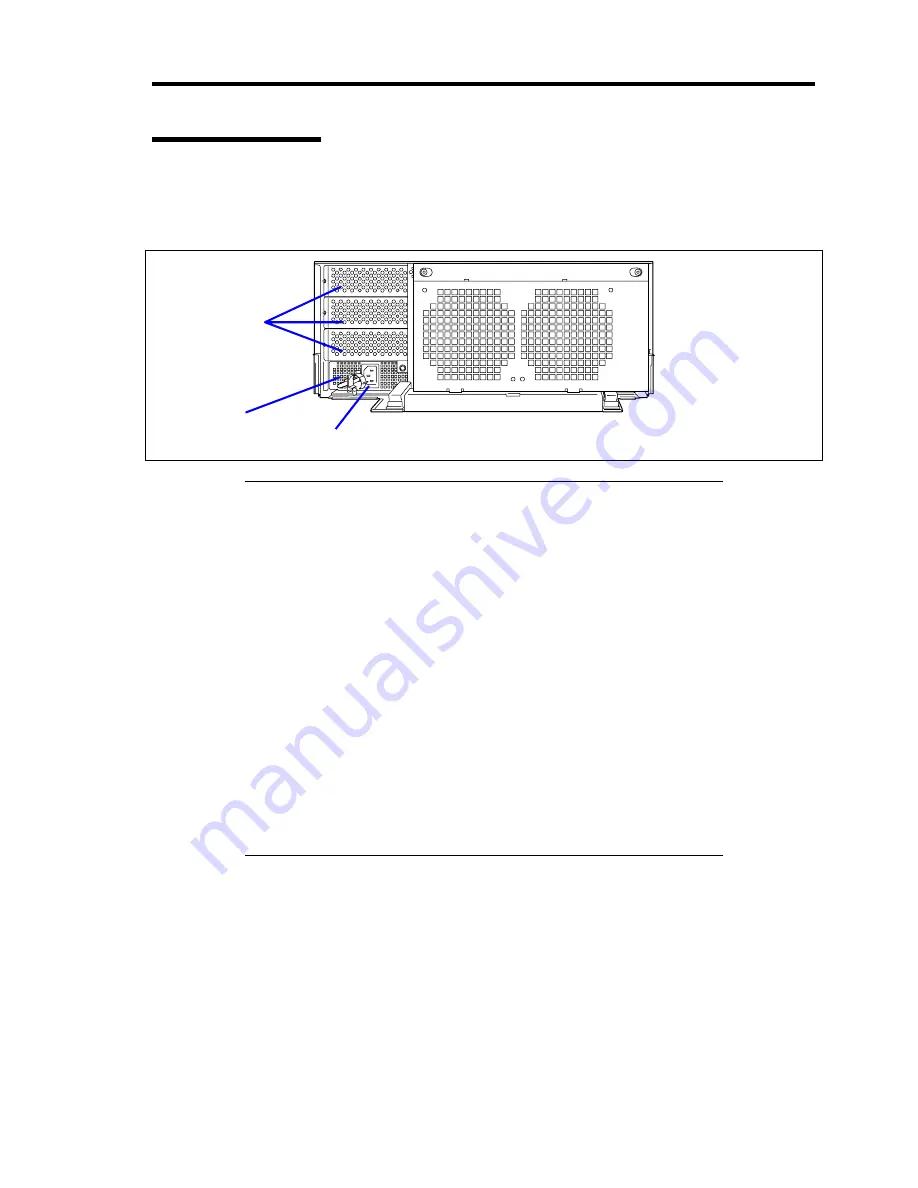
Power Connector
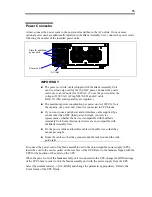
At last, connect the power cords to the power units and then to the AC outlets. If one or more
optional power units are additionally installed in the Blade Assembly Unit, connect the power cords
following the number of the installed power units.
Slots for additional
power units
Power unit
AC inlet
IMPORTANT:
The power cord (AC cable) shipped with the Blade Assembly Unit
can be exclusively used for the 100 VAC power. Connect the power
cord only to an AC outlet for 100 VAC. (To use the power unit at the
voltage of 200 VAC, AC tap N8470-001 and AC cable
K410-111(XX) sold separately are required.)
The maximum power consumption per power unit is 1200 VA. Note
the capacity of a power unit when it is connected to CPU blades.
If you want to use a peripheral and/or interface cable supplied by a
vendor other than NEC (third party), first ask your service
representative whether the device is compatible with the Blade
Assembly Unit. Some third party devices are not compatible with
the Blade Assembly Unit.
Fix the power cords and interface cables with cable ties so that they
cannot get caught.
Route the cables so that they cannot touch the rack door and the side
guide rails.
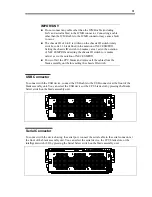
To connect the power cord of the blade assembly unit to the uninterruptible power supply (UPS),
insert the cord to the service outlet on the rear face of the UPS. Refer to the manual shipped with the
UPS for the position of the outlet on the UPS.
When the power cord of the blade assembly unit is connected to the UPS, change the BIOS settings
of the CPU blade in order to link the blade assembly unit with the power supply from the UPS.
Select [System Hardware]
→
[AC-LINK] and change the parameter appropriately. Refer to the
User's Guide of the CPU Blade.
Содержание N8405-013F
Страница 2: ... This page is intentionally left blank ...
Страница 8: ......
Страница 12: ...iv This page is intentionally left blank ...
Страница 33: ...21 7 Cable tray The cable tray protects the cable connected with the CPU blade ...
Страница 94: ...82 5 When the driver is detected from the CD ROM click Next 6 Click Finish This completes the installation ...

