43
Removal Procedure
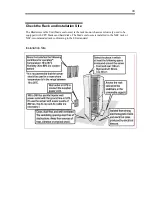
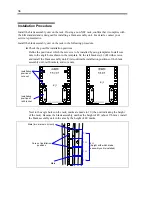
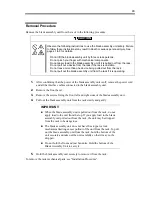
Remove the blade assembly unit from the rack in the following procedure.
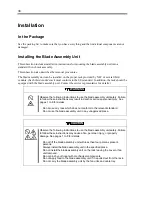
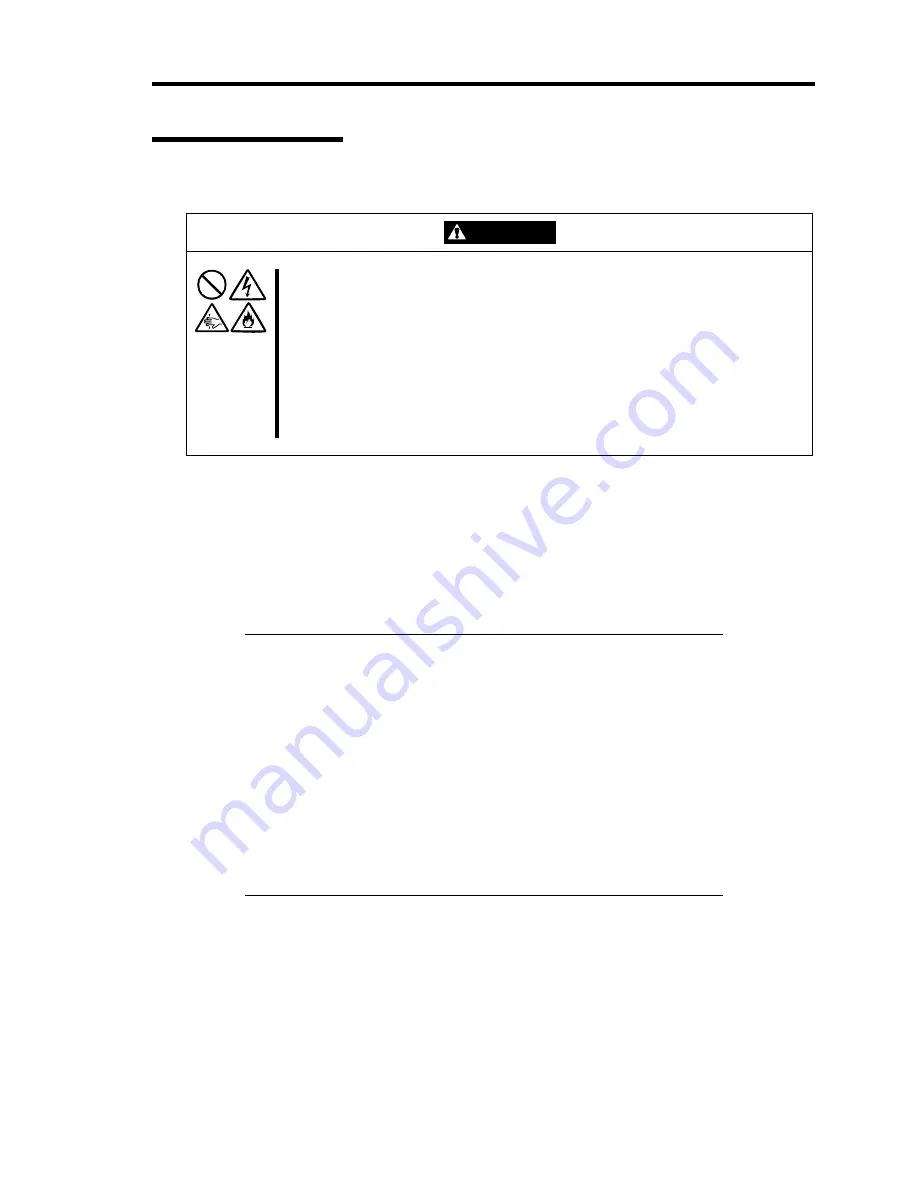
CAUTION
Observe the following instructions to use the blade assembly unit safely. Failure
to follow these instructions may result in death or serious personal injury. See
pages 1 to 8 for details.
Do not lift the blade assembly unit by three or less persons.
Do not pinch your finger with mechanical components.
Do not apply load to the blade assembly unit if it is pulled out from the rack.
Do not pull out a device from the rack if the rack is unstable.
Do not leave more than one device being pulled out from the rack.
Do not pull out the blade assembly unit from the rack if it is operating.
1.
After confirming that the power of the blade assembly unit is off, remove the power cord
and all the interface cables connected to the blade assembly unit.
2.
Remove the front bezel.
3.
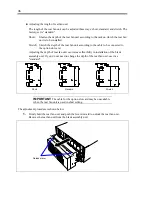
Remove the screws fixing the front left and right sides of the blade assembly unit.
4.
Pull out the blade assembly unit from the rack slowly and gently.
IMPORTANT:
When the blade assembly unit is pulled out from the rack, do not
apply load to the unit from the top. If you apply load to the blade
assembly unit pulled out from the rack, the unit may be dropped
from the rack to be dangerous.
The blade assembly unit does not have the stopper or lock
mechanism limiting excess pullout of the unit from the rack. To pull
out the blade assembly unit from the rack, hold the bottom of the
unit securely and take out the unit carefully so that it may not be
dropped.
Do not hold the front and rear fan units. Hold the bottom of the
Blade Assembly Unit to carry it.
5.
Hold the blade assembly unit securely to remove it from the rack.
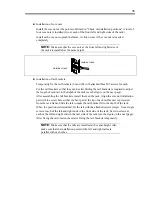
To remove the rack mechanical parts, see "Installation Procedure".
Содержание N8405-013F
Страница 2: ... This page is intentionally left blank ...
Страница 8: ......
Страница 12: ...iv This page is intentionally left blank ...
Страница 33: ...21 7 Cable tray The cable tray protects the cable connected with the CPU blade ...
Страница 94: ...82 5 When the driver is detected from the CD ROM click Next 6 Click Finish This completes the installation ...

