Setting Up Your Server 3-9
2.
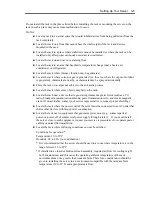
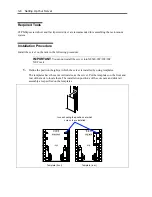
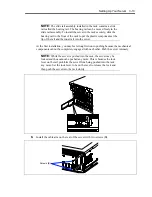
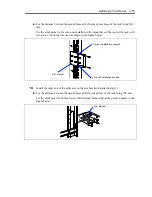
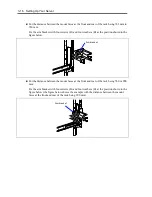
Install the core nuts coming with the rack at the positions defined by the templates.
Install four core nuts (two for each of left and right sides) on the front face of the rack
from the inner side. The server is fixed to the rack with the core nuts, four screws (A), and
four washers (A).
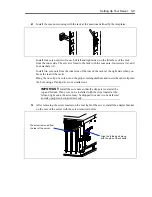
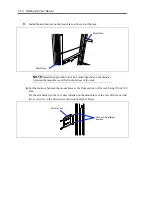
Install two core nuts from the inner side of the rear of the rack (at the right side when you
faces the rear of the rack).
Hang the one clip of a core nut on the proper rectangular hole and insert the other clip into
the hole using a flat-tip driver or a similar tool.
IMPORTANT:
Install the core nuts so that the clips are located at the
top and bottom. If any core nut is installed with the clips located at the
left and right ends, the server may be dropped to cause it to be defected
and also people to be injured severely.
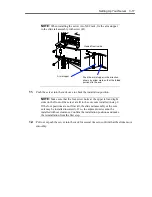
3.
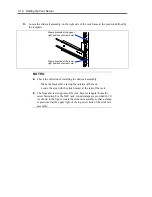
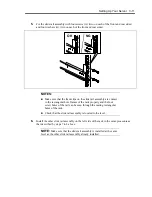
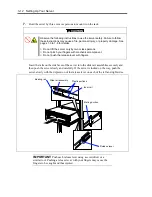
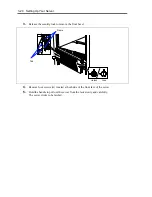
After removing the screw located on the rear right of the server, install the adapter bracket
on the rear of the server with the screw removed before.
The screw removed from
the rear of the server.
Align the folded part along
with the side of the chassis.
Содержание N8100-1220F
Страница 7: ......
Страница 8: ......
Страница 9: ......
Страница 38: ...1 18 Notes on Using Your Server This page is intentionally left blank...
Страница 76: ...2 38 General Description This page is intentionally left blank...
Страница 187: ...Configuring Your Server 4 83 3 Setting menu for VD 0 is displayed...
Страница 494: ...F 4 Product Configuration Record Table This page is intentionally left blank...

