8-8 Upgrading Your Modular Server
Removal
Remove the DIMM in the following procedure.
NOTE:
To remove the defected DIMM, check the error message
appearing on POST or NEC ESMPRO to confirm the modular server on
which the detected DIMM is installed.
1.
After providing the shutdown processing for the modular server to be removed, turn off
the power of the modular server.
2.
Pull out the modular server from the Module Enclosure.
See Chapter 3 for details.
3.
Place the modular server on anti-static sheet with little dust.
4.
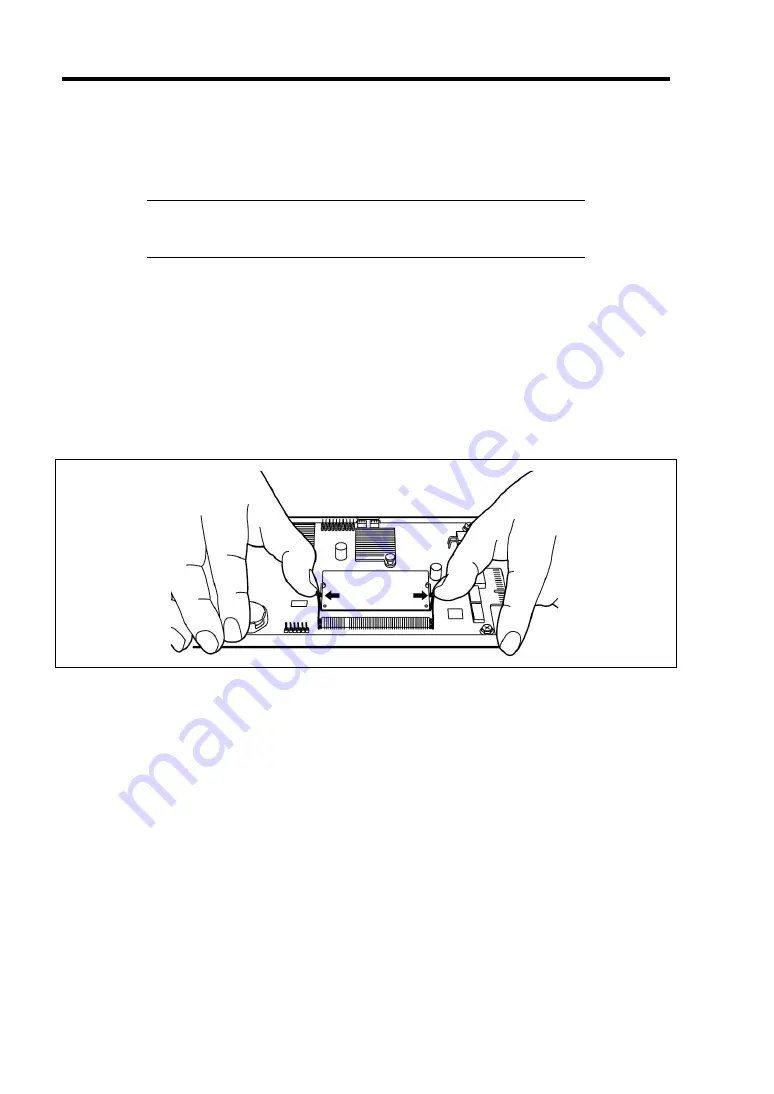
Open the levers at both ends of the DIMM socket to be removed.
The lock is released to allow you to remove the DIMM.
5.
Install a new DIMM (only when replacing a DIMM).
6.
Turn on the power of the modular server. Make sure that no error message appears in
POST.
See Chapter 7 for details of the POST error messages.
If the modular server is not started, the DIMM may not be installed in the socket correctly.
Install the DIMM again.
7.
Run SETUP and select [Advanced] – [Memory Configuration] to make sure that "DIMM
#x Status" (x: DIMM number) shows "Normal" (see Chapter 4).
8.
Set [Advanced] – [Reset Configuration Data] in the [Advanced] menu to [Yes].
This is required to update the hardware configuration information. See Chapter 4 for
details.
Содержание EXPRESS5800/100 SERIES N8100-1635F
Страница 12: ...vi Appendix A Specifications A 1 Appendix B Using a Client Computer Which Has a CD Drive B 1 ...
Страница 82: ...5 4 Installing and Using Utilities This page is intentionally left blank ...
Страница 126: ...7 36 Troubleshooting When you use a remote console 6 Select a desired tool to start it ...
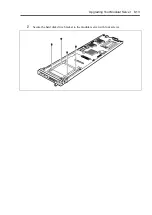
Страница 147: ...Upgrading Your Modular Server 8 13 7 Secure the hard disk drive bracket to the modular server with four screws ...
Страница 148: ...8 14 Upgrading Your Modular Server This page is intentionally left blank ...
Страница 150: ...A 2 Specifications This page is intentionally left blank ...
Страница 152: ...B 2 Using a Client Computer Which Has a CD Drive This page is intentionally left blank ...

