4 - 14
Operator’s Manual
4 Setup
Scene Preset Management
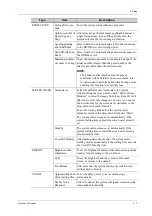
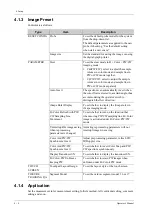
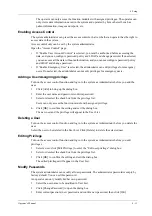
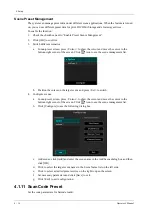
The system can manage preset data under different scene applications. When the feature is turned
on, you can use different preset data for print, DICOM, iStorage and eGateway services.
To enable the function:
1.
Check the checkbox next to “Enable Preset Scence Mangement”.
2.
Click [OK] to confirm.
3.
Switch different scenarios:
a.
In non-preset screen, press <Cursor> to show the cursor and move the cursor to the
bottom-right corner of the screen. Click
icon to see the scene management list.
b.
Position the cursor on the target scene and press <Set> to switch.
4.
Configure scenes:
a.
In non-preset screen, press <Cursor> to show the cursor and move the cursor to the
bottom-right corner of the screen. Click
icon to see the scene management list.
b.
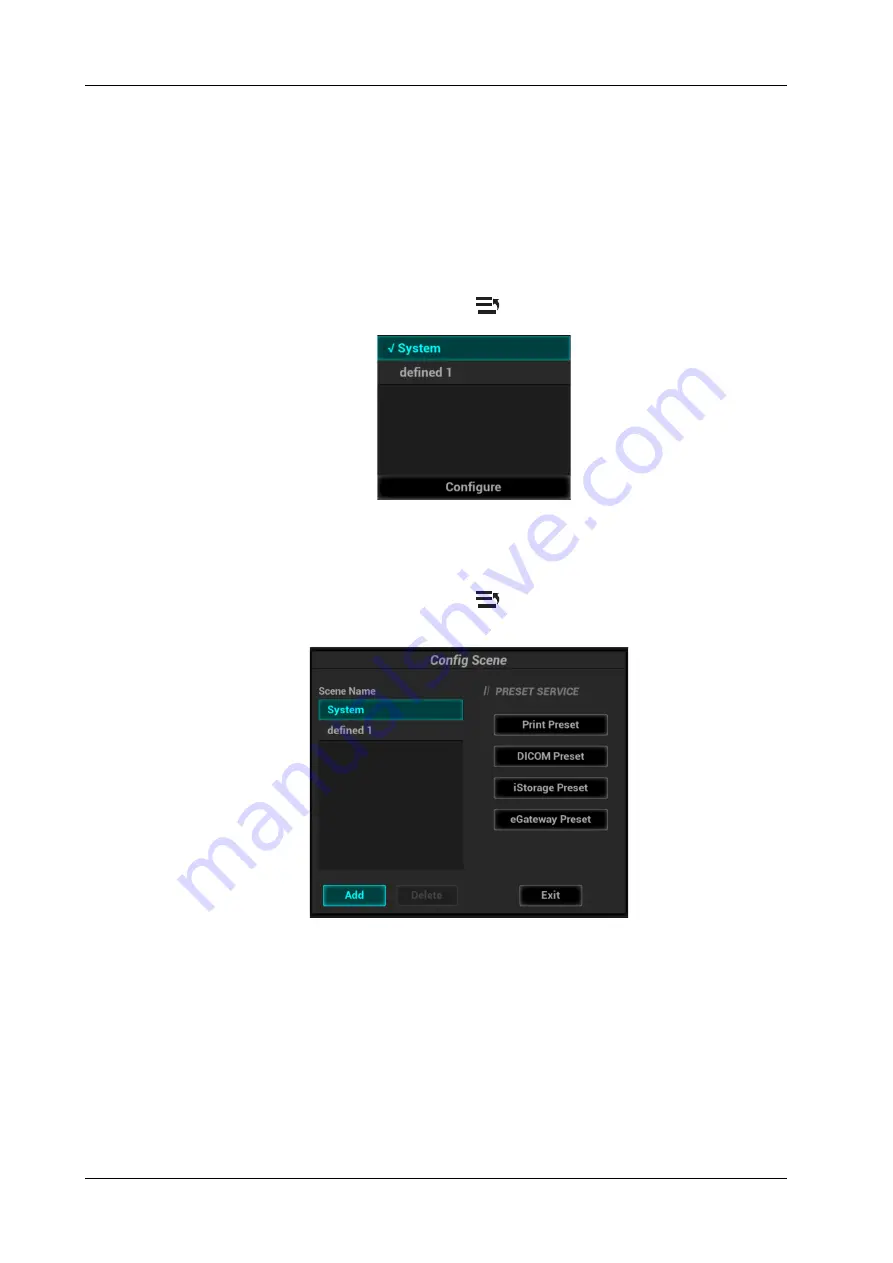
Click [Configure] to see the following dialog box.
c.
Add scenes: click [Add] and enter the scene name in the Add Scene dialog box and then
click [OK].
d.
Click to select the target scene name in the Scene Name list on the left side.
e.
Click to select a desired preset service on the right to open the screen.
f.
Set necessary parameters and click [Save] to exit.
g.
Click [Exit] to exit configuration.
4.1.11 Scan Code Preset
Set the code parameters for barcode reader.
Содержание Anesus ME7T
Страница 2: ......
Страница 58: ...This page intentionally left blank ...
Страница 154: ...This page intentionally left blank ...
Страница 164: ...This page intentionally left blank ...
Страница 182: ...This page intentionally left blank ...
Страница 190: ...This page intentionally left blank ...
Страница 208: ...This page intentionally left blank ...
Страница 254: ...This page intentionally left blank ...
Страница 264: ...This page intentionally left blank ...
Страница 280: ...This page intentionally left blank ...
Страница 311: ......
Страница 312: ...P N 046 018839 00 5 0 ...


