Quickstart Guide : Starting a New Project
Page 32
Select the type(s) of channel strips required using the check boxes and the number needed from the drop down
lists on the right. Click the
Next
button to move on to the next page.
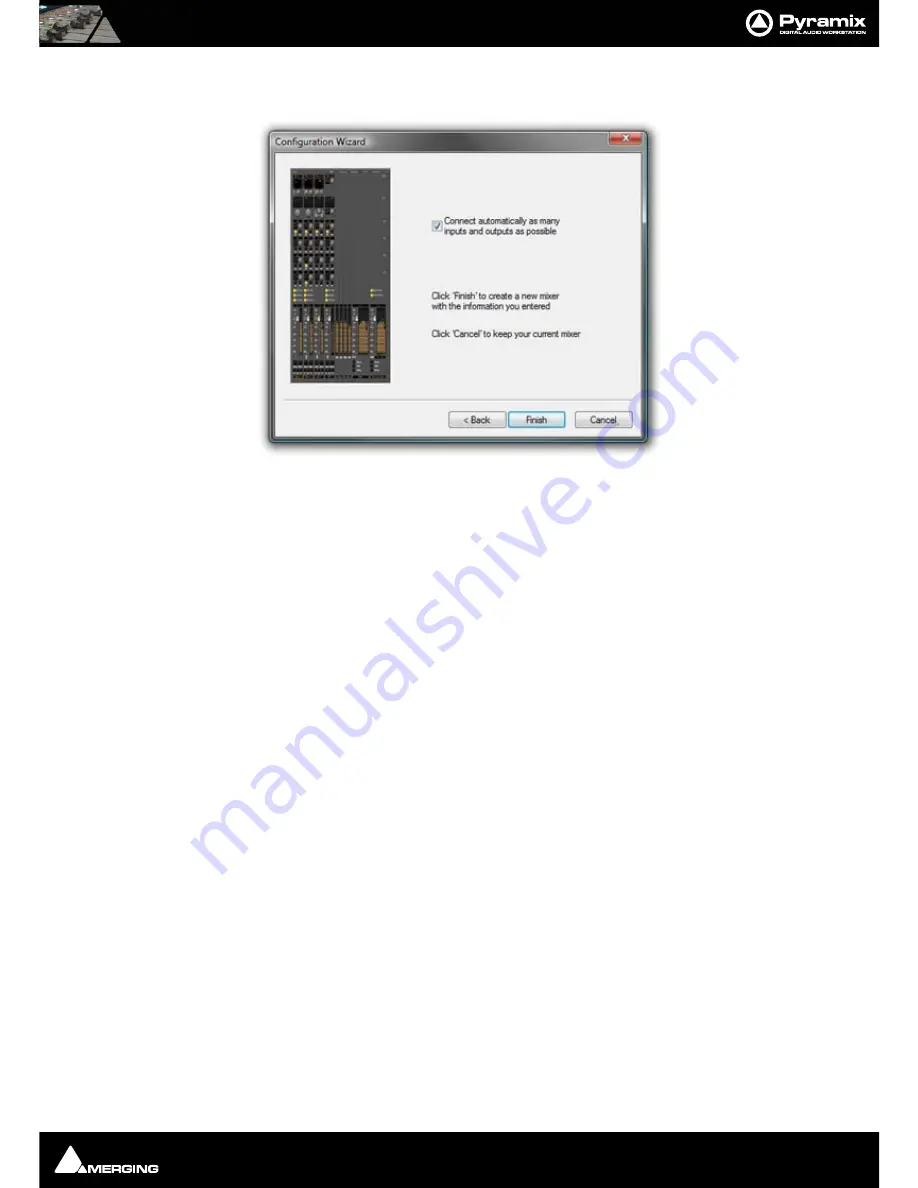
Checking the
Connect automatically as many inputs and outputs as possible
check-box will create the same
number and types of
Tracks
as there are
Input Strips
and connect as many as possible to the available physical
inputs in ascending order and output Buses to the physical I/O attached to the Mykerinos board(s) and Track out-
puts to Mixer Input Strips, although you can easily reconfigure this later. If the box is not ticked, the tracks will be
created in the same way with Track outputs connected to Mixer strips but no physical Inputs or Outputs will be
connected.
Clicking
Cancel
opens the new Project with a
Blank Mixer Window
(See below).
Step 4: Open the New Project
Clicking
Finish
creates the Mixer and opens the new Project.
It is
VERY IMPORTANT
to ensure the
Mixer
’s sample rate, synchronization and I/O mode are configured correctly.
To check or adjust settings, right-click anywhere on the
Mixer
window, then choose
Settings
>
General...
which
will open the
Mixer Settings
window. (Or choose
Settings > Mixer Settings : General
from the main
Settings
menu.
Blank Mixer Window
Note:
If you click the
Finish
button before defining a Mixer, the
Default Mixer
will be
used and the new Project opened. If no
Default Mixer
has yet been defined a window
opens with options of
Double-click
ing
on a Mixer Preset
from the list, using the
Wiz-
ard
or
Use right mouse button to configure your mixer
This is the equivalent of right-clicking on a blank area of an existing mixer. We recommend only experienced users
choose this option.
Please see: Pyramix User Manual
.
Mixer configuration dialog


