Quickstart Guide : A First Simple Project
Page 26
10.
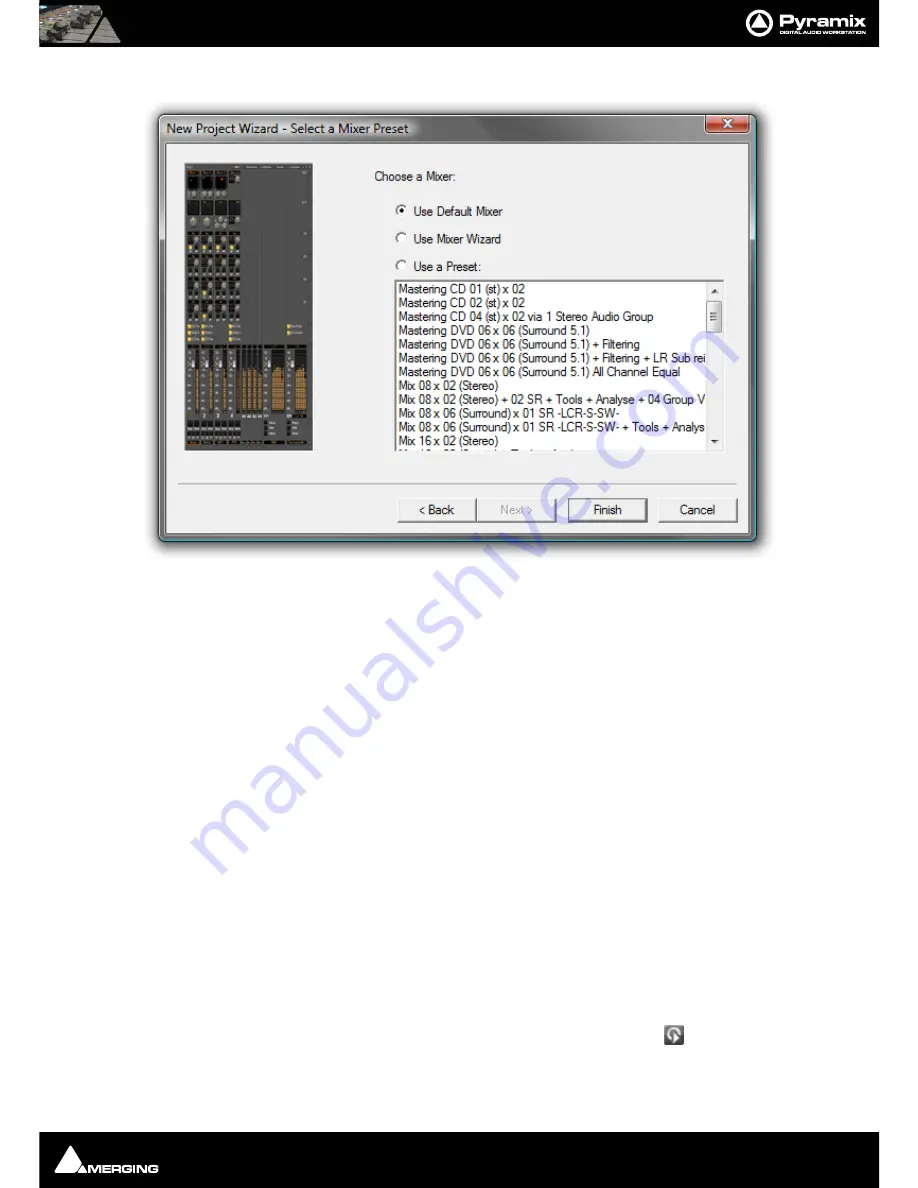
Click
Next
. The
New Project Wizard - Select a Mixer Preset
dialog will open.
11.
Choose the
Mix 08 X 02 (Stereo)
preset in the drop-down list by clicking on the name. Note that the
Use a
Preset
radio button is automatically checked.
12.
Click
Finish
to activate your new Project. It will open with a
Project Window
and
Mixer Window
. There will
be 8 empty tracks in the
Project Editing Panel
corresponding with the
8 Mixer Input
channels.
Configure the Mixer
Note:
The information given here assumes a simple, single board system with a daugh-
terboard in a single format. The exact settings of Input and Output numbers will depend
on your specific circumstances.
Connect your monitoring amplifier to outputs 1 & 2 of the first card in your system. If this is not possible and you
wish to use a different pair of output for monitoring:
1.
Click on the
L
XLR icon at the bottom of the Stereo Bus output strip.
2.
Select the Physical Output the Left-hand channel of your monitoring is connected to.
3.
Repeat with the
R
XLR icon for the Right-hand channel.
4.
Similarly, in the Strips you wish to use for record inputs click on the
Input
XLR icon and select the physical
input from the pop-up menu. Notice the numbers adjacent to the XLR icons and the numbers in the pale red
boxes in the
Track Header
change to reflect the updated routing.
Note:
The inputs go directly to the tracks, the strip takes the monitor output from the
track.
By default, and when the track monitoring switch (in the Track Header) is set to auto,
Pyramix follows the
‘European’ monitoring convention. I.e. All tracks switch to Input on Stop. If this would cause feedback in your
setup choose
US Monitoring
in the
Settings > All Settings > Application > Playback/Record
page. (Or you can
New Project Wizard - Select a Mixer Preset dialog


