


Page 92 P/N 03521015 Rev U1
Bio-Medical Devices Intl
17171 Daimler Street Irvine, CA 92614 800-443-3842 www.maxair-systems.com
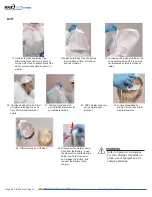
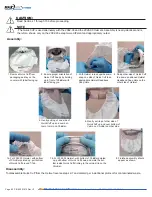
1. Remove Hood and Heavy Loading Filter from packaging and lay on a
counter with labels facing up.
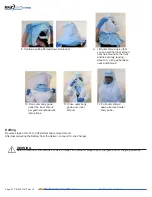
4. Turn Headband Ratchet Knob
counterclockwise to loosen
headband for ease of donning
Helmet.
5. Position Helmet on head with front
Headband within 1/2 inch of eyebrows.
6. Turn Ratchet Knob clockwise to tighten
Headband as tight as comfortable to
secure Helmet to Head for all
anticipated activities.
Prep for Donning:
NOTE
The outer gown may be donned up to about the
waist before donning the battery, and then completed, or
fully after the battery is donned and connected.
NOTE
Depending
on the anticipated
comfort level when
fully gowned, the
Helmet Air-Flow
Level may be set to
Med of High.
< 1/2 inch (~ 12.7 mm)
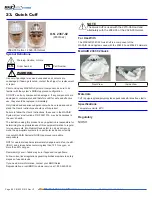
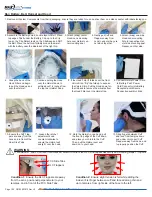
2. Refer to the 2367-02 Quick Cuff IFU for
Quick Cuff to Helmet assembly instructions.
Don:
NOTE
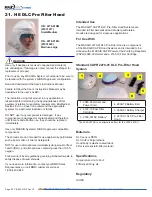
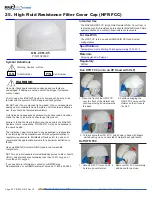
The 2270-06 HE Hood may be used alternatively with the 2082-03 Helmet or the 2026-03 Helmet. Due to the
extreme between the Helmets, photos are of the 2082-03 unless 2026-03 photos are needed for clarity.
NOTE
Read Sections 1 through 15 before proceeding.
3. Connect the Battery to the Belt and place the Belt around the
waist, typically with the Battery towards the rear of the right hip.
To begin air flow, insert the Helmet Power Cord Connector into
Battery Connector receptacle until the Secure Lock audibly clicks.