Matrox Productiva G100 Multi-Monitor Series – User Guide
15
Software installation
This section describes how to install Matrox software for Windows 98 or Windows NT 4.0.
1
Restart your computer.
If you’re using Windows 98, it detects new hardware when you restart. If Matrox display
drivers haven’t been previously installed, Windows reports finding a PCI adapter.
If you see the
Add New Hardware Wizard
dialog box, click
Next
Next
Next
Next
Finish
,
then
Yes
to restart your computer.
At this point, Windows is using a display driver that doesn’t fully support your Matrox graphics
card.
2
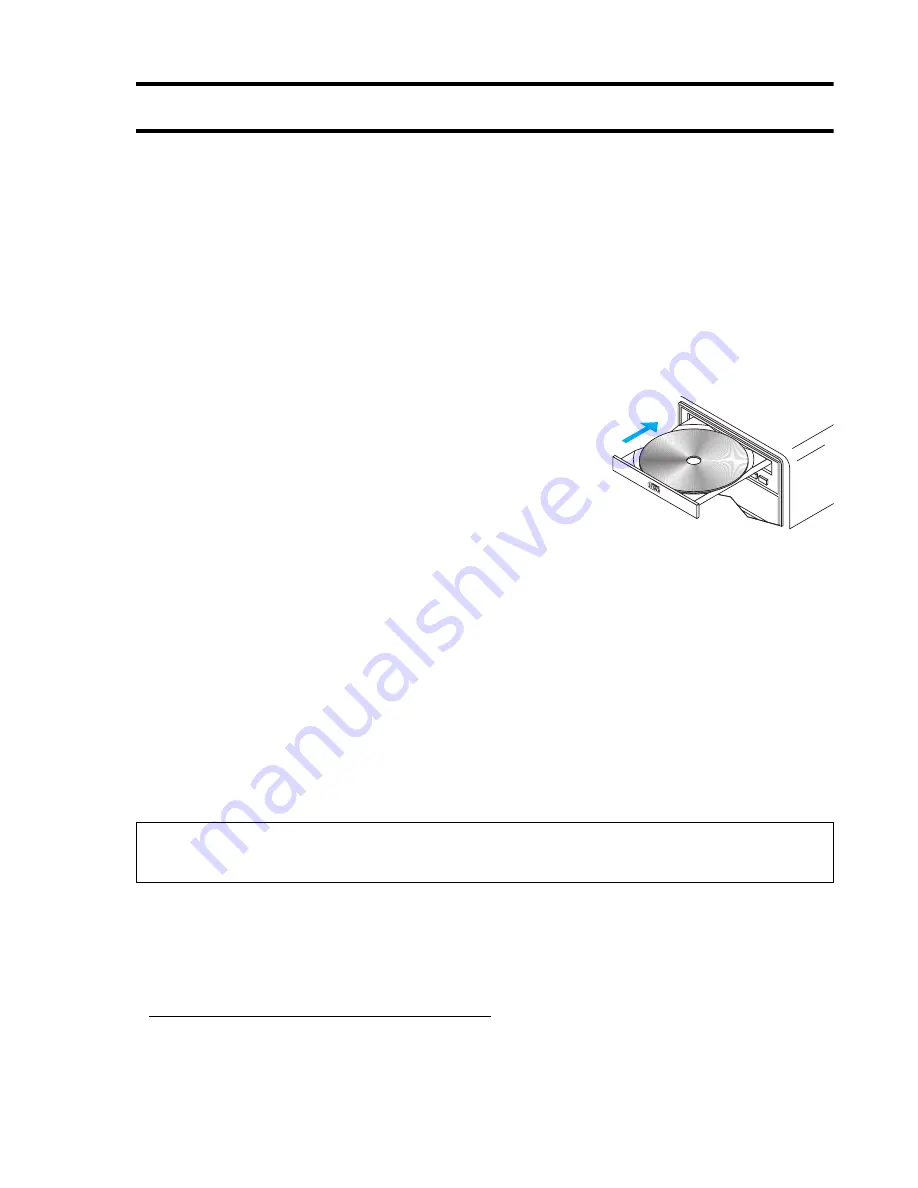
After your computer has restarted, insert the “Matrox
Installation” CD-ROM in your CD-ROM drive – the setup
program automatically starts.
*
This setup program works
with Windows 98 and Windows NT 4.0, and detects which
operating system you’re using. Follow the on-screen
instructions.
3
The setup program prompts you to restart your computer. Leave the CD-ROM in your
CD-ROM drive and click
Restart Computer
to continue. After you restart your computer, the
CD-ROM setup program starts again. The main menu lists other software you can install from
the CD-ROM. To install, select an item, click
Install
, then follow the on-screen instructions.
After the installation of an item is finished, you can return to the main menu to install another.
Click
Exit
when you’re done.
If this is a first-time installation, your display is using a 640 × 480 resolution with 256 colors –
supported by most monitors. To adjust software monitor settings:
for Windows NT 4.0,
see “Matrox PowerDesk software”, page 16
.
for Windows 98, see Windows 98 online help under “Multiple Display support”.
* If Windows doesn’t automatically start the setup program, you can start it manually from the root folder of the
CD-ROM.
Note: For more information on software included with your Matrox product, see the CD-ROM
readme file.


