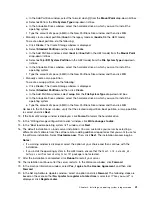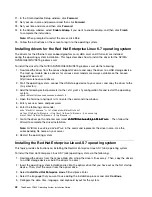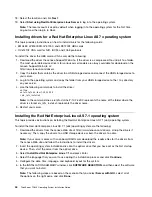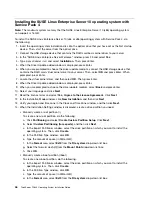
6. In the INSTALLATION SUMMARY window, click
SOFTWARE SELECTION
, and then select the software
that you want to install.
Note:
The following steps are based on the scenario that you select
Server with GUI
, select all of
the options on the right pane, and click
Done
.
7. In the INSTALLATION SUMMARY window, click
INSTALLATION DESTINATION
.
8. Select the drive partition on which you want to install the operating system. Then, click
Done
. If you
want to create a partition manually, do the following:
a. Select
I will configure partitioning
and then click
Done
.
b. In the Manual Partitioning window, select
Standard Partition
. Then, do one of the following to create
a partition and click
Done
.
• Manually create a root partition (/)
To create a root partition, do the following:
1) In the Manual Partitioning window, click
+
in the bottom left corner.
2) In the ADD A NEW MOUNT POINT window, select the forward slash
(/)
from the
Mount
Point
drop-down list box.
3) Type the amount of space (in MB) in the Desired Capacity field and then click
Add mount
point
.
• Manually create a boot partition (/boot)
To create a boot partition, do the following:
1) In the Manual Partitioning window, click
+
in the bottom left corner.
2) In the ADD A NEW MOUNT POINT window, select
/boot
(or
/boot/efi
in the UEFI mode)
from the
Mount Point
drop-down list box.
3) Type the amount of space (in MB) in the Desired Capacity field and then click
Add mount
point
.
• Manually create a swap partition
To create a swap partition, do the following:
1) In the Manual Partitioning window, click
+
in the bottom left corner.
2) In the ADD A NEW MOUNT POINT window, select
swap
from the
Mount Point
drop-down
list box.
3) Type the amount of space (in MB) in the Desired Capacity field and then click
Add mount
point
.
c. In the SUMMARY OF CHANGES window, select
Accept Changes
.
9. In the INSTALLATION SUMMARY window, click
Begin Installation
. The installation process begins.
10. In the CONFIGURATION window, click
ROOT PASSWORD
to set the root password. Then, click
Reboot
.
11. In the INITIAL SETUP window, click
LICENSE INFORMATION
.
12. In the LICENSE INFORMATION window, select
I accept the license agreement
and click
Done
.
13. In the INITIAL SETUP window, click
Finish Configuration
.
14. In the Kdump window, click
Forward
.
15. In the “Subscription Management Registration” window, select
No, I prefer to register at a later
time
and click
Finish
.
16. Configure the language and click
Next
➙
Next
.
17. Set your user name and the password (if needed) and click
Next
.
Installing an operating system in legacy mode
43
Содержание ThinkServer TD340
Страница 1: ...ThinkServer TD340 Operating System Installation Guide ...
Страница 6: ...iv ThinkServer TD340 Operating System Installation Guide ...
Страница 8: ...2 ThinkServer TD340 Operating System Installation Guide ...
Страница 64: ...58 ThinkServer TD340 Operating System Installation Guide ...
Страница 80: ...74 ThinkServer TD340 Operating System Installation Guide ...
Страница 81: ......
Страница 82: ......

