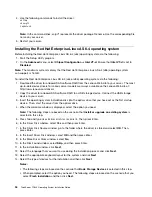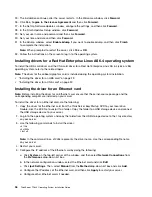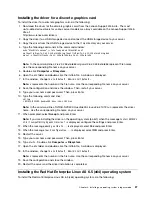
1. Download the driver from the Lenovo Support Web site. The most up-to-date device drivers for various
server models are always available on the Lenovo Support Web site at:
http://www.lenovo.com/drivers
2. Double-click the EXE file to unzip it to a folder. Copy the folder to a USB storage device and connect
the USB storage device to your server.
3. Log in to the operating system and copy the folder from the USB storage device to the
/tmp
directory
on your server.
4. Use the following commands to install the driver:
cd /tmp
cd xorg71
./update.sh
Note:
In the command lines,
xorg71
represents the driver package name. Use the corresponding file
name on your server.
5. Restart your server.
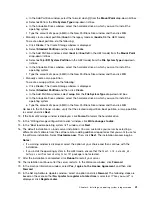
Installing the Red Hat Enterprise Linux 6.7 operating system
This topic provides instructions on installing the Red Hat Enterprise Linux 6.7 operating system (x64 and x86).
To install the Red Hat Enterprise Linux 6.7 operating system, do the following:
1. Insert the operating system installation disc into the optical drive that you have set as the first startup
device. Then, start the server from the optical drive.
2. In the “RedHat Enterprise Linux 6.7 Welcome” window, select
Install or upgrade an existing system
and press Enter.
Note:
If you install the operating system in the UEFI mode, press any key to enter the menu when
prompted.
3. When the Disk Found window is displayed, select
Skip
and then press Enter.
4. In the RED HAT window, click
Next
.
5. Select the language that you want to use during the installation process and click
Next
.
6. Select a keyboard layout for the system and click
Next
.
7. Select the type of devices you need for the installation, and then click
Next
.
Note:
If the Storage Device Warning window is displayed, click
Yes, discard any data
.
8. Type a name for your server. Then, click
Next
.
9. Specify your time zone by selecting the nearest city in your time zone. Then, click
Next
.
10. Type the root password for the root user account. Then, click
Next
.
Note:
If a message prompts you that the password is weak, click
Use Anyway
.
11. In the Which type of the installation would you like window, select your desired option and click
Next
.
The following steps are based on the scenario that
Create Custom Layout
is selected in this step.
12. In the Please Select A Device window, do one of the following to create a partition and then click
Next
.
• Manually create a root partition (/)
To create a root partition (/), do the following:
a. Click
Create
. The Create Storage window is displayed.
b. Select
Standard Partition
and then click
Create
.
40
ThinkServer TD340 Operating System Installation Guide
Содержание ThinkServer TD340
Страница 1: ...ThinkServer TD340 Operating System Installation Guide ...
Страница 6: ...iv ThinkServer TD340 Operating System Installation Guide ...
Страница 8: ...2 ThinkServer TD340 Operating System Installation Guide ...
Страница 64: ...58 ThinkServer TD340 Operating System Installation Guide ...
Страница 80: ...74 ThinkServer TD340 Operating System Installation Guide ...
Страница 81: ......
Страница 82: ......

