Getting Started
41
✏
NOTE
The array build will continue as a background task. Exit StorCon, by pressing <ESC>, and the
array build will continue in the background after BIOS POST upon reboot. You can then proceed
with OS installation while the array continues the build process in the background.
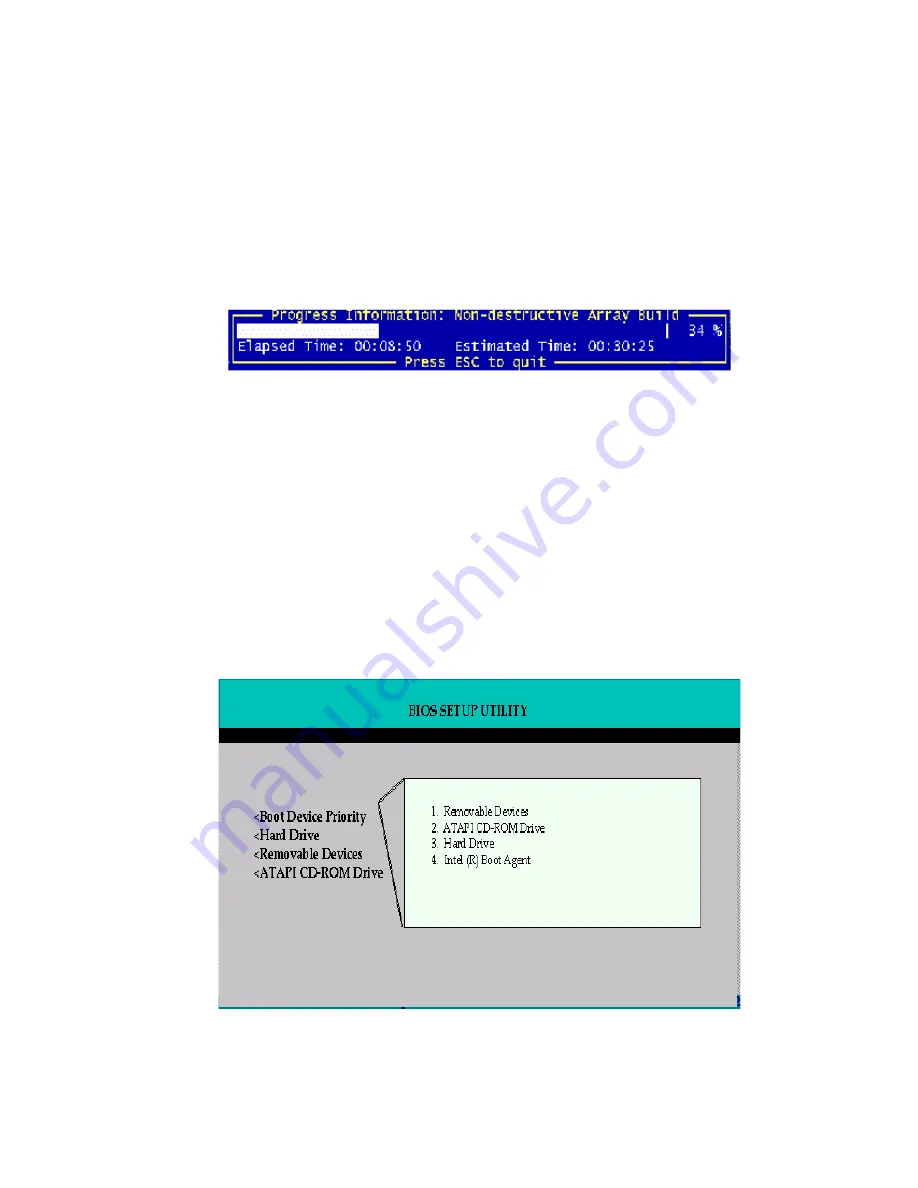
11. When leaving StorCon, by pressing <ESC
>
, a progress window displays the estimated
completion time for the build process.
12. Upon successful completion of the build process, the disk array changes to Ready status.
Set the BIOS Boot Order
This step requires entering the system BIOS and setting the proper boot priority. This step may
differ from system to system. Refer to the system documentation for details. The example below
refers to the Intel
®
SCB2 server board.
1. During POST, press <F2> to enter the BIOS Setup Utility.
2. Navigate to the “Boot” menu, then access the “Boot Device Priority” submenu and set the
following order:
•
Removable Devices
•
ATAPI CD-ROM Drive
•
Hard Drive
•
Intel
®
Boot Agent
Содержание SRCU32 - RAID Controller
Страница 1: ...Intel RAID Controller SRCU32 User s Guide Order Number A77949 004 ...
Страница 35: ...Getting Started 35 Figure 9 Operational State Diagram for RAID 4 5 ...
Страница 46: ......
Страница 62: ...62 Intel RAID Controller SRCU32 User s Guide ...
Страница 76: ...76 Intel RAID Controller SRCU32 User s Guide ...
Страница 109: ...Storage Console 109 Figure 49 Block Diagram of a SAF TE Subsystem ...
Страница 122: ......
Страница 164: ...164 Intel RAID Controller SRCU32 User s Guide Figure 106 StorCon Help ...
Страница 167: ...Storage Console Plus 167 Figure 109 RAID Configuration Service Add Remove Users ...
Страница 170: ...170 Intel RAID Controller SRCU32 User s Guide ...


