Chapter 5. Installing Options
63
2.
Remove the filler panel from the empty power-supply bay by inserting your finger
into the depression on the filler panel and pulling it away from the server. Save
the filler panel in case you remove the power supply at a later time.
Note:
During normal operation, each power-supply bay must have either a
power supply or filler panel installed for proper cooling.
3.
Install the power supply in the bay:
a.
Move the handle on the power supply into the open position, pinch the
sideclips, and slide the power supply into the chassis.
b.
Gently close the handle to seat the power supply in the bay.
4.
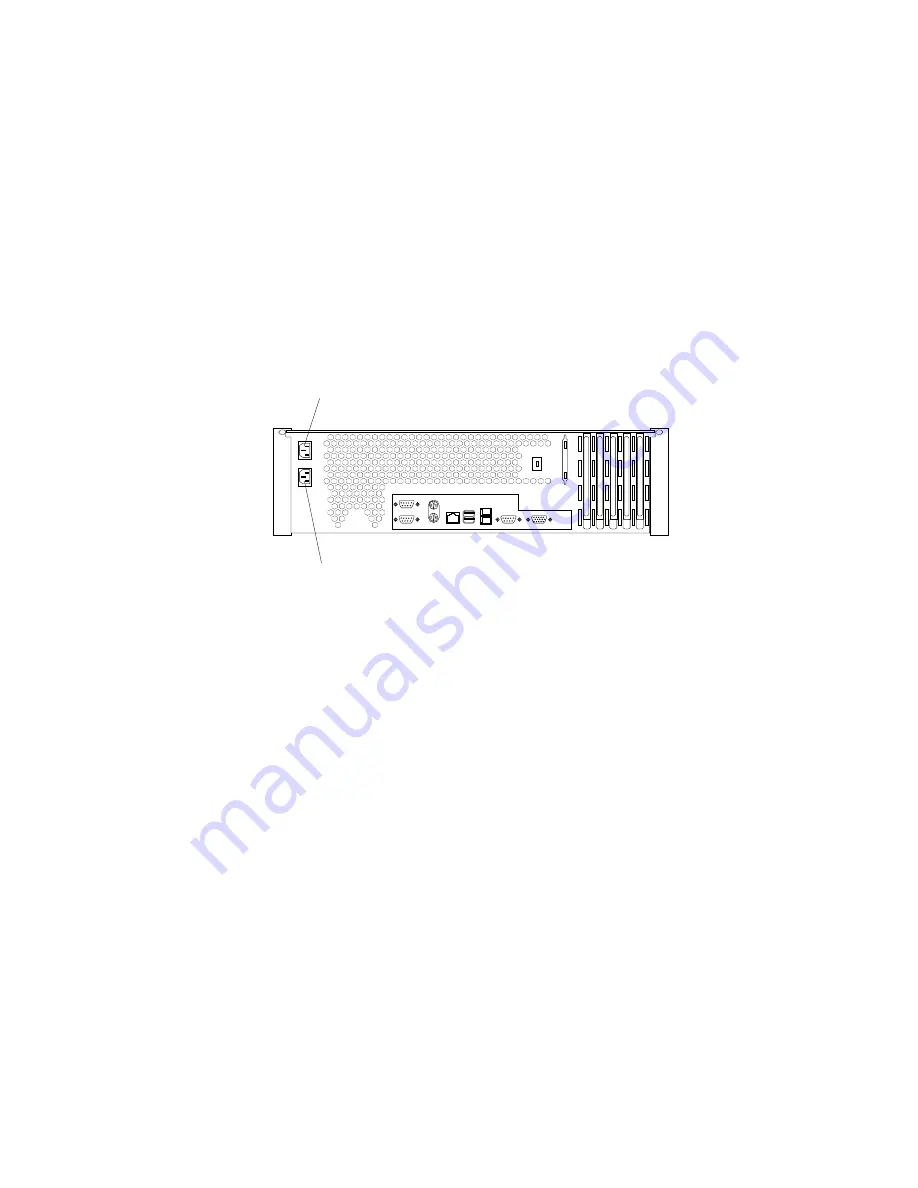
Plug the power cord for the added power supply into the power-cord connector on
the rear of the server. Then, plug the power cord into a properly grounded
electrical outlet.
The following illustration shows the power supply connectors in the back of the
server.
5.
Route the power cord through the cable-management arm. (See “Cabling the
server” on page 78.)
6.
Plug the power cord into a properly grounded electrical outlet.
7.
Verify that the dc power light and ac power light on the power supply are lit,
indicating that the power supply is operating correctly.
8.
Replace the bezel. (See “Installing the server cover and bezel” on page 66.)
Power supply 1 power cord connector
Power supply 2 power cord connector
Содержание eServer 342 xSeries
Страница 1: ...IBM SC06 P458 90 User s Reference xSeries 342...
Страница 2: ......
Страница 3: ...IBM IBM xSeries 342 User s Reference...
Страница 8: ...vi Book Title...
Страница 158: ...144 Book Title...
Страница 159: ......


