Overview of Navigation and Controls
36
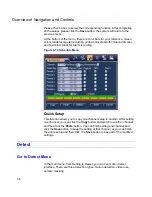
Please check a box to select the corresponding function. After completing
all the setups please click the
Save
button; the system will return to the
previous menu.
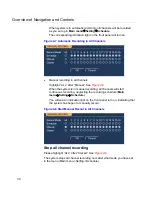
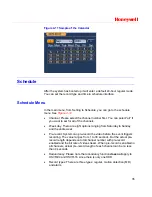
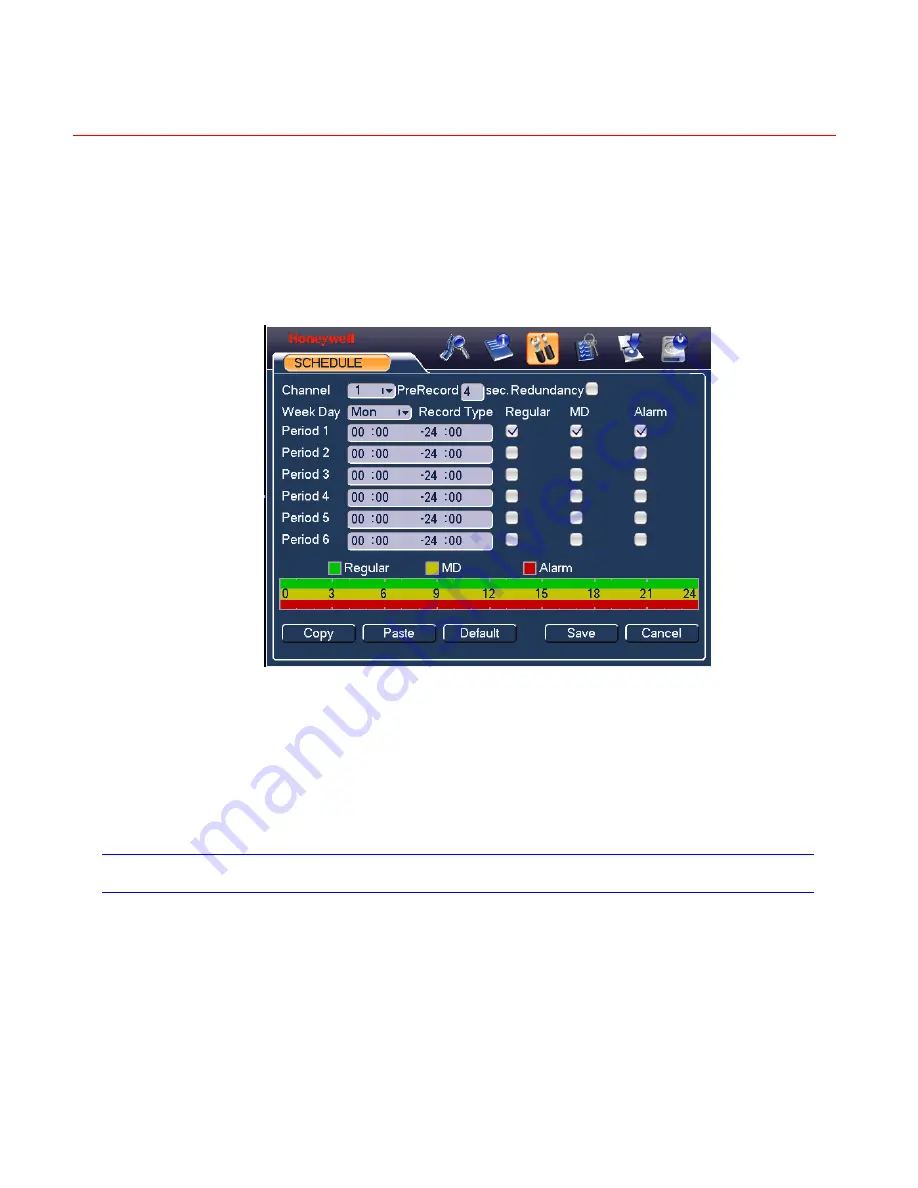
At the bottom of the menu, there are color bars for your reference. Green
color stands for regular recording, yellow color stands for motion detection
and red color stands for alarm recording.
Figure 4-12 Schedule Menu
Quick Setup
This function allows you to copy one channel setup to another. After setting
one channel, you can click the
Copy
button and switch to another channel
and then click the
Paste
button. You can finish setting one channel and
click the
Save
button to keep the setting of that channel, or you can finish
the entire setup and then click the
Save
button to keep all of the modified
settings.
Detect
Go to Detect Menu
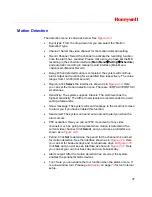
In the main menu, from Setting to Detect, you can see motion detect
interface. There are three detection types: motion detection, video loss,
camera masking.
Содержание HSVR-04
Страница 2: ......
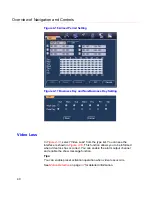
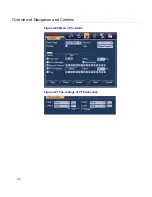
Страница 47: ...Honeywell 39 Figure 4 14 Motion Detection Zone Setting Figure 4 15 PTZ Activation Setting ...
Страница 100: ...Understanding of Menu Operations and Controls 92 Figure 5 38 The Shutdown Menu ...
Страница 103: ...Honeywell 95 Figure 6 2 The Internet Options Window ...
Страница 115: ...Honeywell 107 Figure 6 21 HDD Information Menu Log Here you can view system log See Figure 6 22 ...
Страница 130: ...Web Client Operation 122 Figure 6 37 The NTP Setup Menu Alarm Alarm setup interface is shown as in Figure 6 38 ...
Страница 133: ...Honeywell 125 Figure 6 39 The Detection Setup Menu Figure 6 40 The Detection Zone Setup ...
Страница 142: ...Web Client Operation 134 Figure 6 47 The Auto Maintenance Menu Abnormity The abnormity interface is shown as below ...

