


Web Client Operation
102
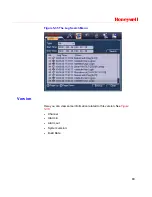
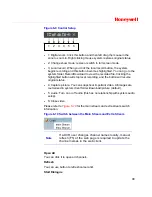
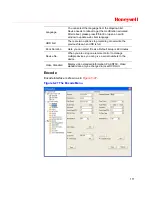
Iris
close
Open
In
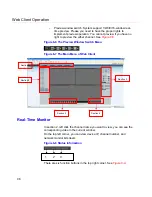
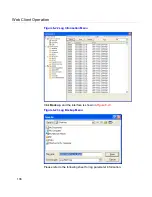
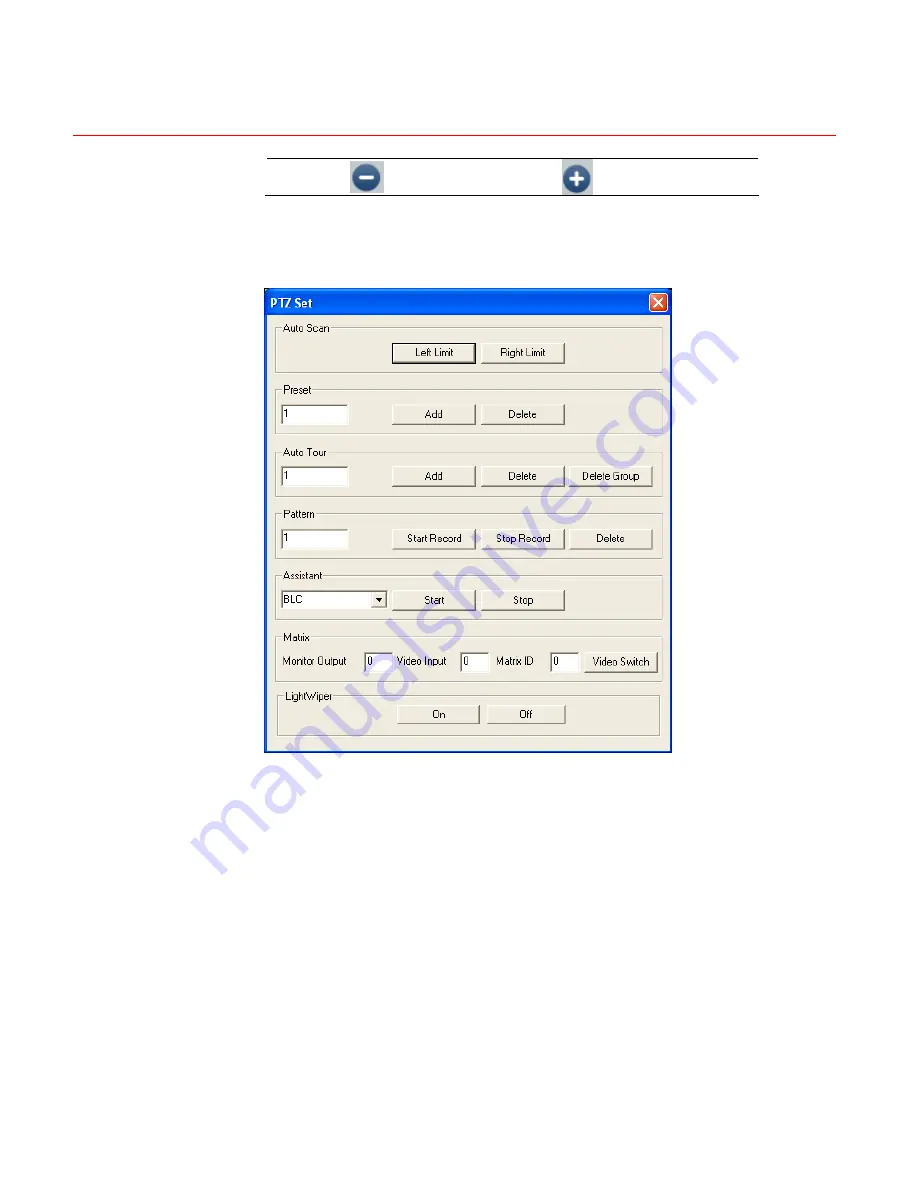
Figure 6-12
, click the PTZ setup button and you will see the following
interface. See
Figure 6-13
.
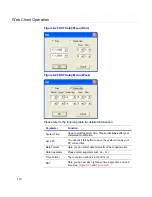
Figure 6-13 The PTZ Setup Menu
Auto Scan
In
Figure 6-13
, move the camera to your desired location and then rotate it
to left rotation limit and click
Left Limit
.
Then move the camera again and rotate it to the right rotation limit and then
click
Right Limit
to set a right limit.
Pattern
In
Figure 6-13
, you can input pattern value and then click start record
button to begin PTZ movement. Please go back to
Figure 6-12
to
implement camera operation. Then you can click stop record button. Now
you have set one pattern.
Preset
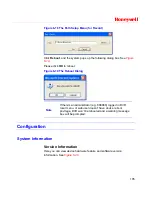
Содержание HSVR-04
Страница 2: ......
Страница 47: ...Honeywell 39 Figure 4 14 Motion Detection Zone Setting Figure 4 15 PTZ Activation Setting ...
Страница 100: ...Understanding of Menu Operations and Controls 92 Figure 5 38 The Shutdown Menu ...
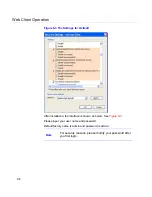
Страница 103: ...Honeywell 95 Figure 6 2 The Internet Options Window ...
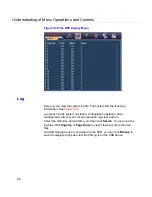
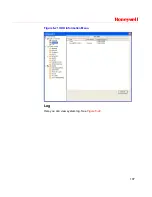
Страница 115: ...Honeywell 107 Figure 6 21 HDD Information Menu Log Here you can view system log See Figure 6 22 ...
Страница 130: ...Web Client Operation 122 Figure 6 37 The NTP Setup Menu Alarm Alarm setup interface is shown as in Figure 6 38 ...
Страница 133: ...Honeywell 125 Figure 6 39 The Detection Setup Menu Figure 6 40 The Detection Zone Setup ...
Страница 142: ...Web Client Operation 134 Figure 6 47 The Auto Maintenance Menu Abnormity The abnormity interface is shown as below ...


