


Honeywell
99
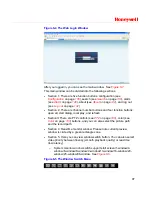
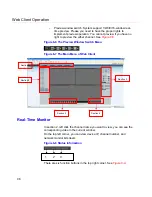
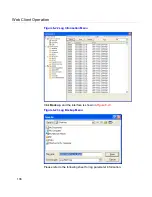
Figure 6-9 Control Setup
1 2 3 4 5 6
1: Digital zoom: Click this button and then left drag the mouse in the
zone to zoom in. Right clicking mouse system restores original status.
2: Change show mode: resize or switch to full screen mode.
3: Local record. When you click the local record button, the system
begins recording and this button becomes highlighted. You can go to the
system folder RecordDownload to view the recorded file. Clicking the
highlighted button will stop local recording, and the button will resume
original status.
4: Capture picture. You can snapshoot important video. All images are
memorized in system client folder \download\picture (default).
5: Audio: Turn on or off audio (this has no relationship with system audio
setup).
6: Close video.
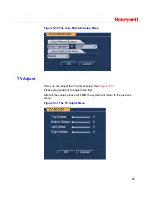
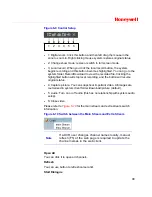
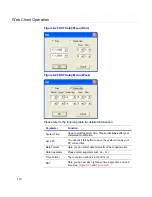
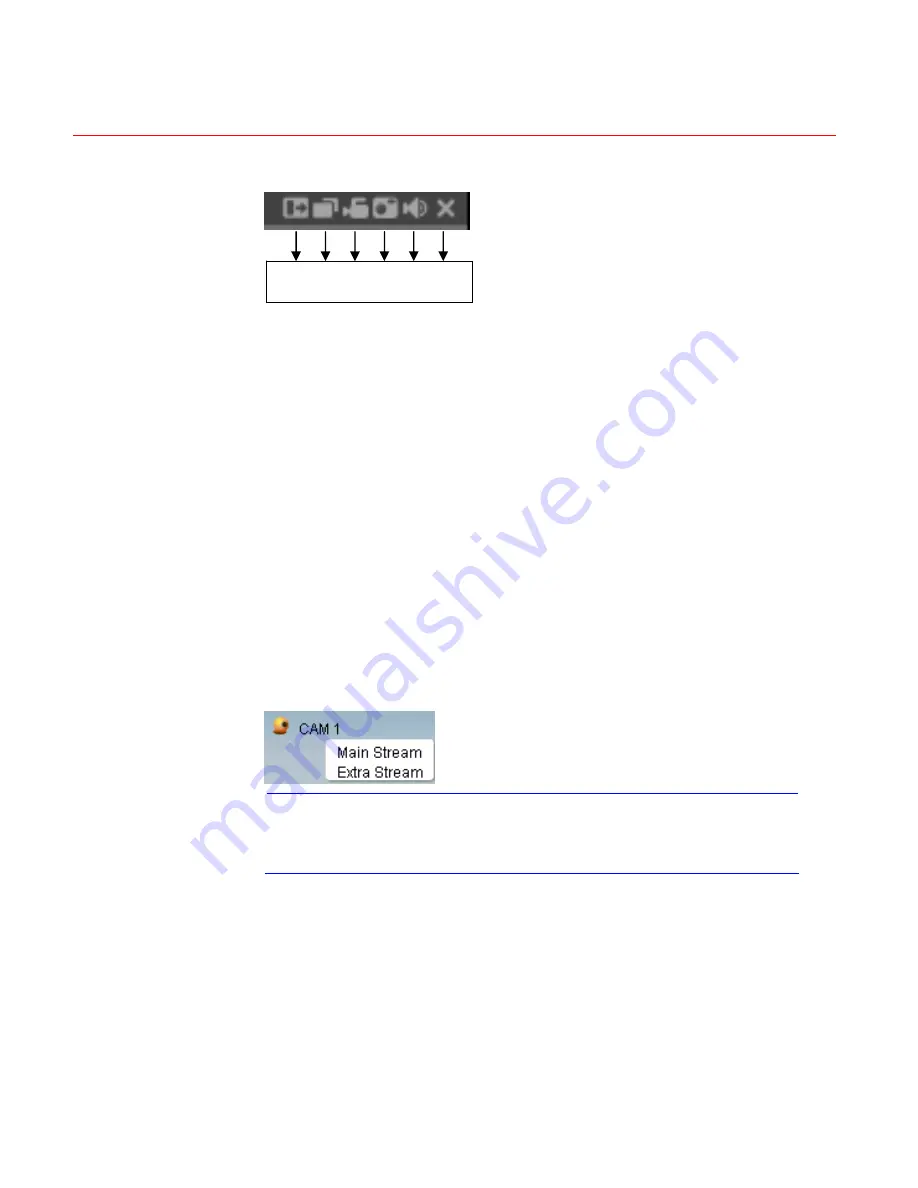
Please refer to
Figure 6-10
for the main stream and extra stream switch
information.
Figure 6-10 Switch between the Main Stream and Extra Stream
Note
If a DVR user changes channel names locally, manual
refresh (F5) of the web page is required to update the
channel names in the web client.
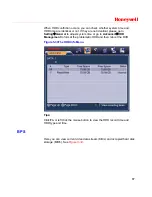
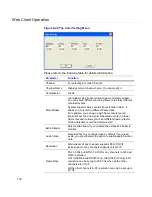
Open All
You can click it to open all channels.
Refresh
You can use button to refresh camera list.
Start Dialogue
Содержание HSVR-04
Страница 2: ......
Страница 47: ...Honeywell 39 Figure 4 14 Motion Detection Zone Setting Figure 4 15 PTZ Activation Setting ...
Страница 100: ...Understanding of Menu Operations and Controls 92 Figure 5 38 The Shutdown Menu ...
Страница 103: ...Honeywell 95 Figure 6 2 The Internet Options Window ...
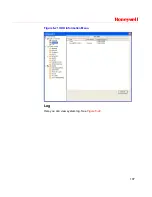
Страница 115: ...Honeywell 107 Figure 6 21 HDD Information Menu Log Here you can view system log See Figure 6 22 ...
Страница 130: ...Web Client Operation 122 Figure 6 37 The NTP Setup Menu Alarm Alarm setup interface is shown as in Figure 6 38 ...
Страница 133: ...Honeywell 125 Figure 6 39 The Detection Setup Menu Figure 6 40 The Detection Zone Setup ...
Страница 142: ...Web Client Operation 134 Figure 6 47 The Auto Maintenance Menu Abnormity The abnormity interface is shown as below ...


