95 / 174
en
12.2020 / Rev. 02
AB66005
Operation
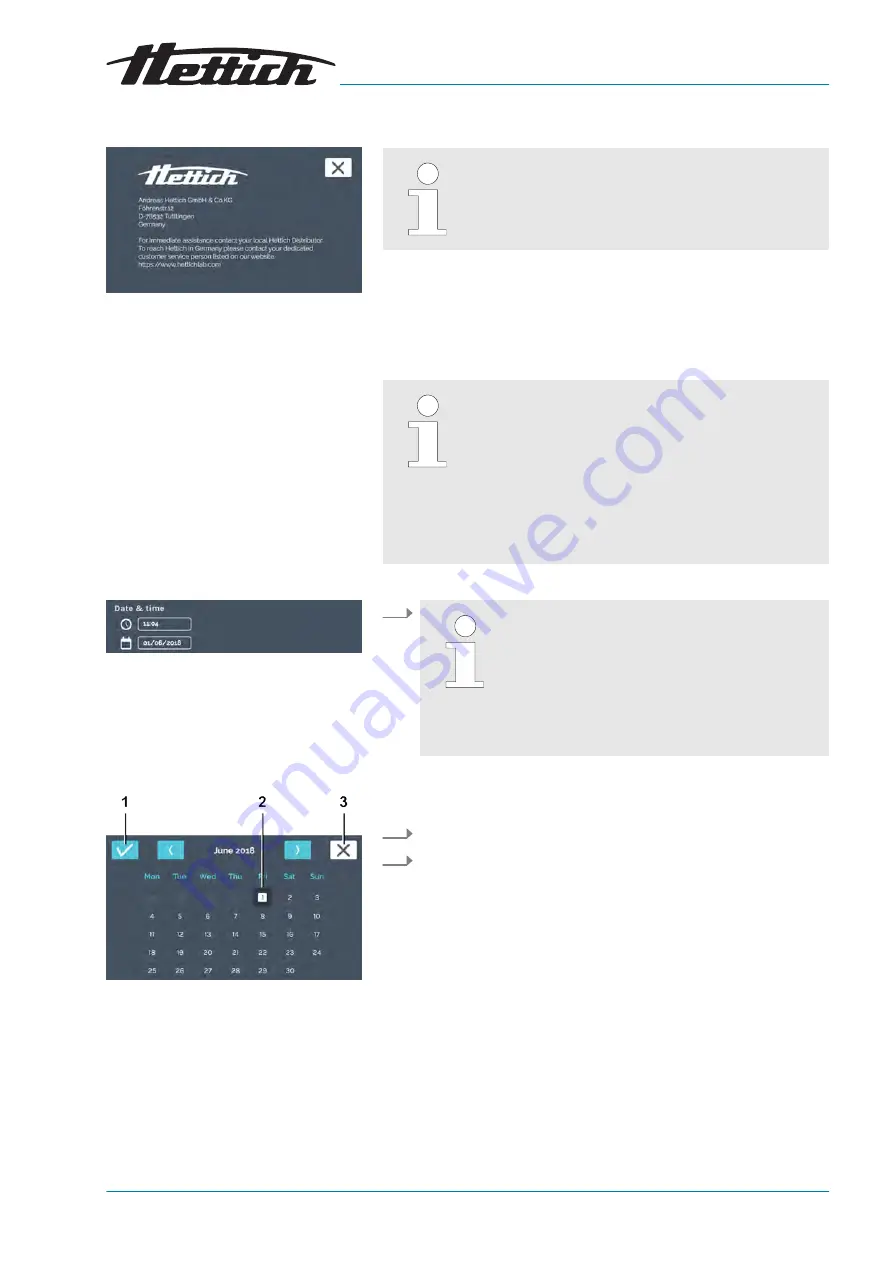
Fig. 144: ‘About’ menu
Fig. 145: ‘Date & time’ menu
Fig. 146: Setting the date
1
[Confirmation] button
2 Date selection
3
[Cancel] button
6.13.1
About
In this menu, the contact data is displayed to you.
6.13.2
Date & time
In this menu, you can change the date and time of
the control. Date and time are preset ex works and
are changed during the initial installation if required. A
switch from daylight savings time to standard time or
vice versa can be done manually here.
For the language setting ‘English US’, note that
another format is shown on the display.
Chapter 6.13.7 ‘Language’ on page 105.
To set the date, proceed as follows:
1.
Manual and program mode are time-controlled
sequences. Therefore, it is neither possible to
change the date or time during active manual
or program mode, nor when manual or pro-
gram mode are already planned via the time
delay function. The date and time can only be
changed in standstill mode.
Tap the displayed date.
The dialogue opens for editing the date.
2.
Select the date.
3.
Confirm the entry with the
[Confirmation] button. You can undo
changes with the
[Cancel] button and go back to the previous
display.
To set the time, proceed as follows:
Содержание HettCube 200
Страница 151: ...151 174 en 12 2020 Rev 02 AB66005 Index W Warning symbols 7 Warnings and error messages 126 ...
Страница 152: ...en 12 2020 Rev 02 AB66005 152 174 Index ...
Страница 153: ...13 Appendix ...
Страница 154: ......
Страница 166: ...en 12 2020 Rev 02 AB66005 166 174 Examples ...
Страница 170: ...en 12 2020 Rev 02 AB66005 170 174 Accessory overview ...
Страница 171: ...171 174 en 12 2020 Rev 02 AB66005 Declaration of conformity D Declaration of conformity ...


